Generating AI Shorts
Este conteúdo não está disponível em sua língua ainda.
In this tutorial, we will walk through the step-by-step process of using Braiv to generate short-form, highly engaging videos from your long-form content.
Step 1: Create a New AI Shorts Project
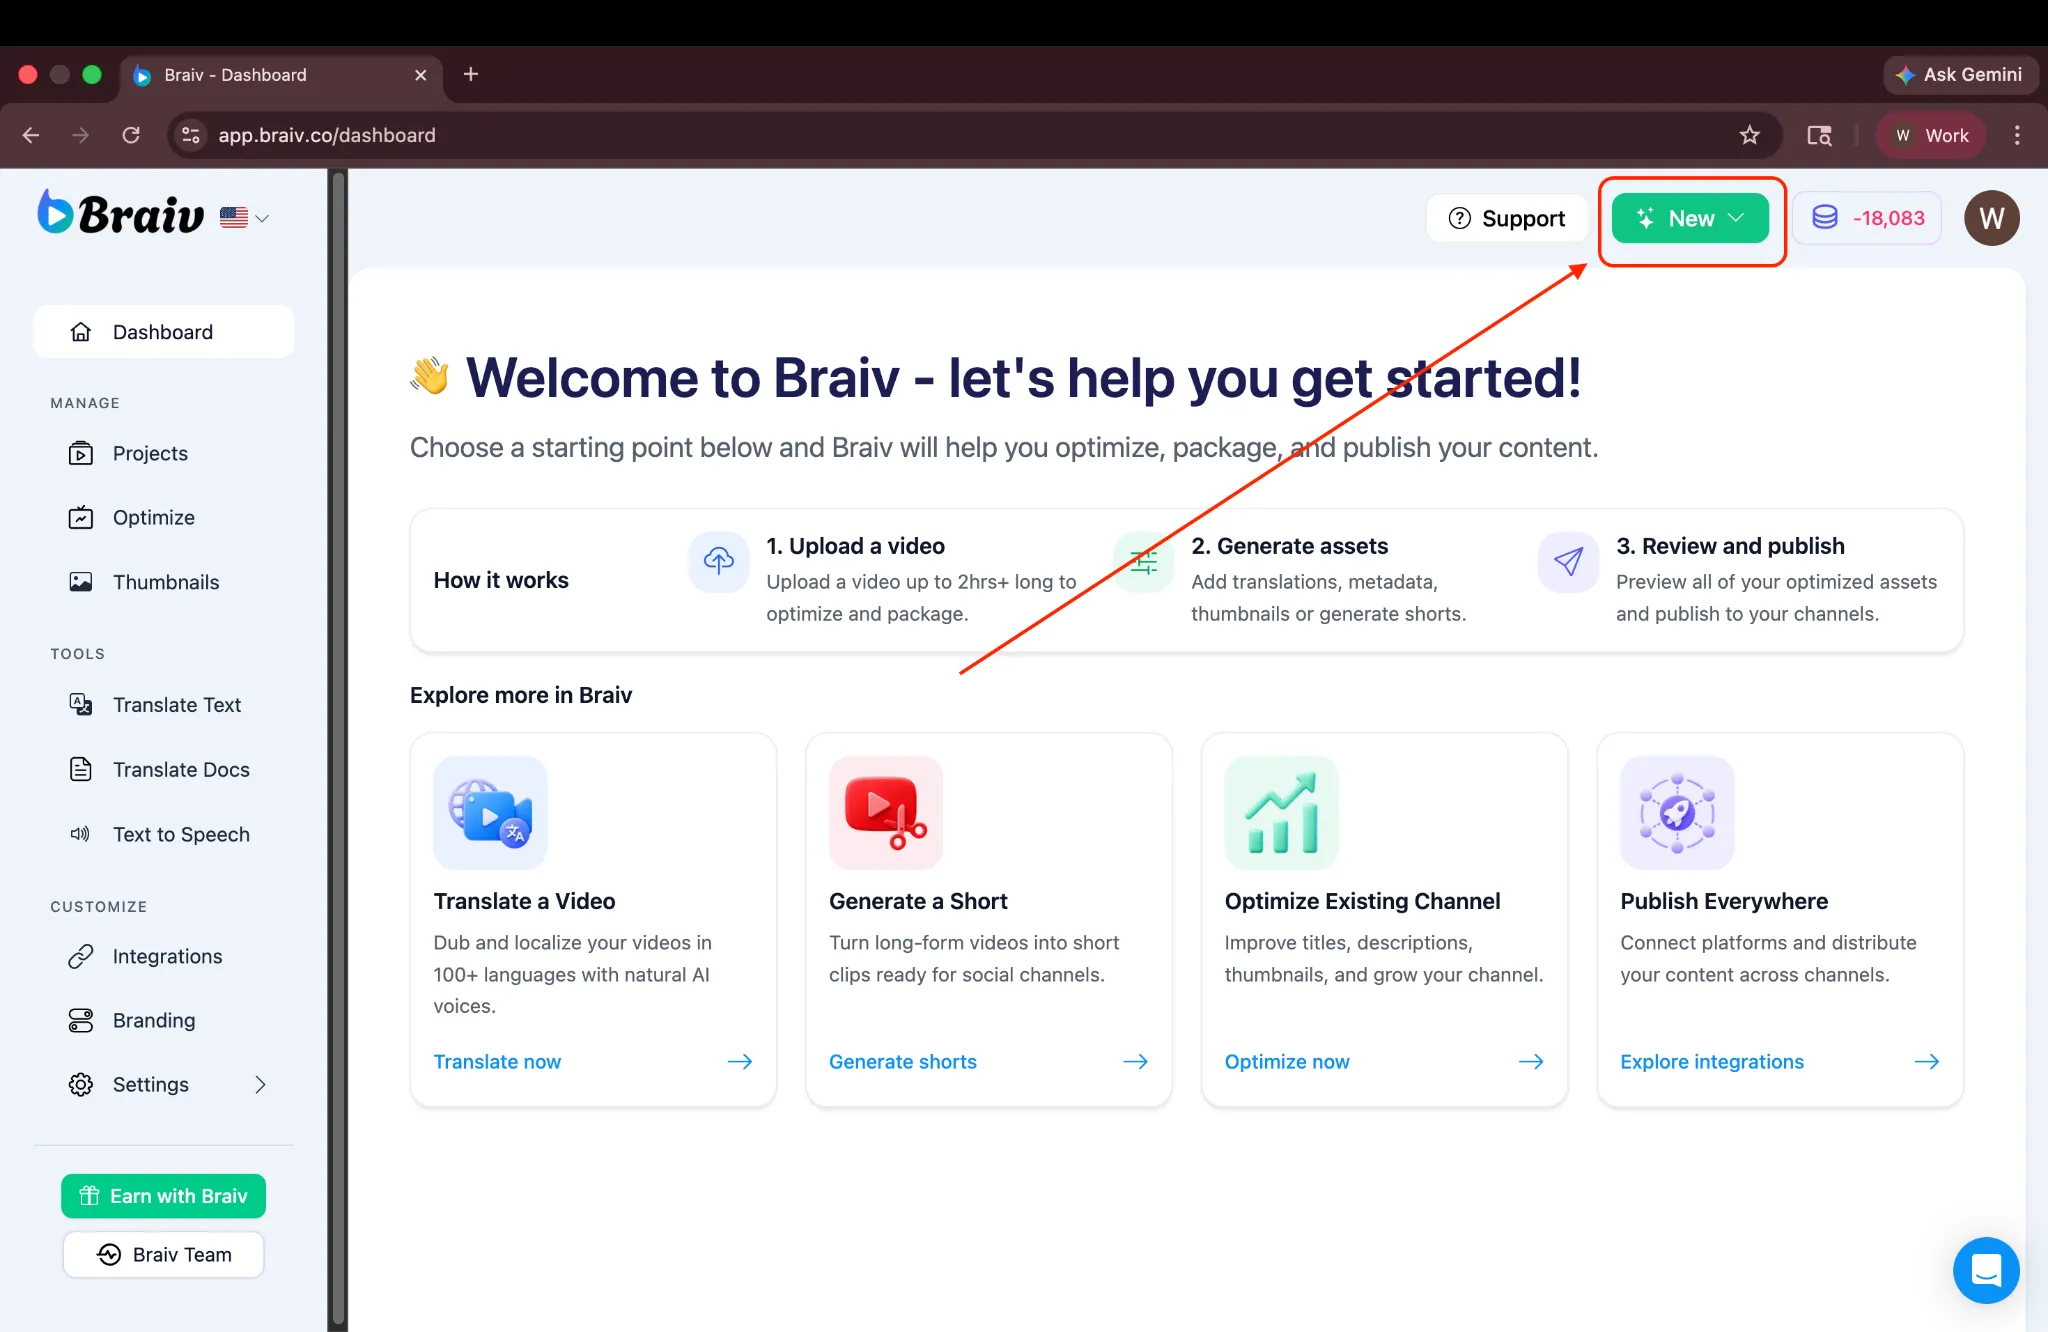
Section titled “Step 1: Create a New AI Shorts Project”First, upload the video you want to use for generating Shorts. In the upper-right corner of your Braiv dashboard, click New to begin.
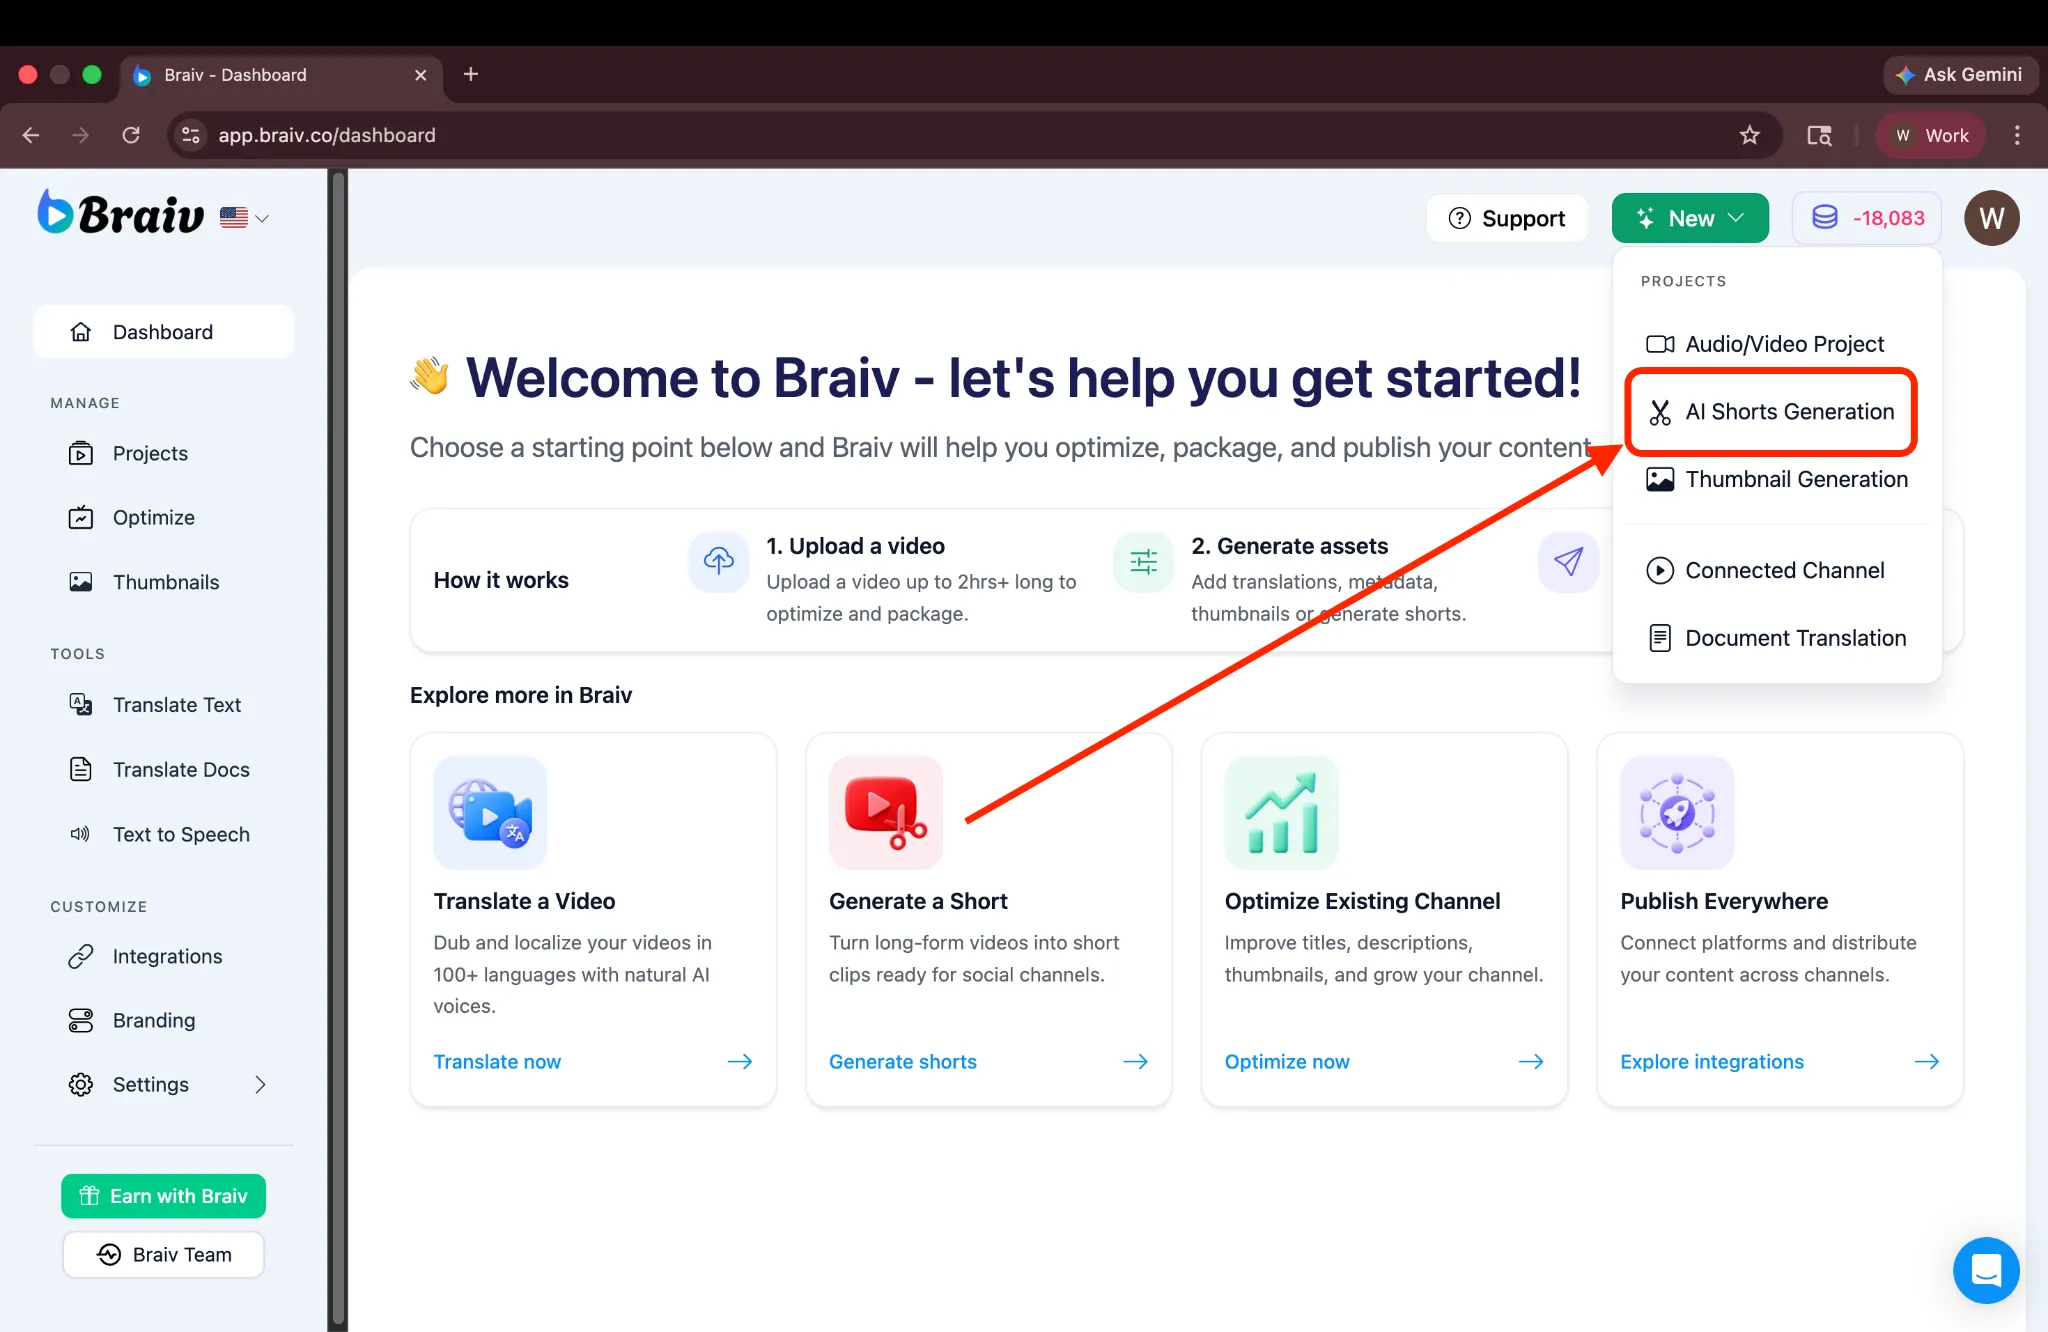
From the drop-down menu, select AI Shorts Generation.
Step 2: Import Your Video
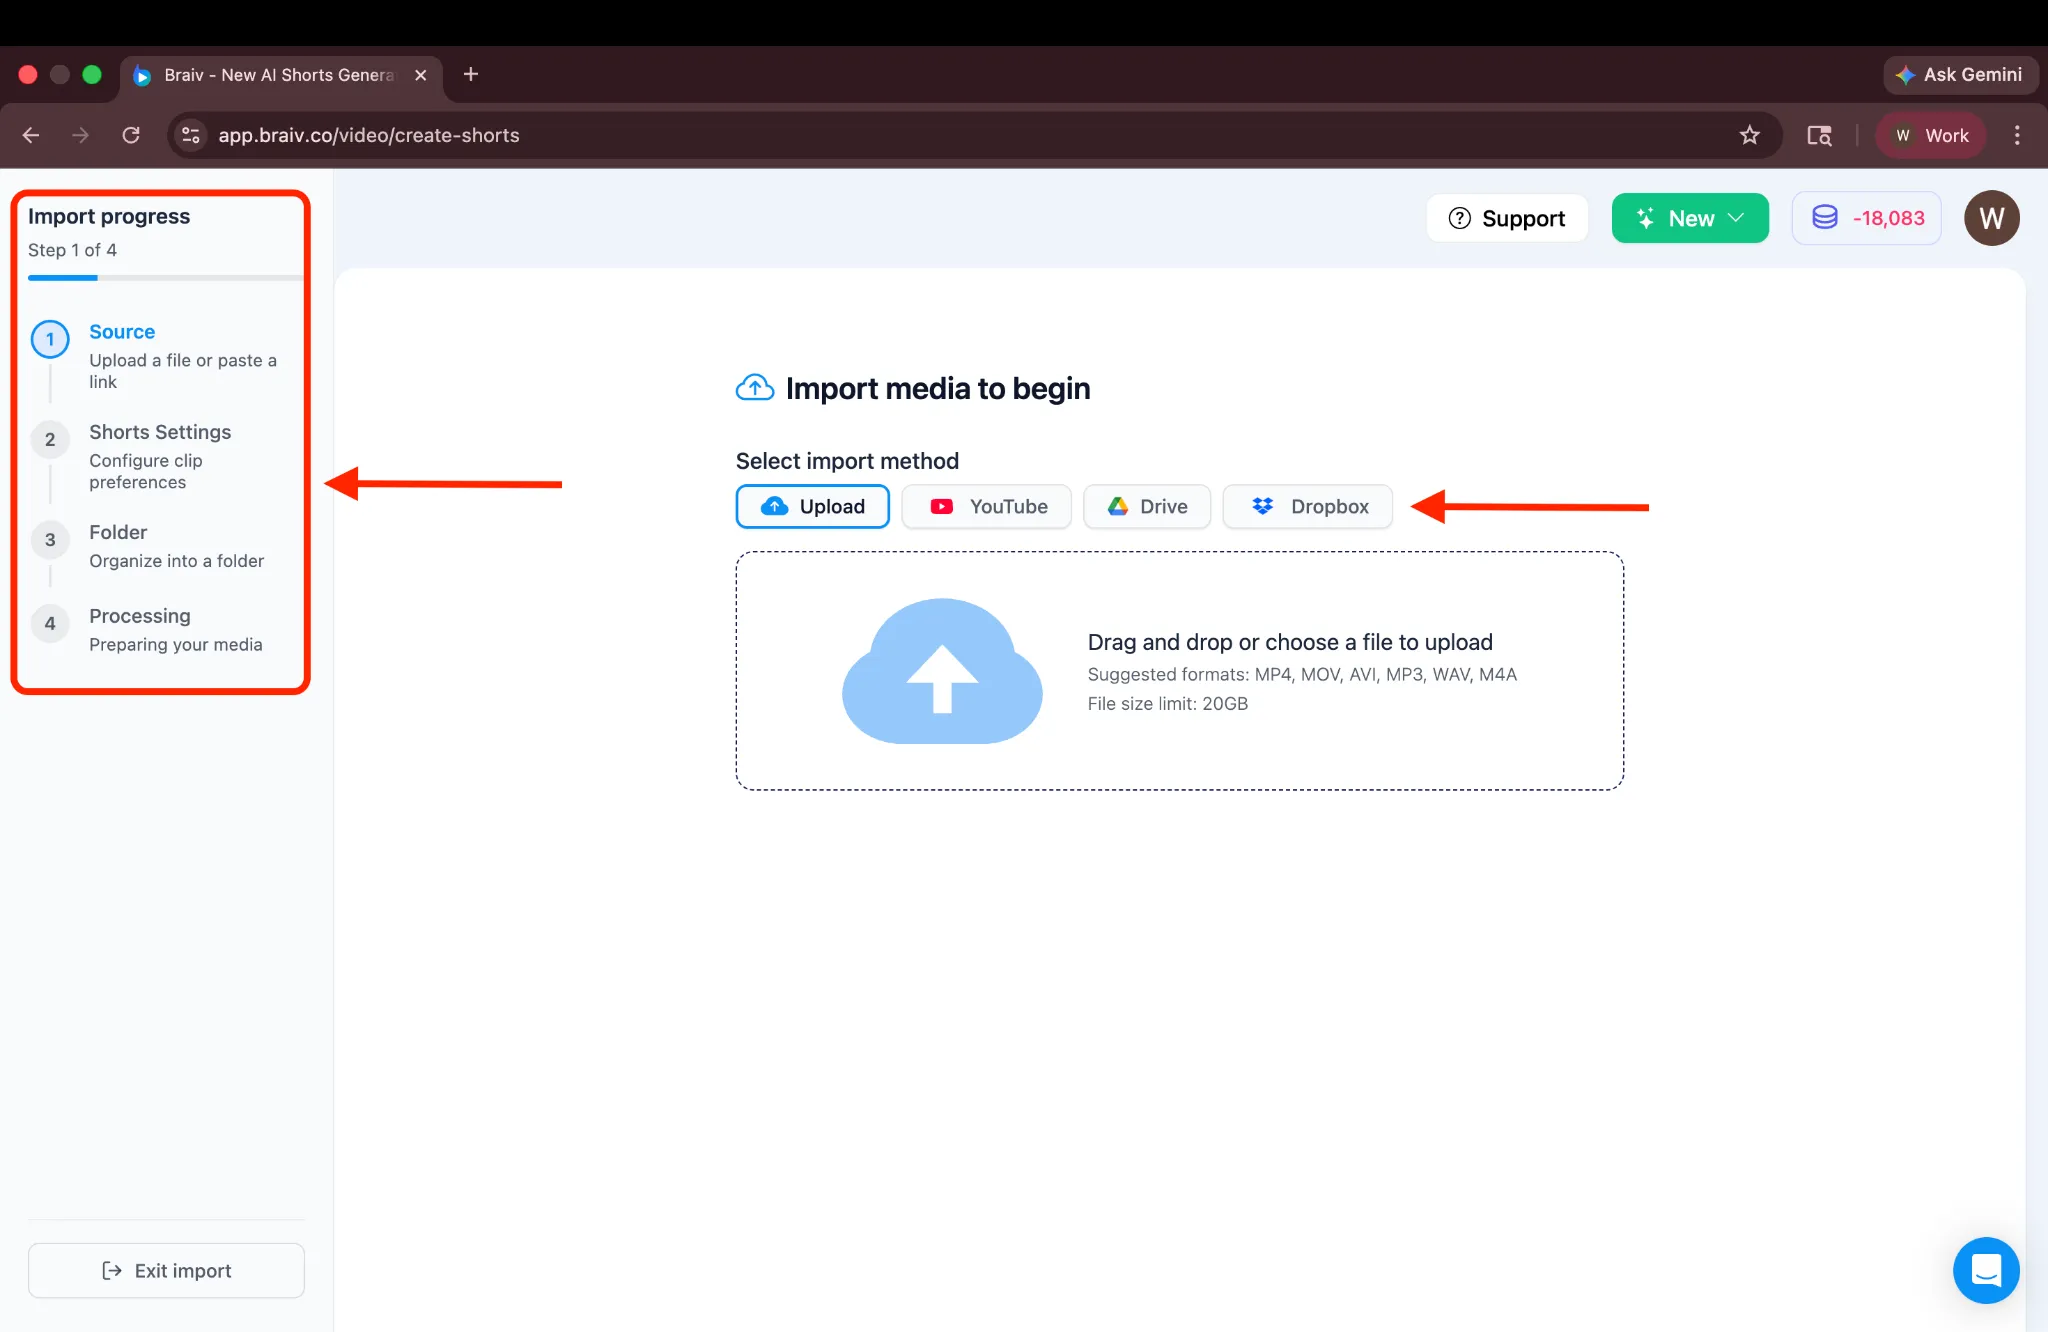
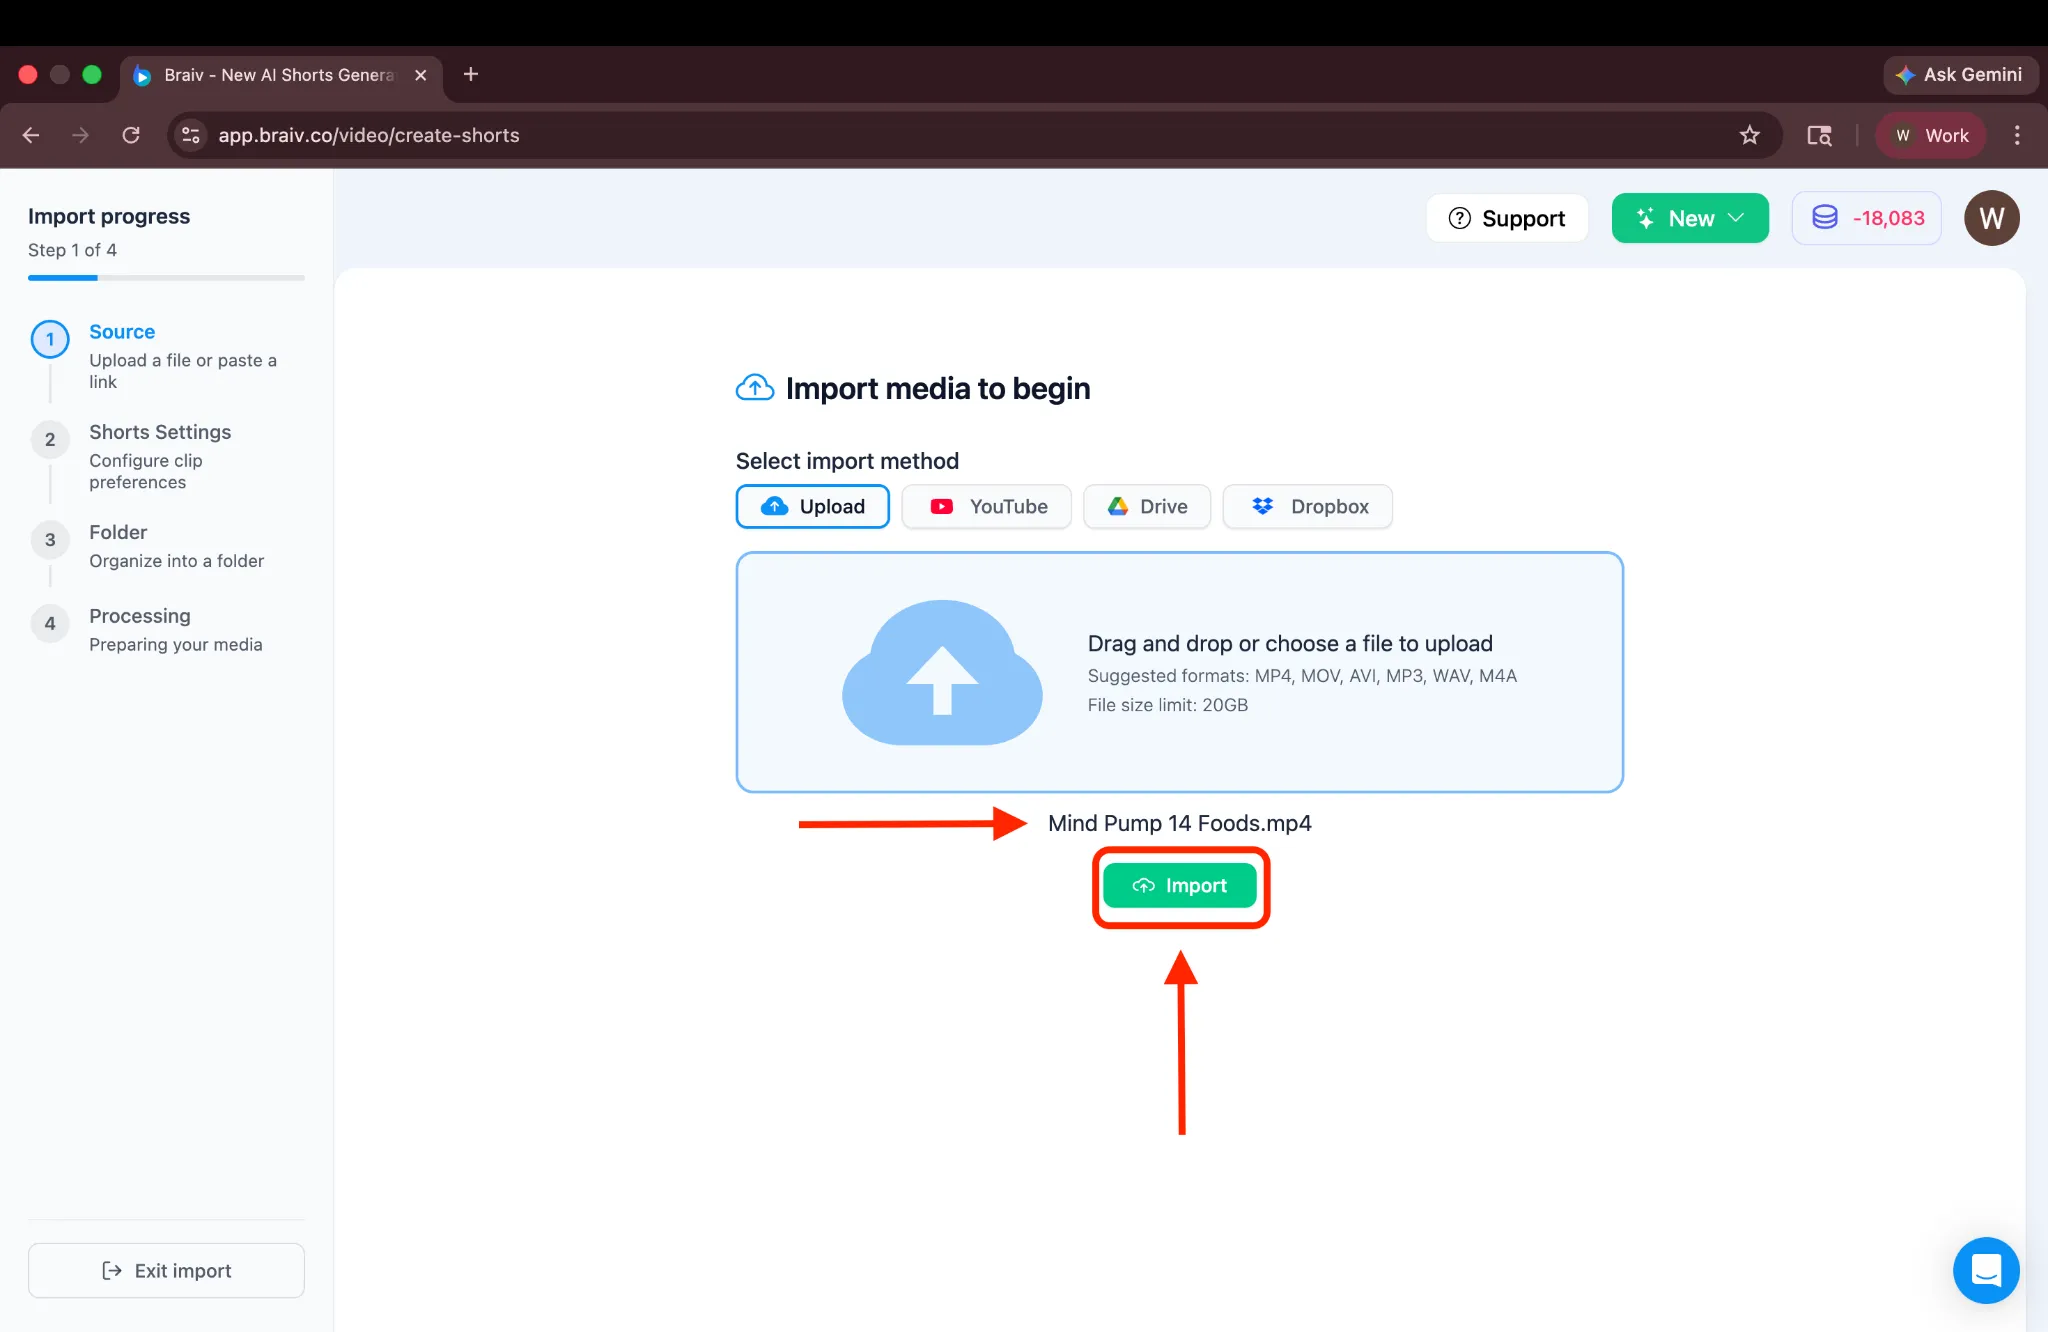
Section titled “Step 2: Import Your Video”You will then be taken to the Import screen, where a progress guide is shown on the left. You can choose from four different options to import your video.
For this tutorial, we will use the Upload method. Click the Upload box to proceed.
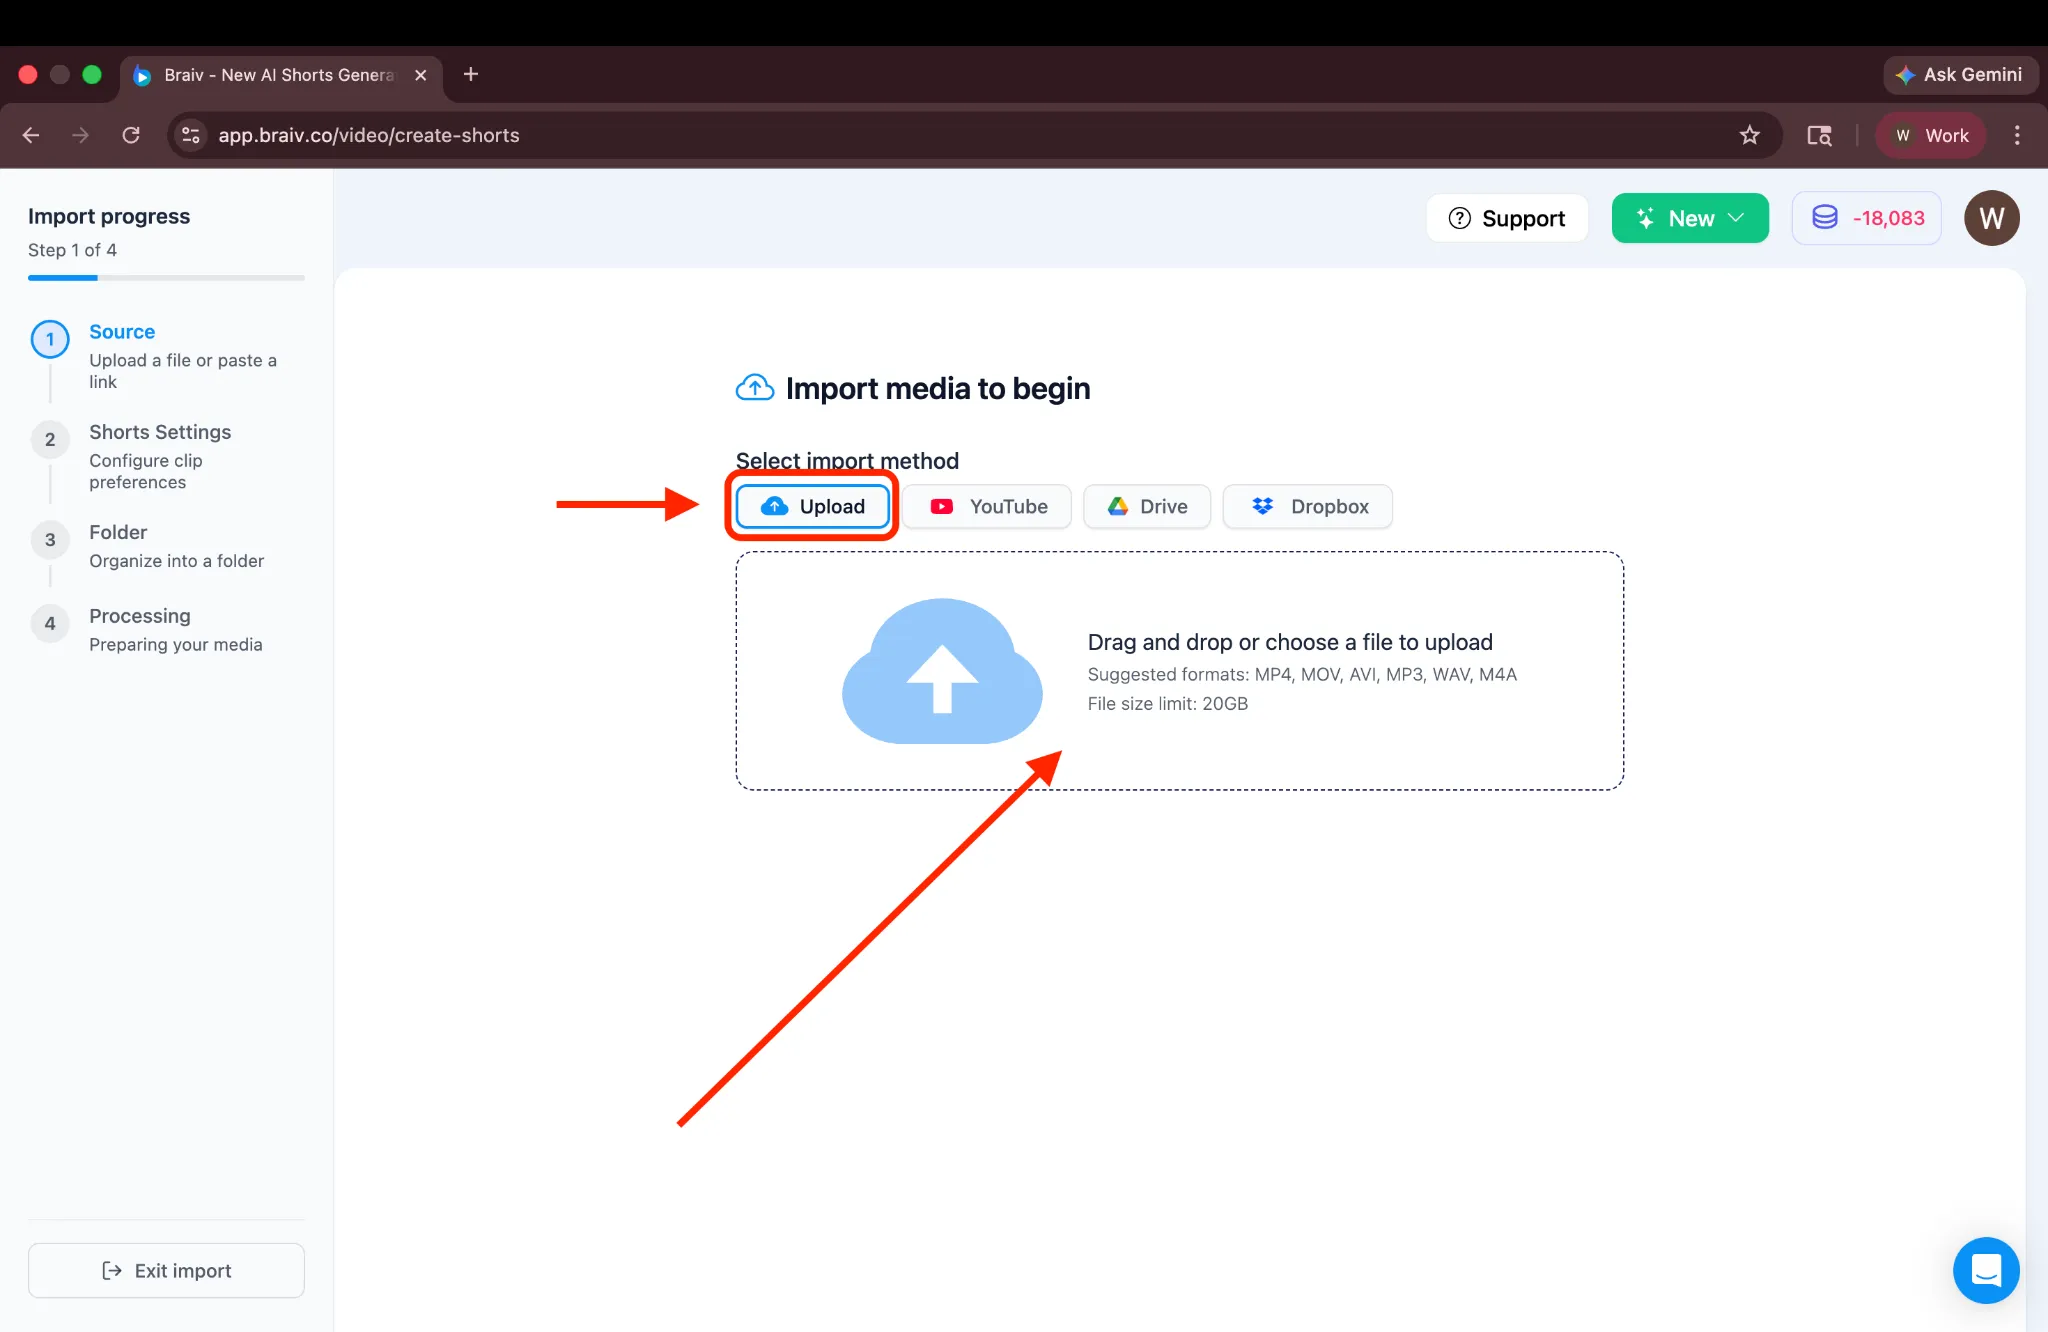
This will open your file manager. Select the long-form video you want to upload.

You will then see the selected file name displayed. Click Import to proceed.
Step 3: Configure Your Shorts Settings
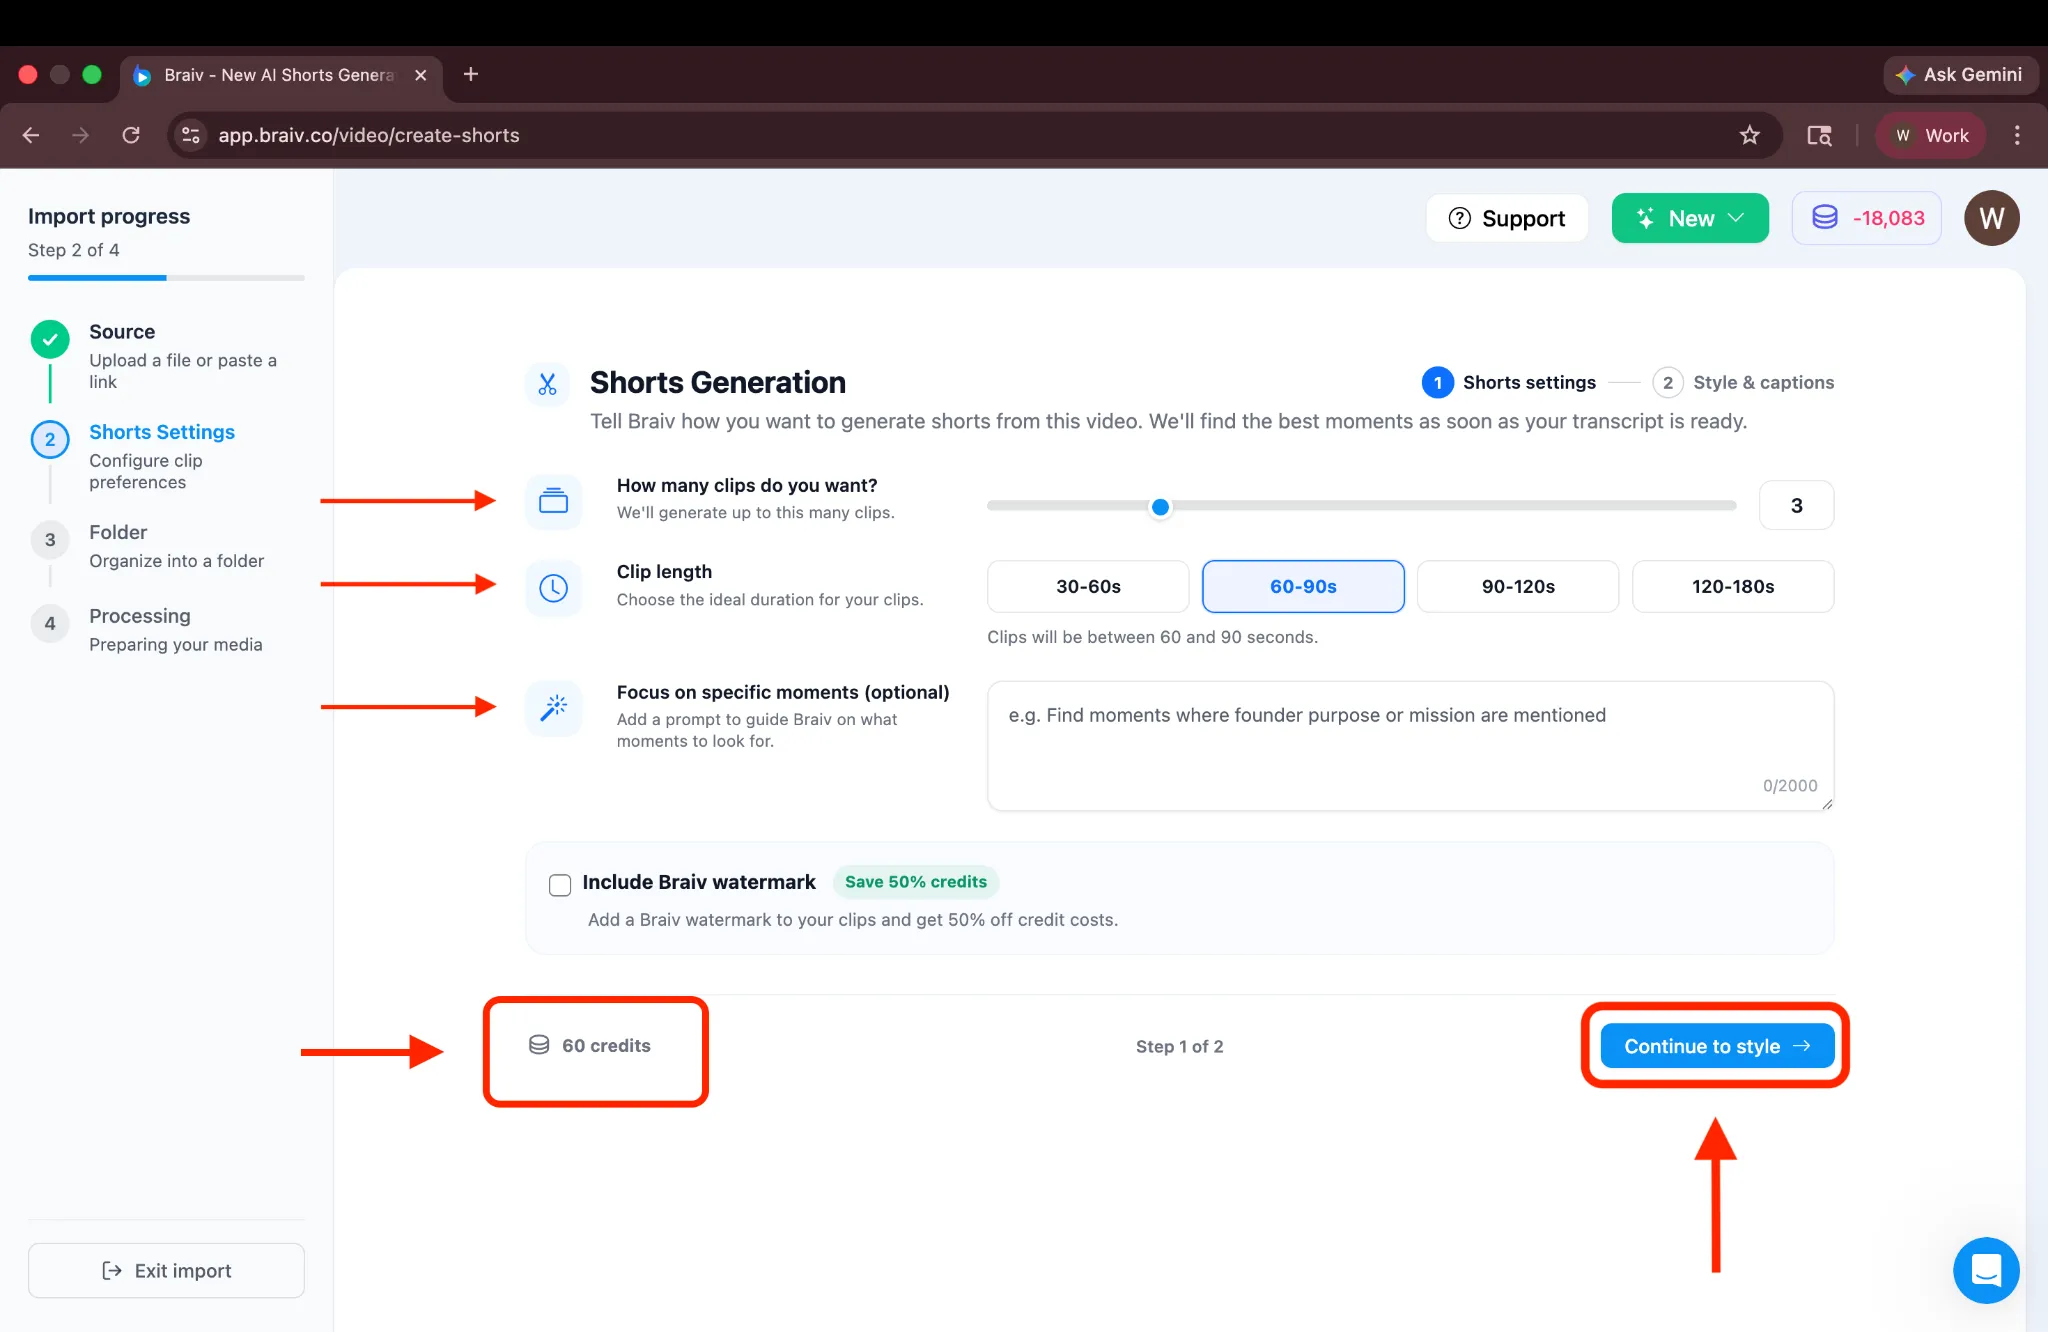
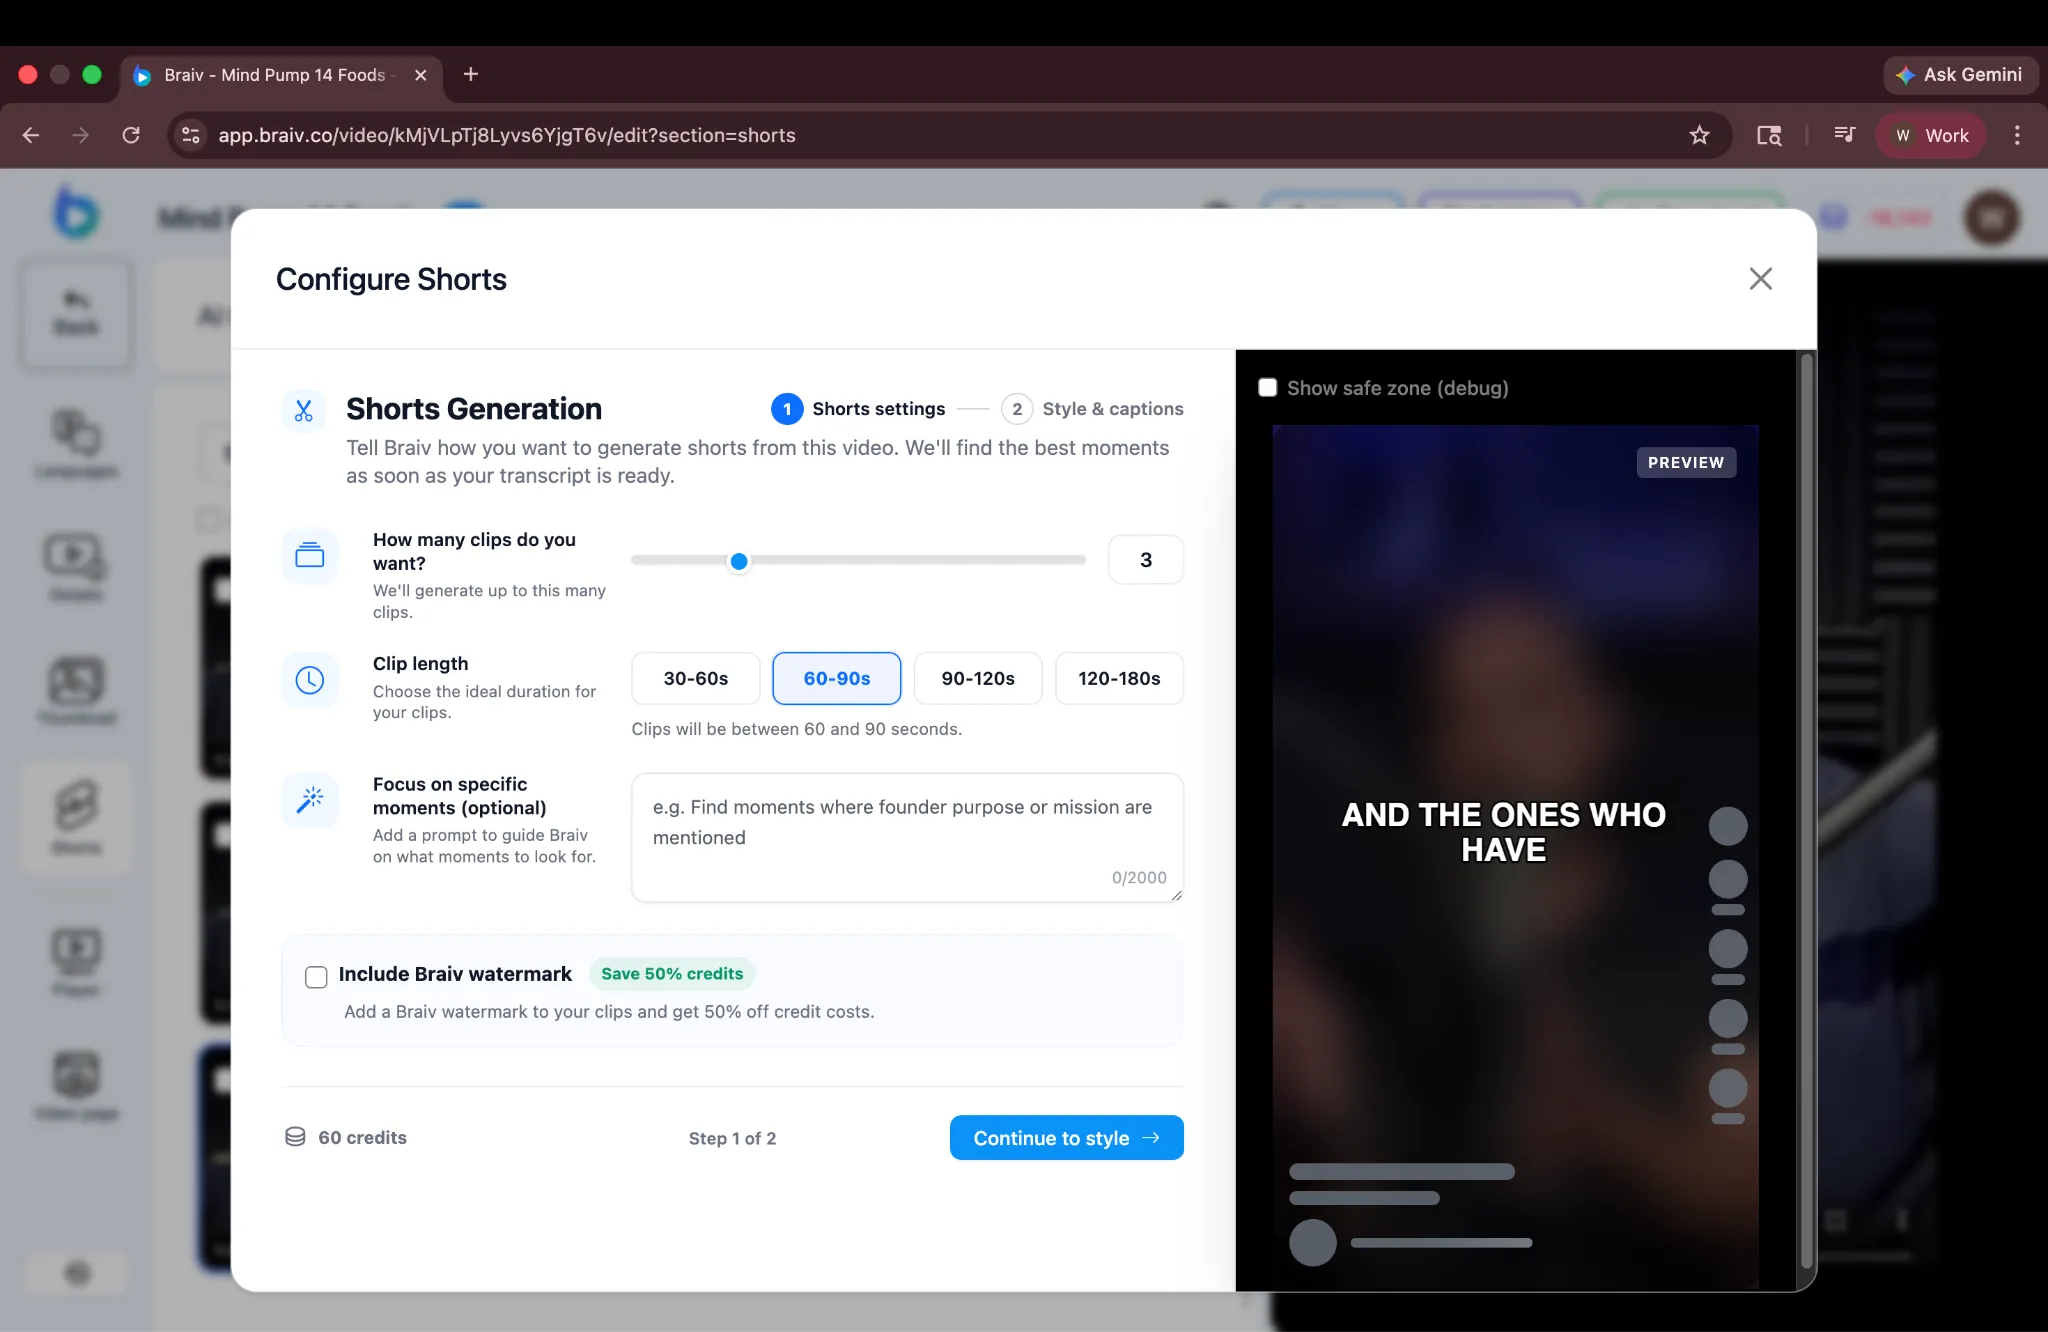
Section titled “Step 3: Configure Your Shorts Settings”You’ll be taken to the Short Settings page, where all configuration options are available.
Here, you can choose:
- Number of Shorts: Choose how many shorts to generate (up to a maximum of 10).
- Length: Set the desired length for each short.
- Prompt (Optional): If you have specific moments in mind, you can add a prompt to guide Braiv on what to focus on when generating Shorts. For this tutorial, we will leave the prompt blank, allowing Braiv to automatically detect the best highlight moments.
- Watermark: Include a watermark to help manage credits, or disable it.
Below this section, you’ll see the estimated AI credits required for the selected configuration. (Note: The credits shown in the lower-left corner are not deducted when you click “Continue”; they are only displayed for reference so you can understand the potential cost before generating.)
Once you’re satisfied with the configuration, click Continue to proceed to the next step.
Step 4: Customize Caption Styles
Section titled “Step 4: Customize Caption Styles”You’ll arrive at the styling screen, where you can:
- Select a caption style.
- Adjust the caption position.
- Customize text and highlight colors to match your branding.
(There is also an option to “Create template from configuration,” which allows you to save these settings for future use. For now, we will stick with the default platform settings.)
Once you’re satisfied with the style, you’ll see a Continue button at the bottom with the required credits displayed beside it. To proceed, click Continue.

Step 5: Organize in Folders
Section titled “Step 5: Organize in Folders”Next is the Folder screen, where you can choose to create a new folder to help organize your videos. If you prefer, you can skip this step and proceed without creating one.
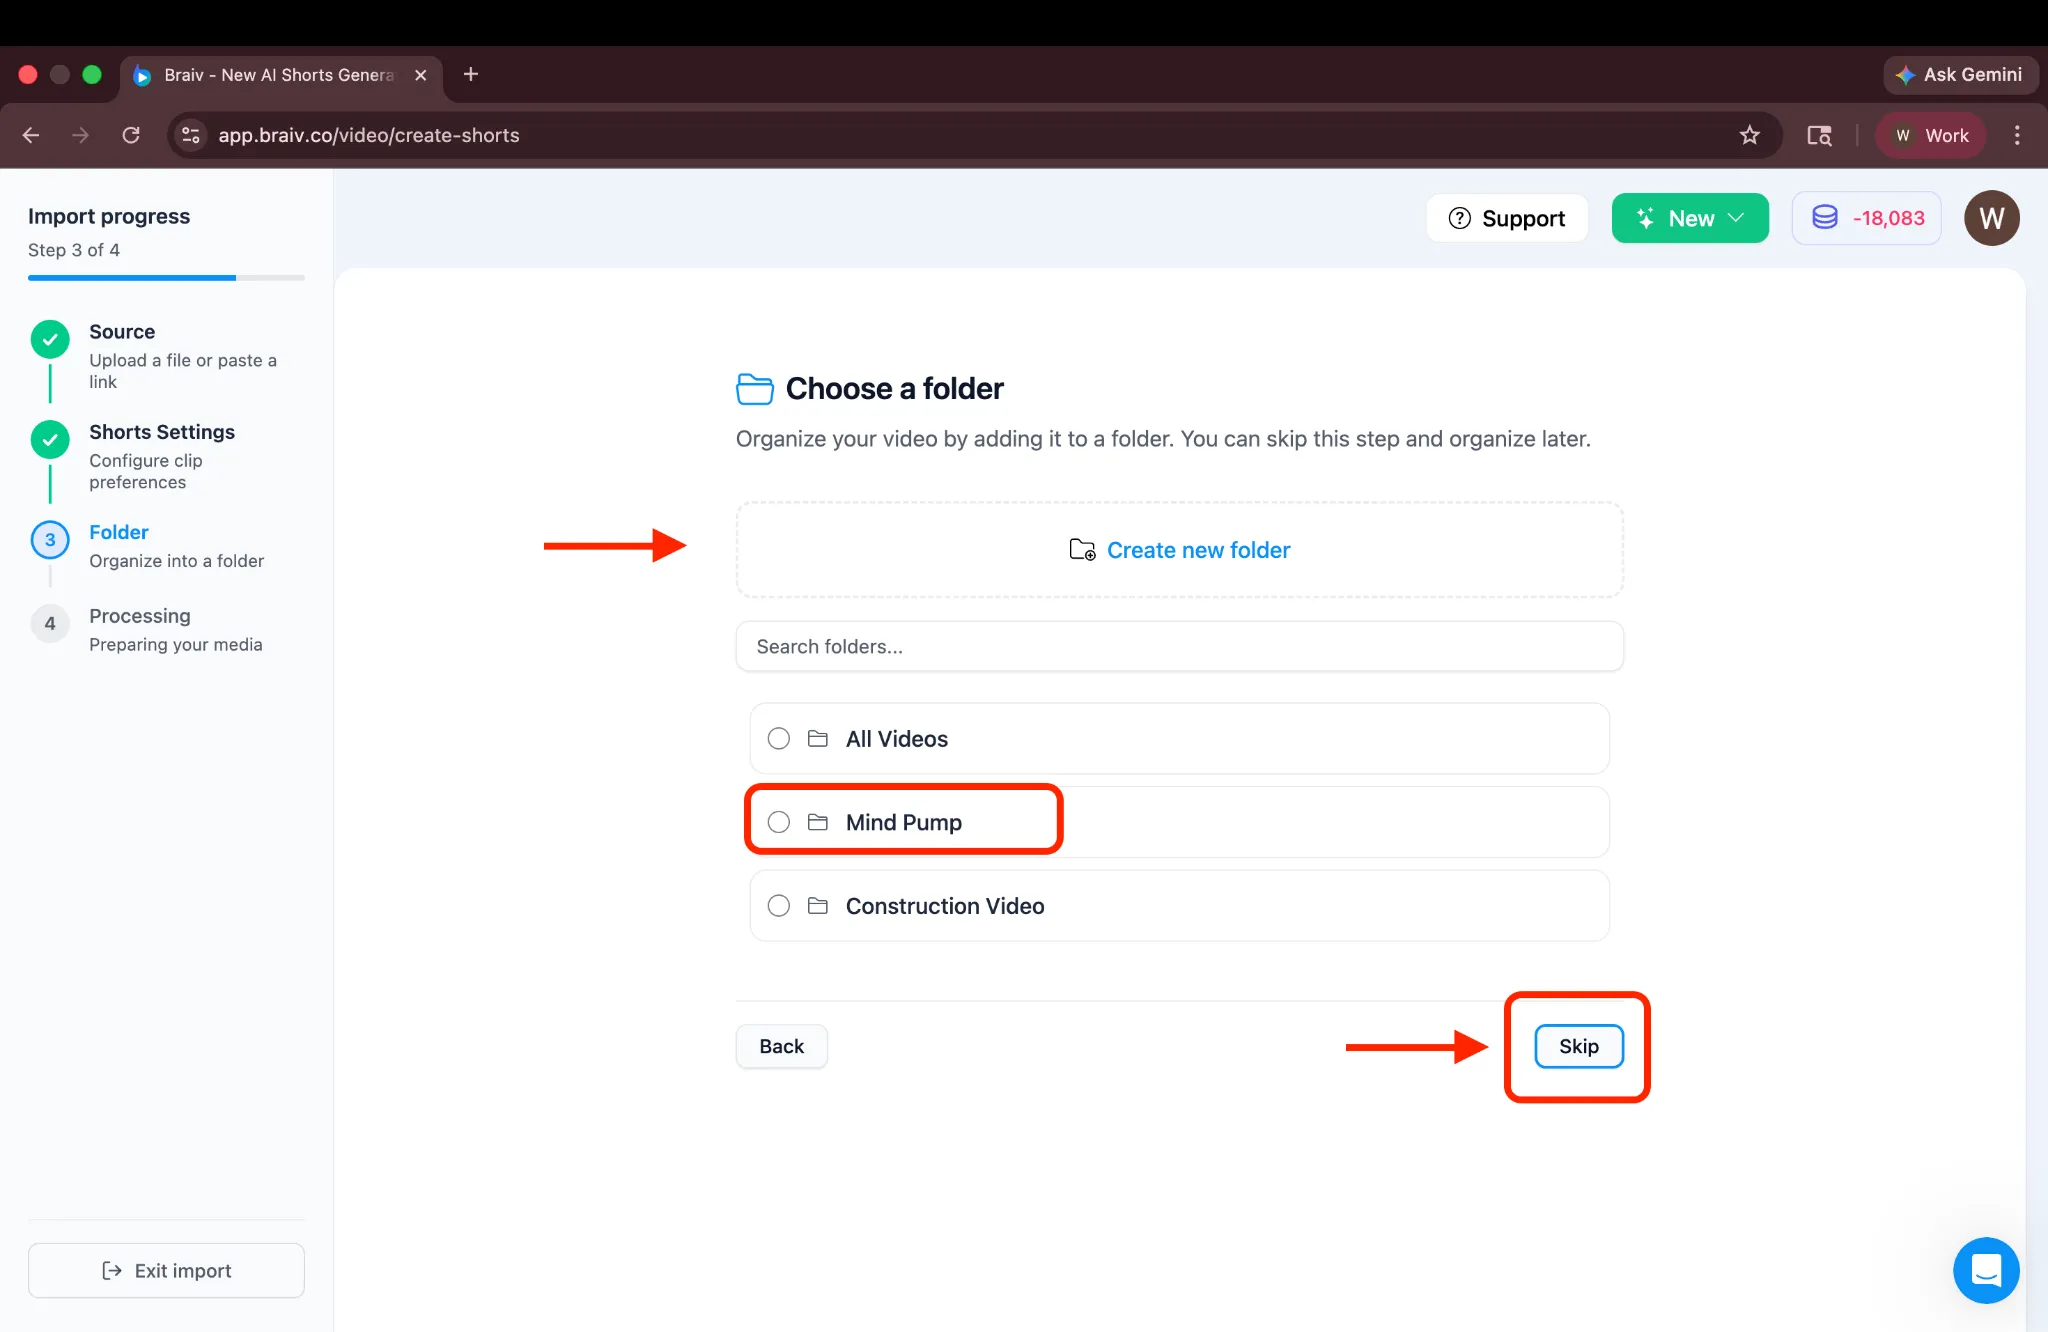
If you already have a folder (or created a new one), simply select it and click Add to folder.

Step 6: Processing and Review
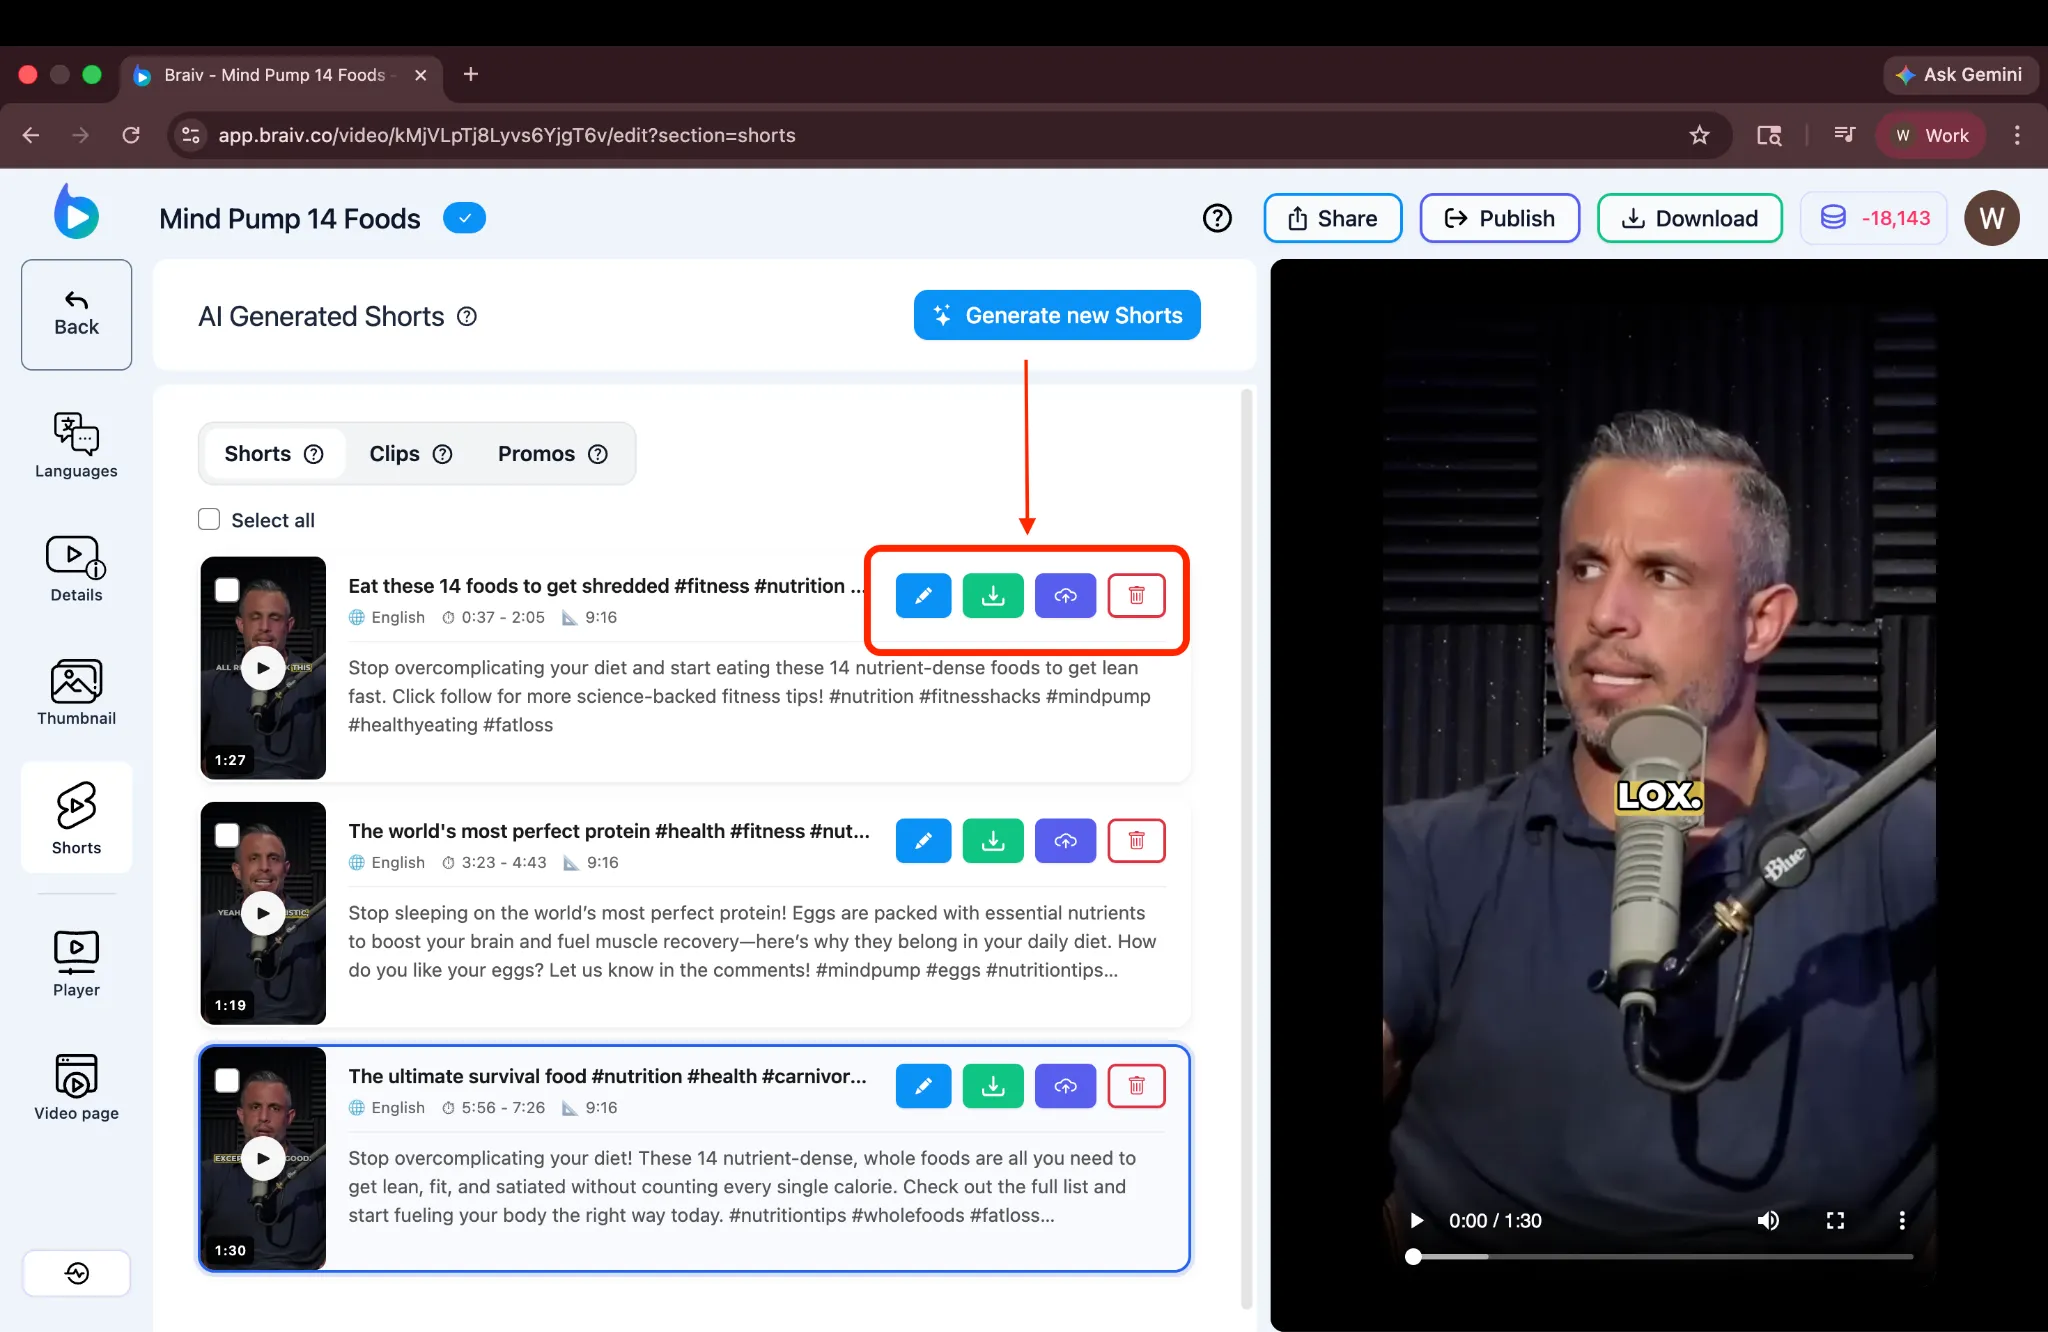
Section titled “Step 6: Processing and Review”Braiv will immediately start processing your Shorts! While you wait, you can navigate to other project tabs using the left sidebar.
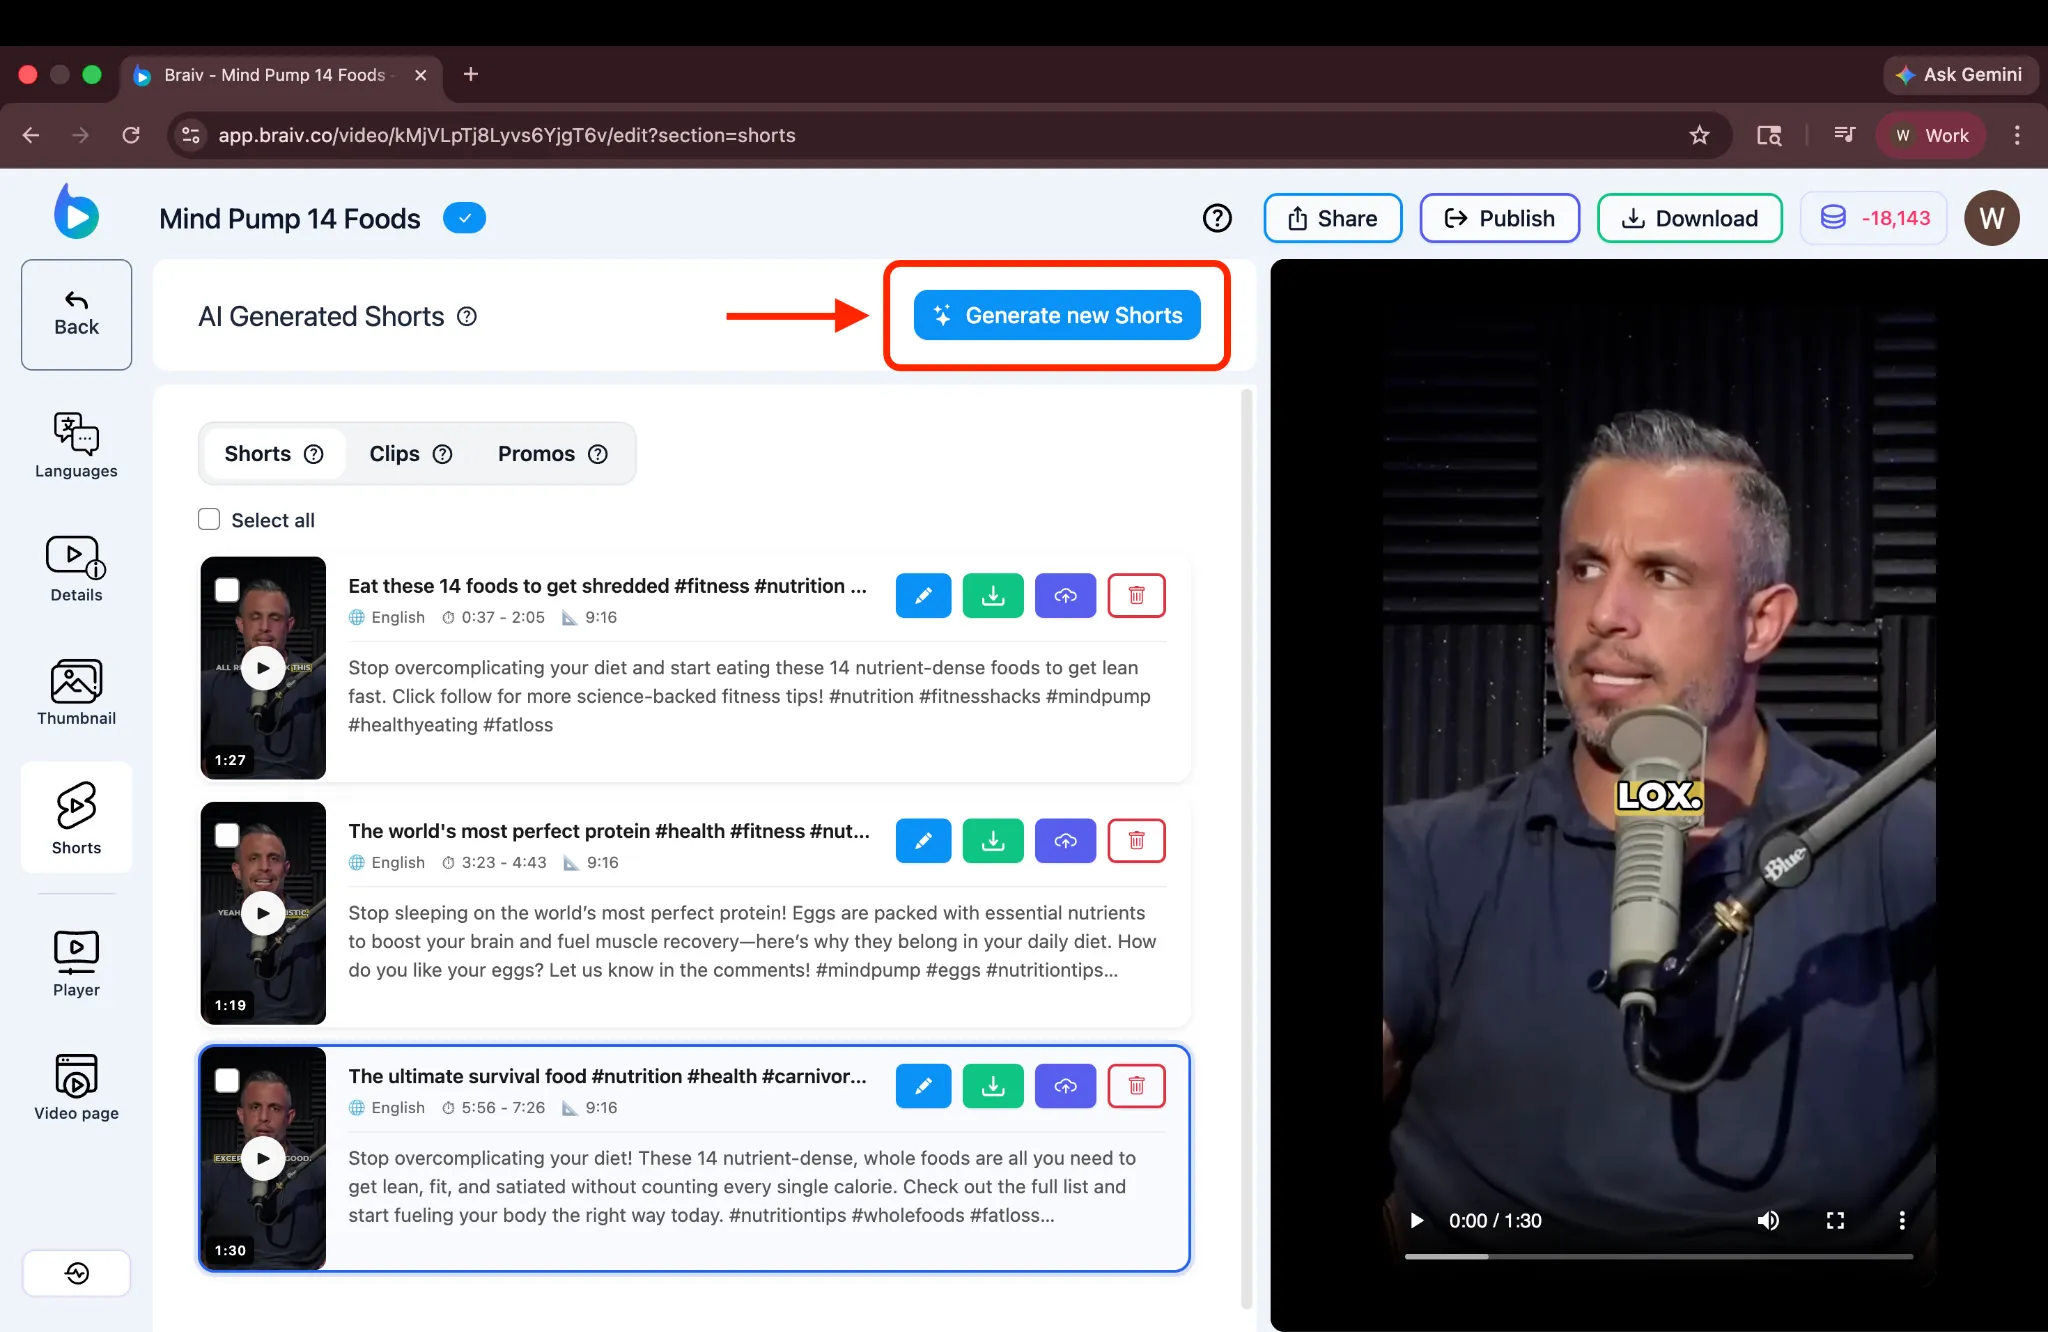
After a few minutes, your Shorts will be ready. You can play each one to review it, and use the options beside each video to edit, download, publish, or delete a Short.
Generating New Shorts
Section titled “Generating New Shorts”If you’re not satisfied with the generated Shorts, you can click the Generate new Shorts button at the top to return directly to the configuration screen and create a new set.
(Note: Generating new Shorts will require additional credits. However, in most cases, Braiv’s AI is able to identify relevant moments effectively on the first try, so re-generation may not be necessary.)
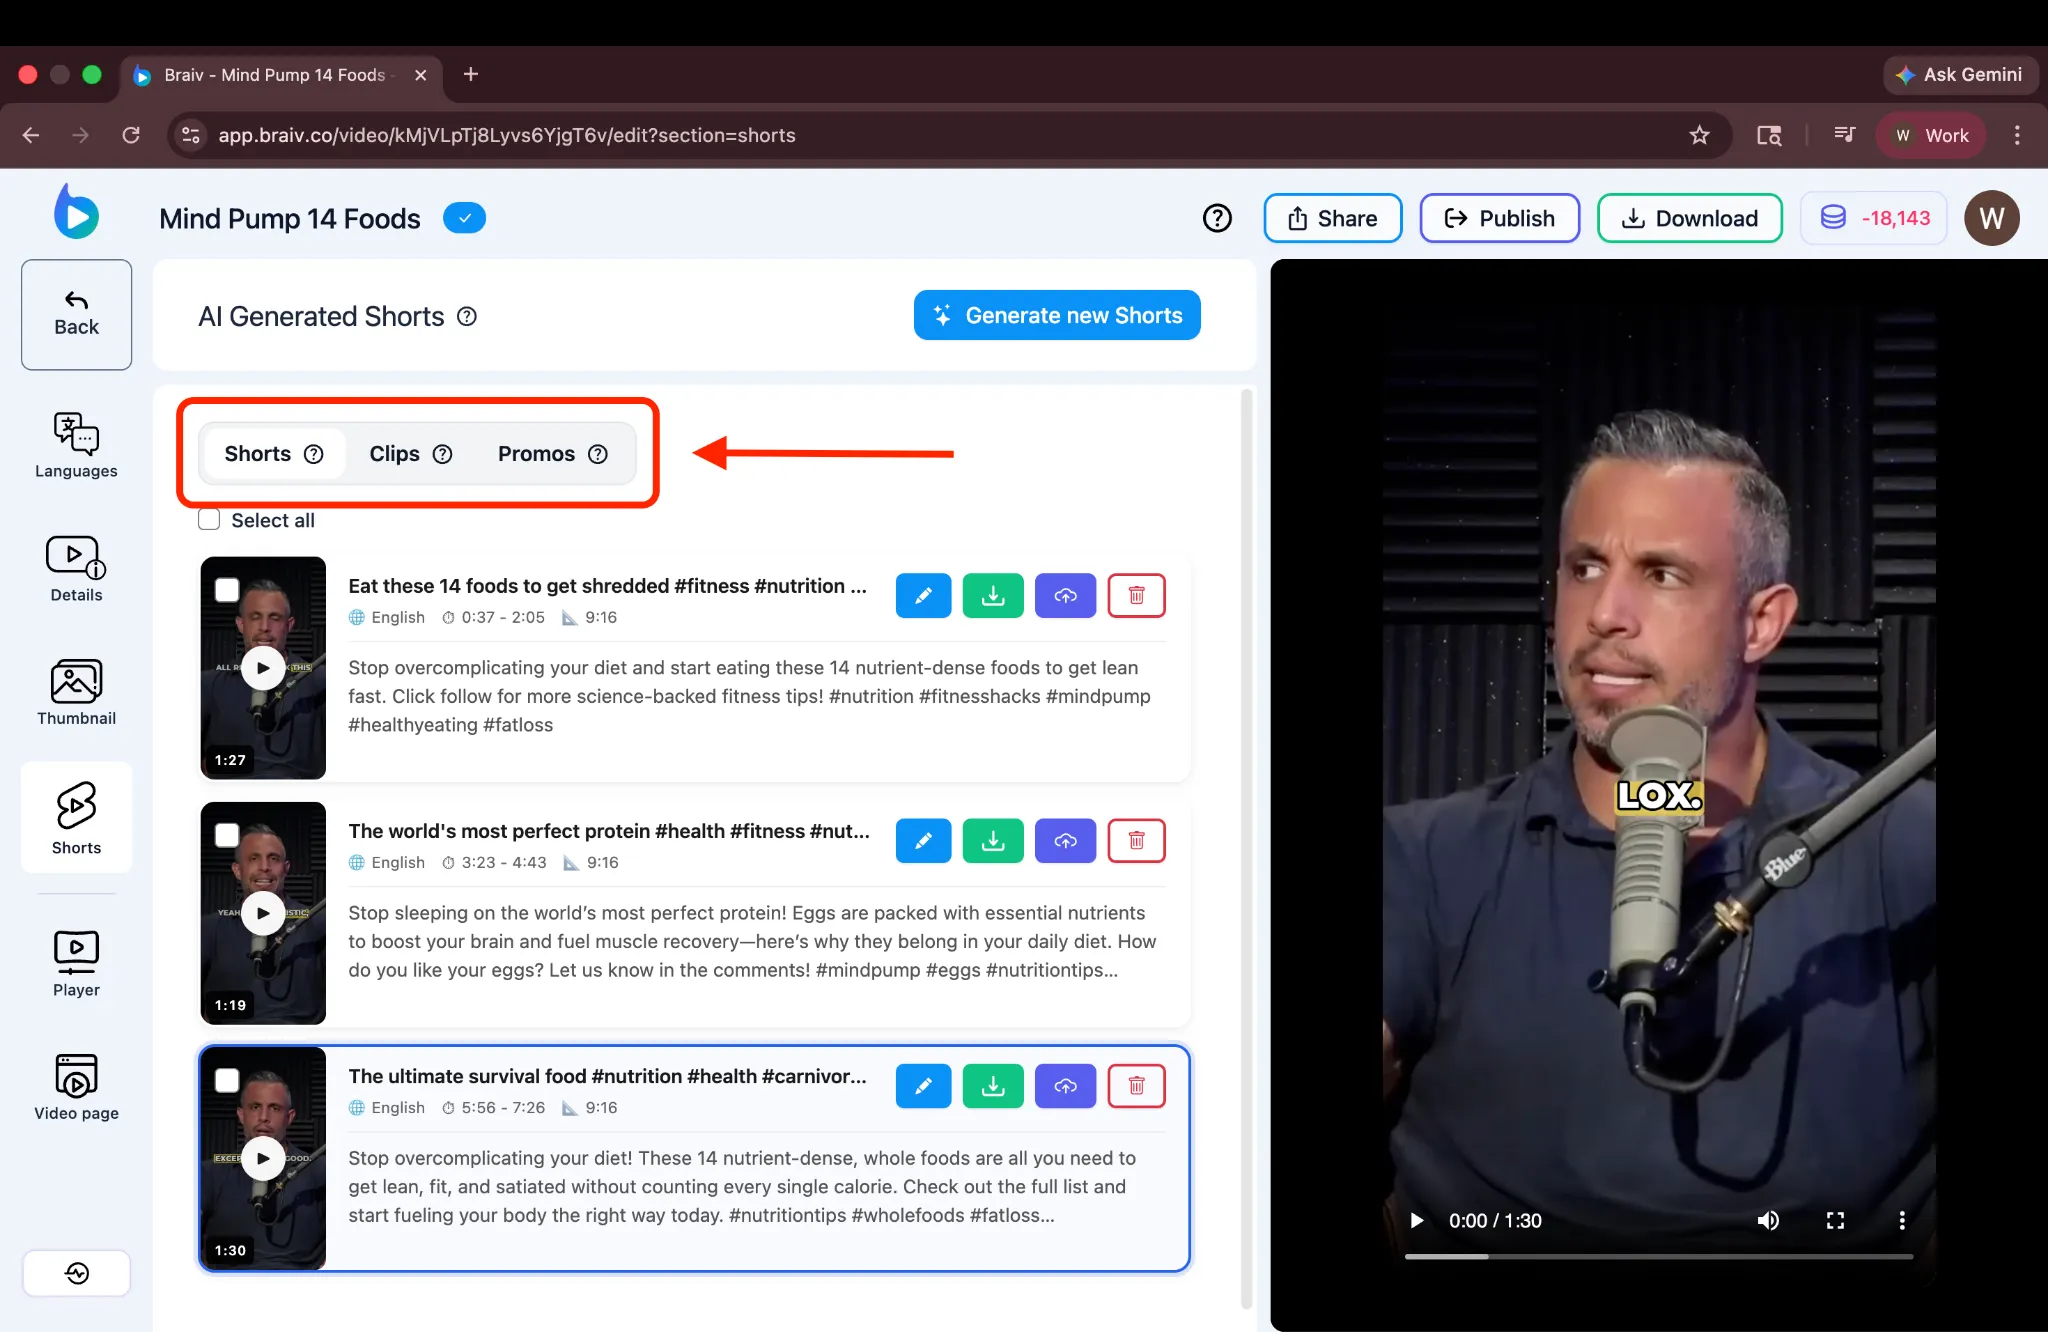
Generating Clips and Promos
Section titled “Generating Clips and Promos”You’ll also notice tabs for Clips and Promos. Braiv also supports generating these specific types of short-form content, which will be covered in a separate tutorial.
And that’s it! You’ve successfully generated AI Shorts using Braiv. This process makes it incredibly easy to capture key moments from your long-form videos and turn them into viral, shareable clips for your social media channels.