Voice Cloned Dubbing using Braiv Dubbing
Here’s how to translate your video into other languages with voice cloning. Braiv Dubbing gives you a complete studio to edit source and translated transcripts. You choose Braiv Dubbing Premium or Plus when you set languages—both clone the original speaker.
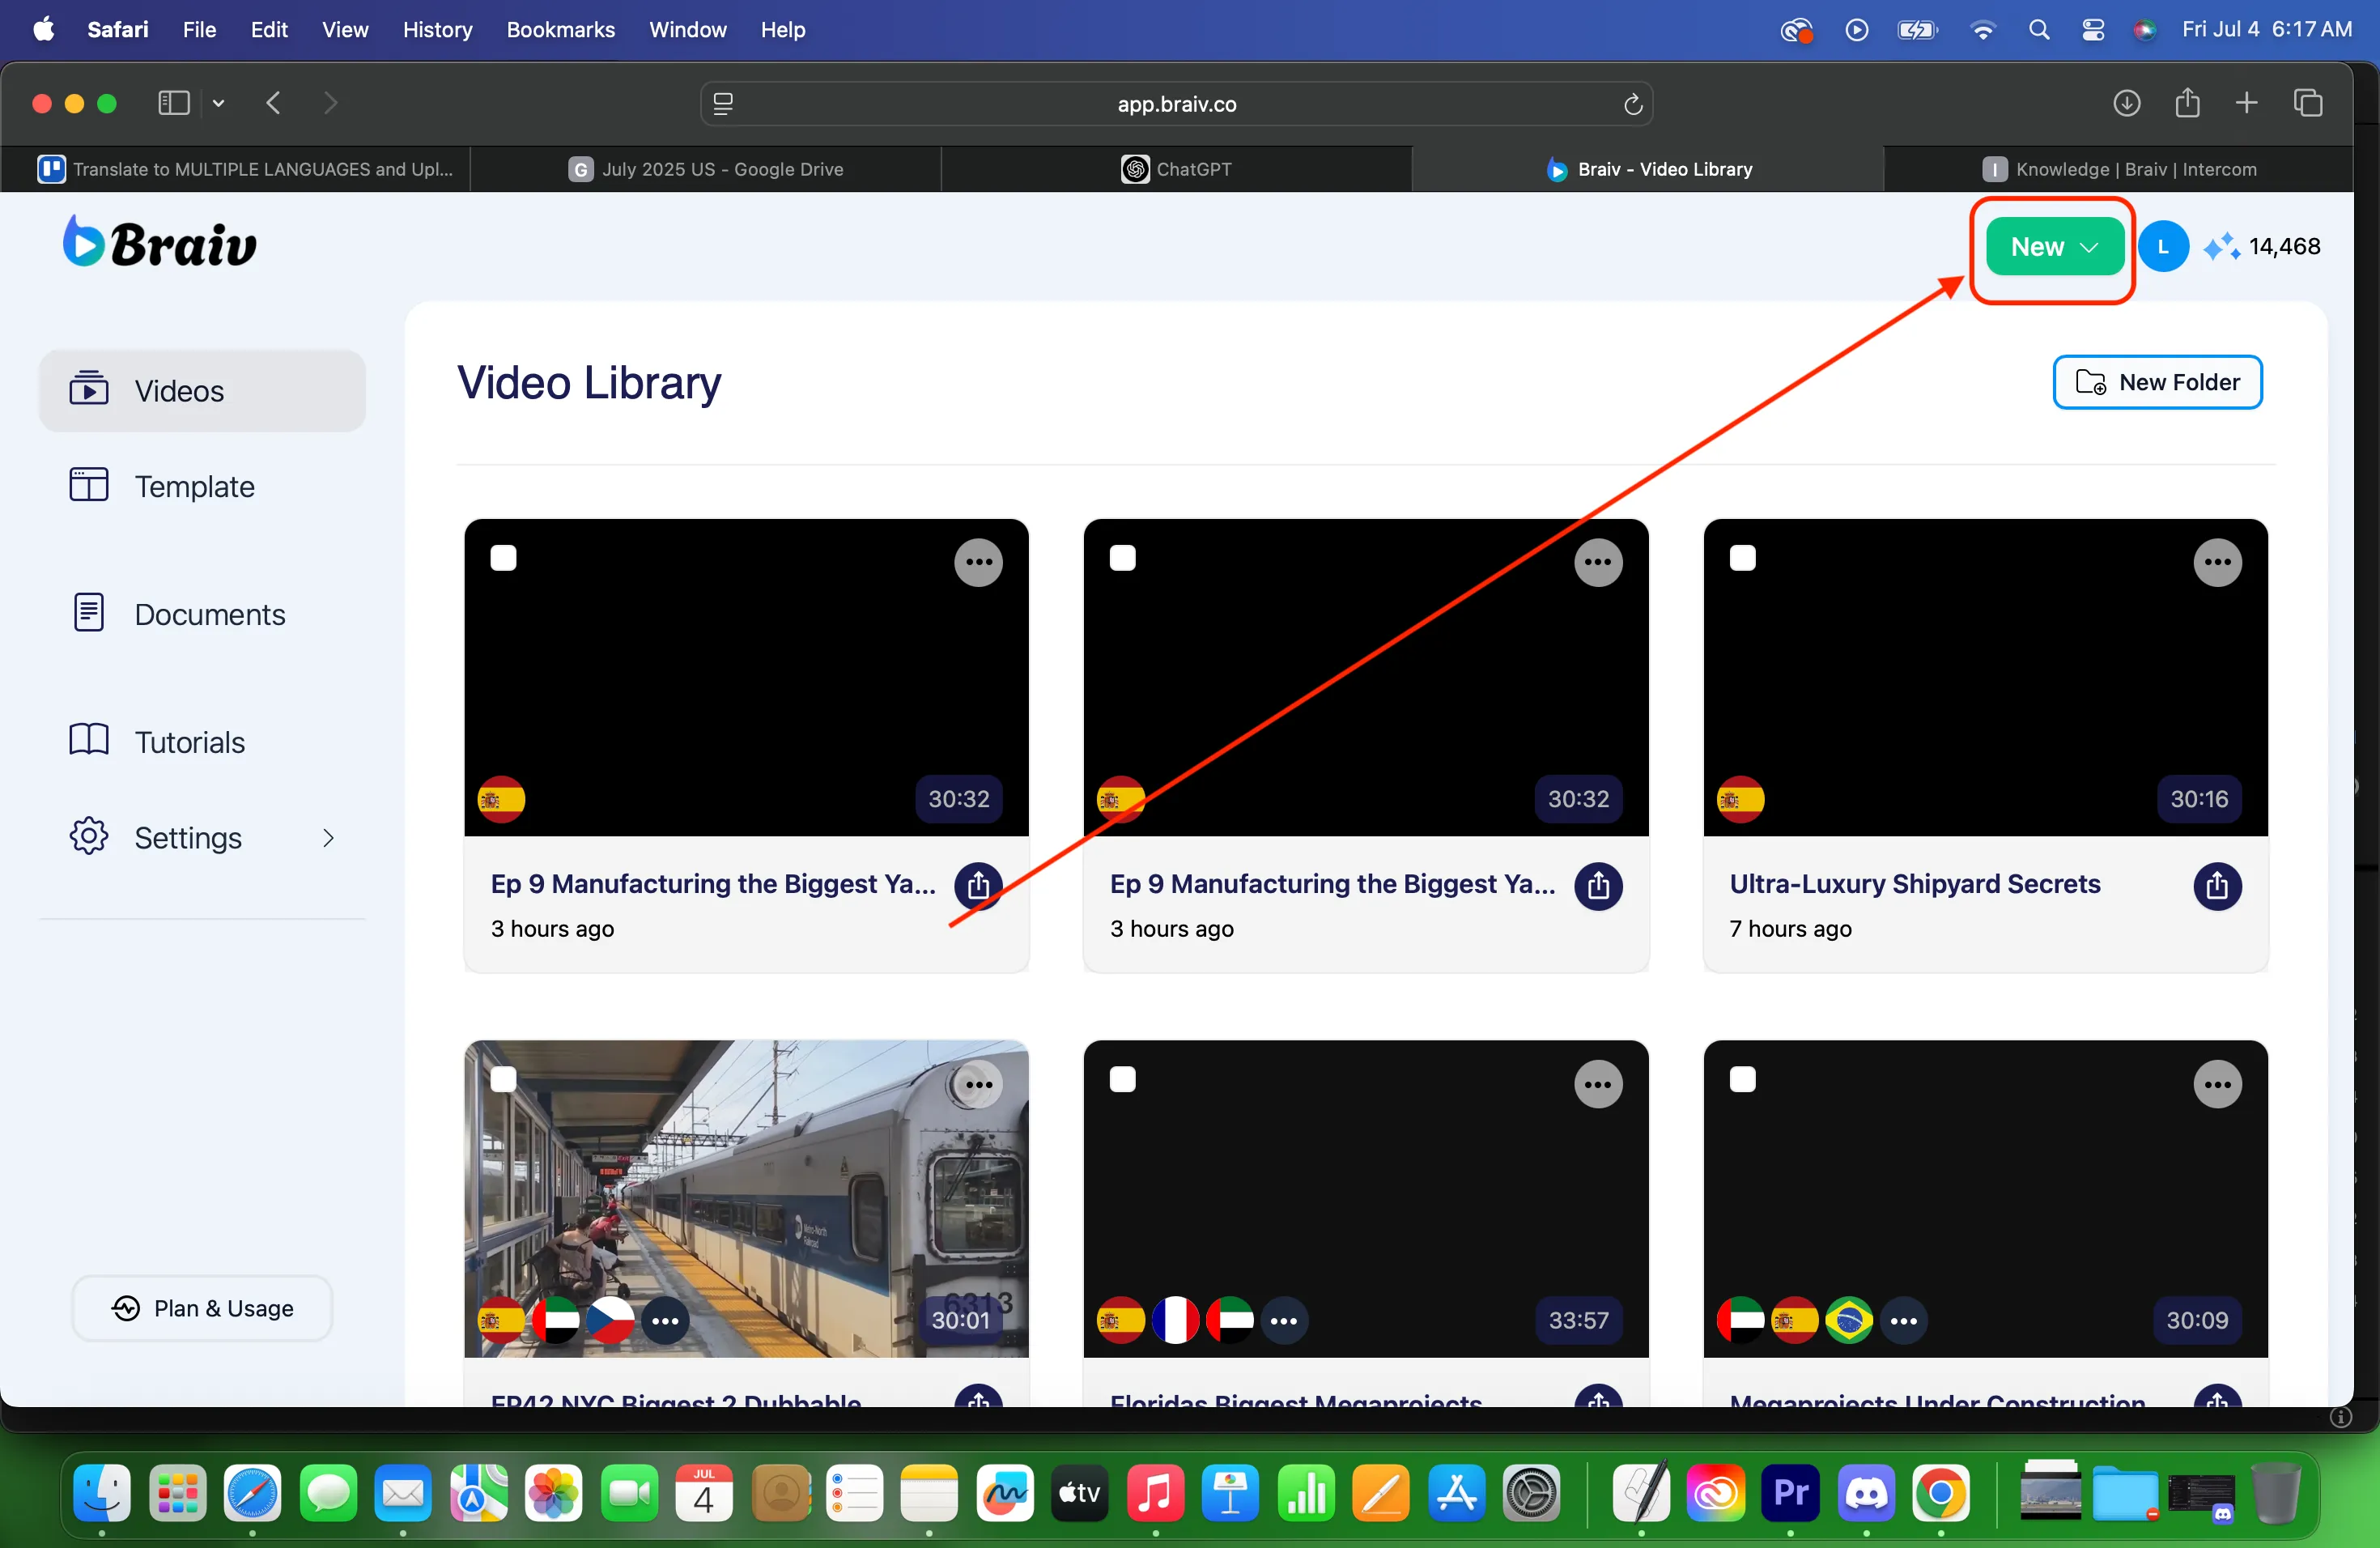
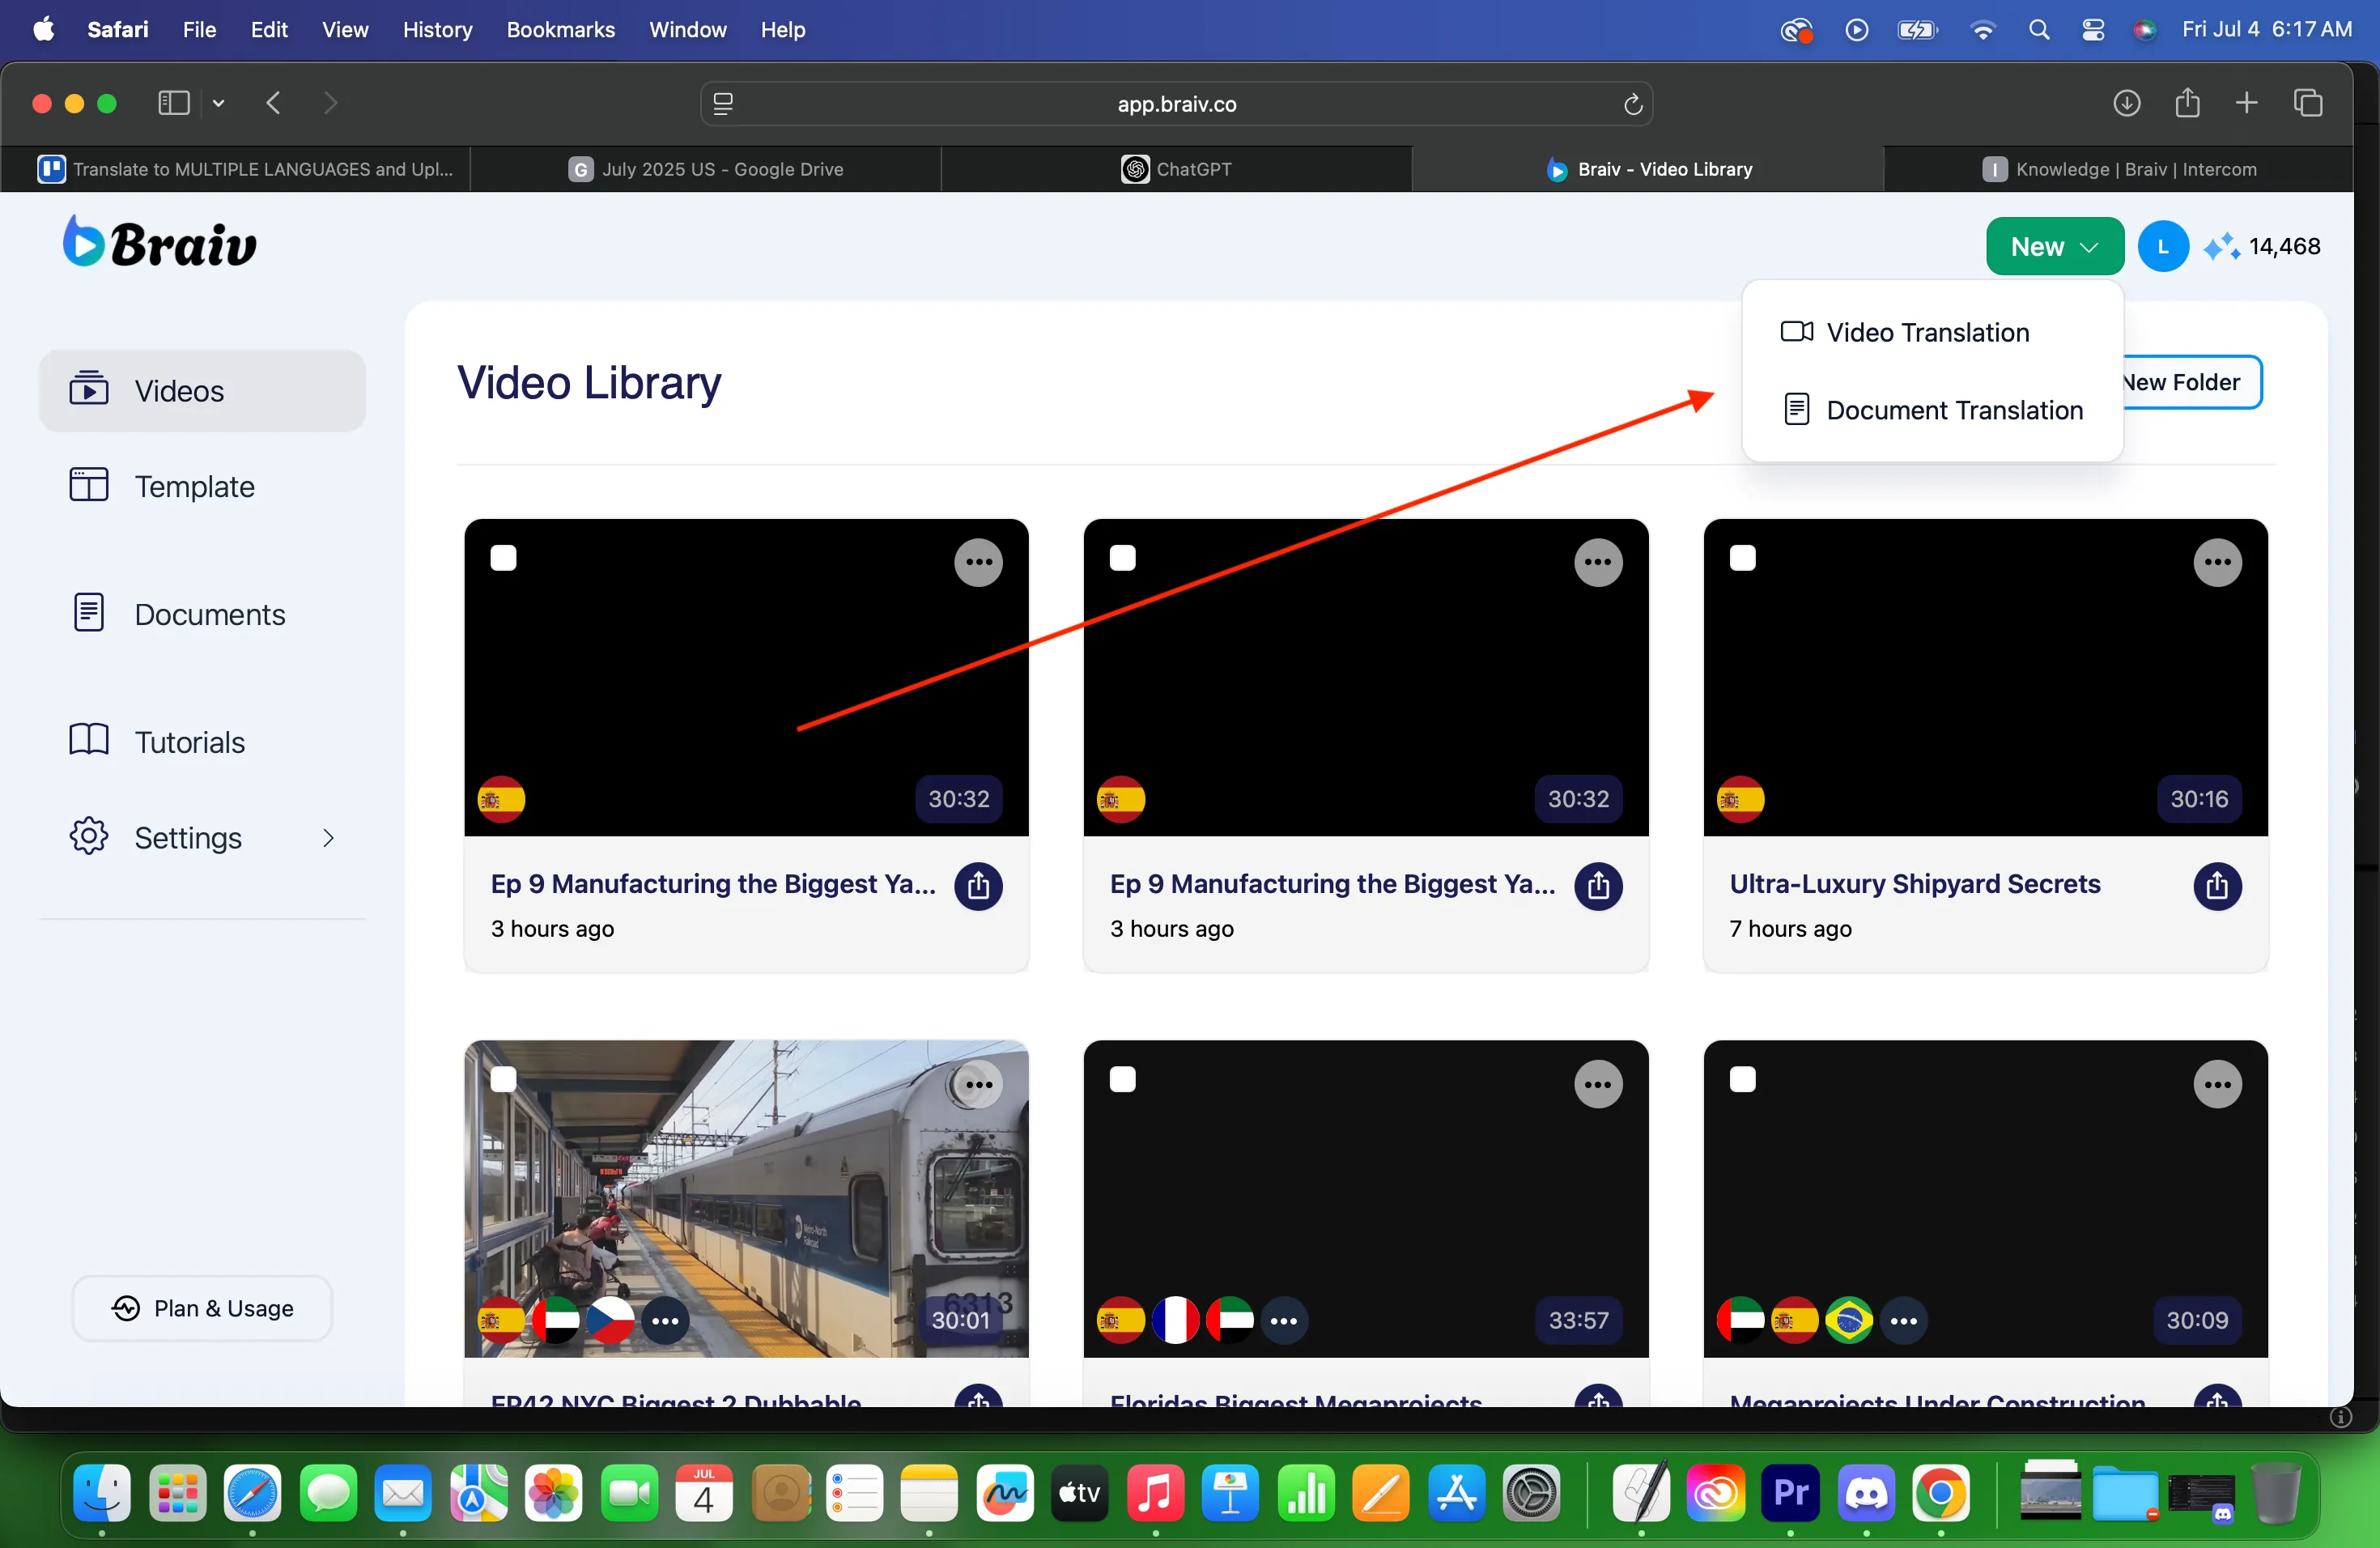
- Upon log in to your Braiv account, click Create in the upper right, then choose Translate a Video.
2. Continue into the import flow for your video (upload from your computer, YouTube, Google Drive, or Dropbox).
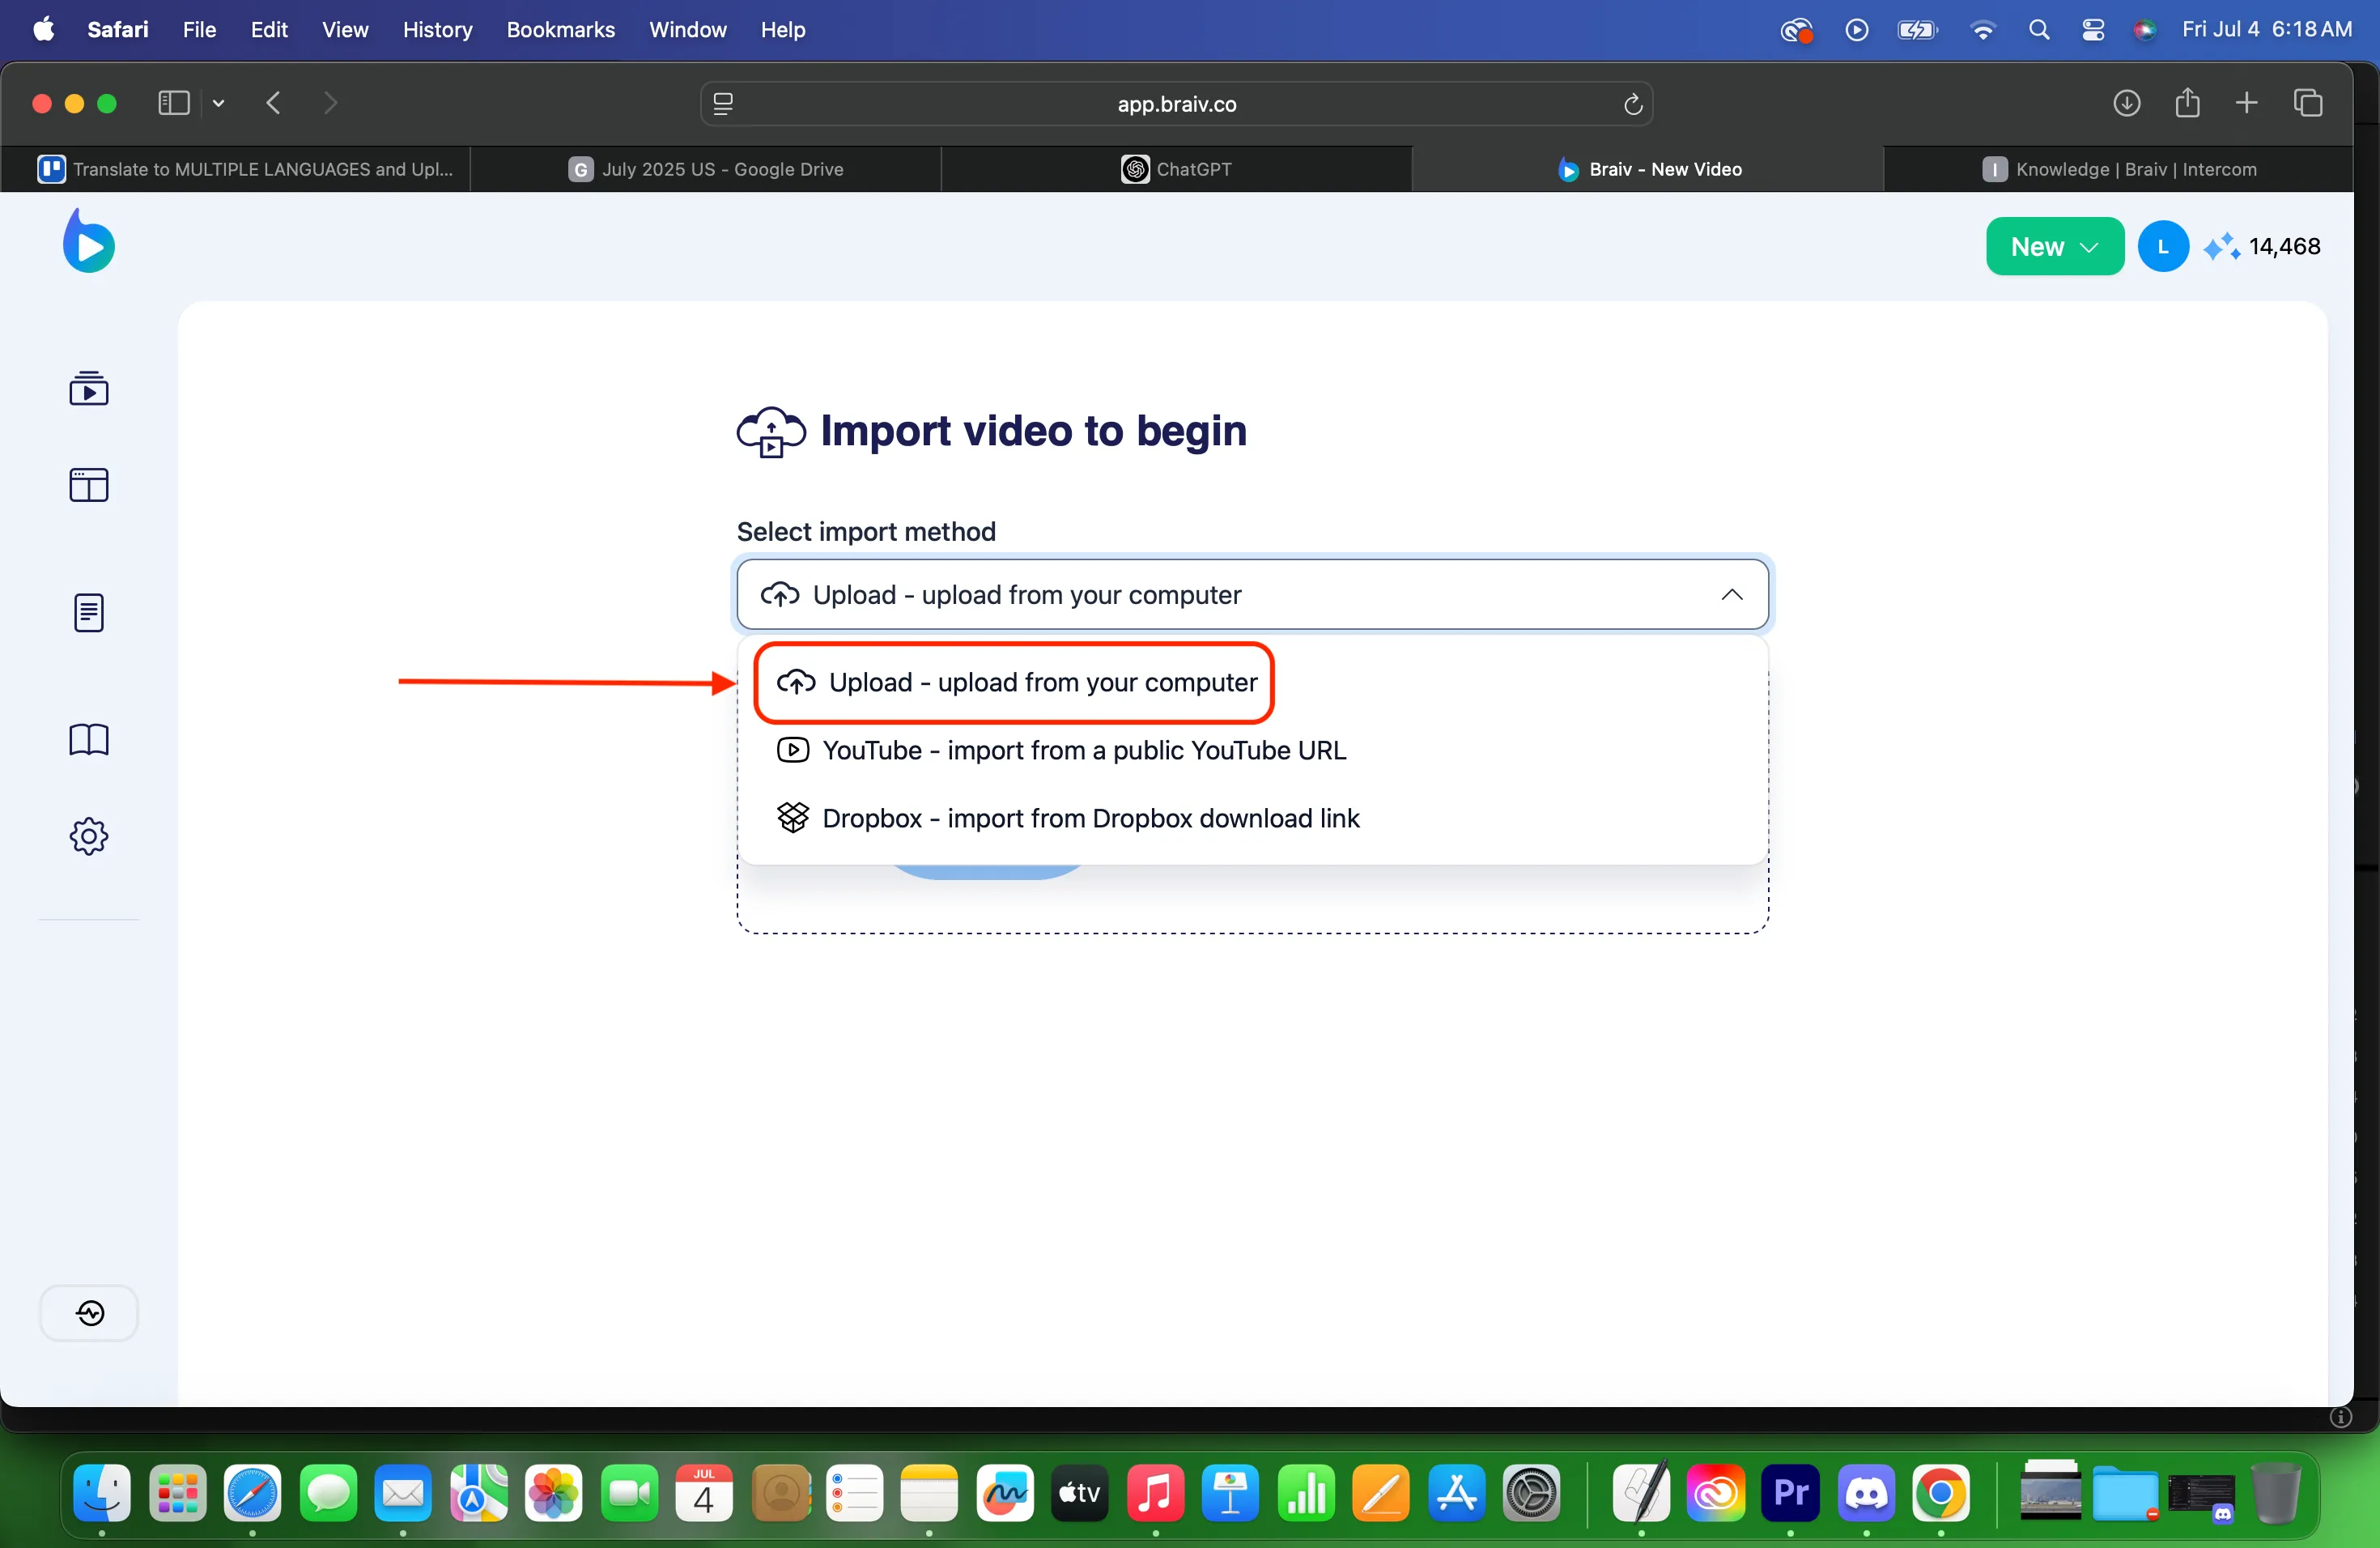
3. On the import page, choose how you will bring in the video: Upload from your computer, YouTube, Google Drive, or Dropbox.
For this step-by-step instruction we are choosing Upload from your computer.
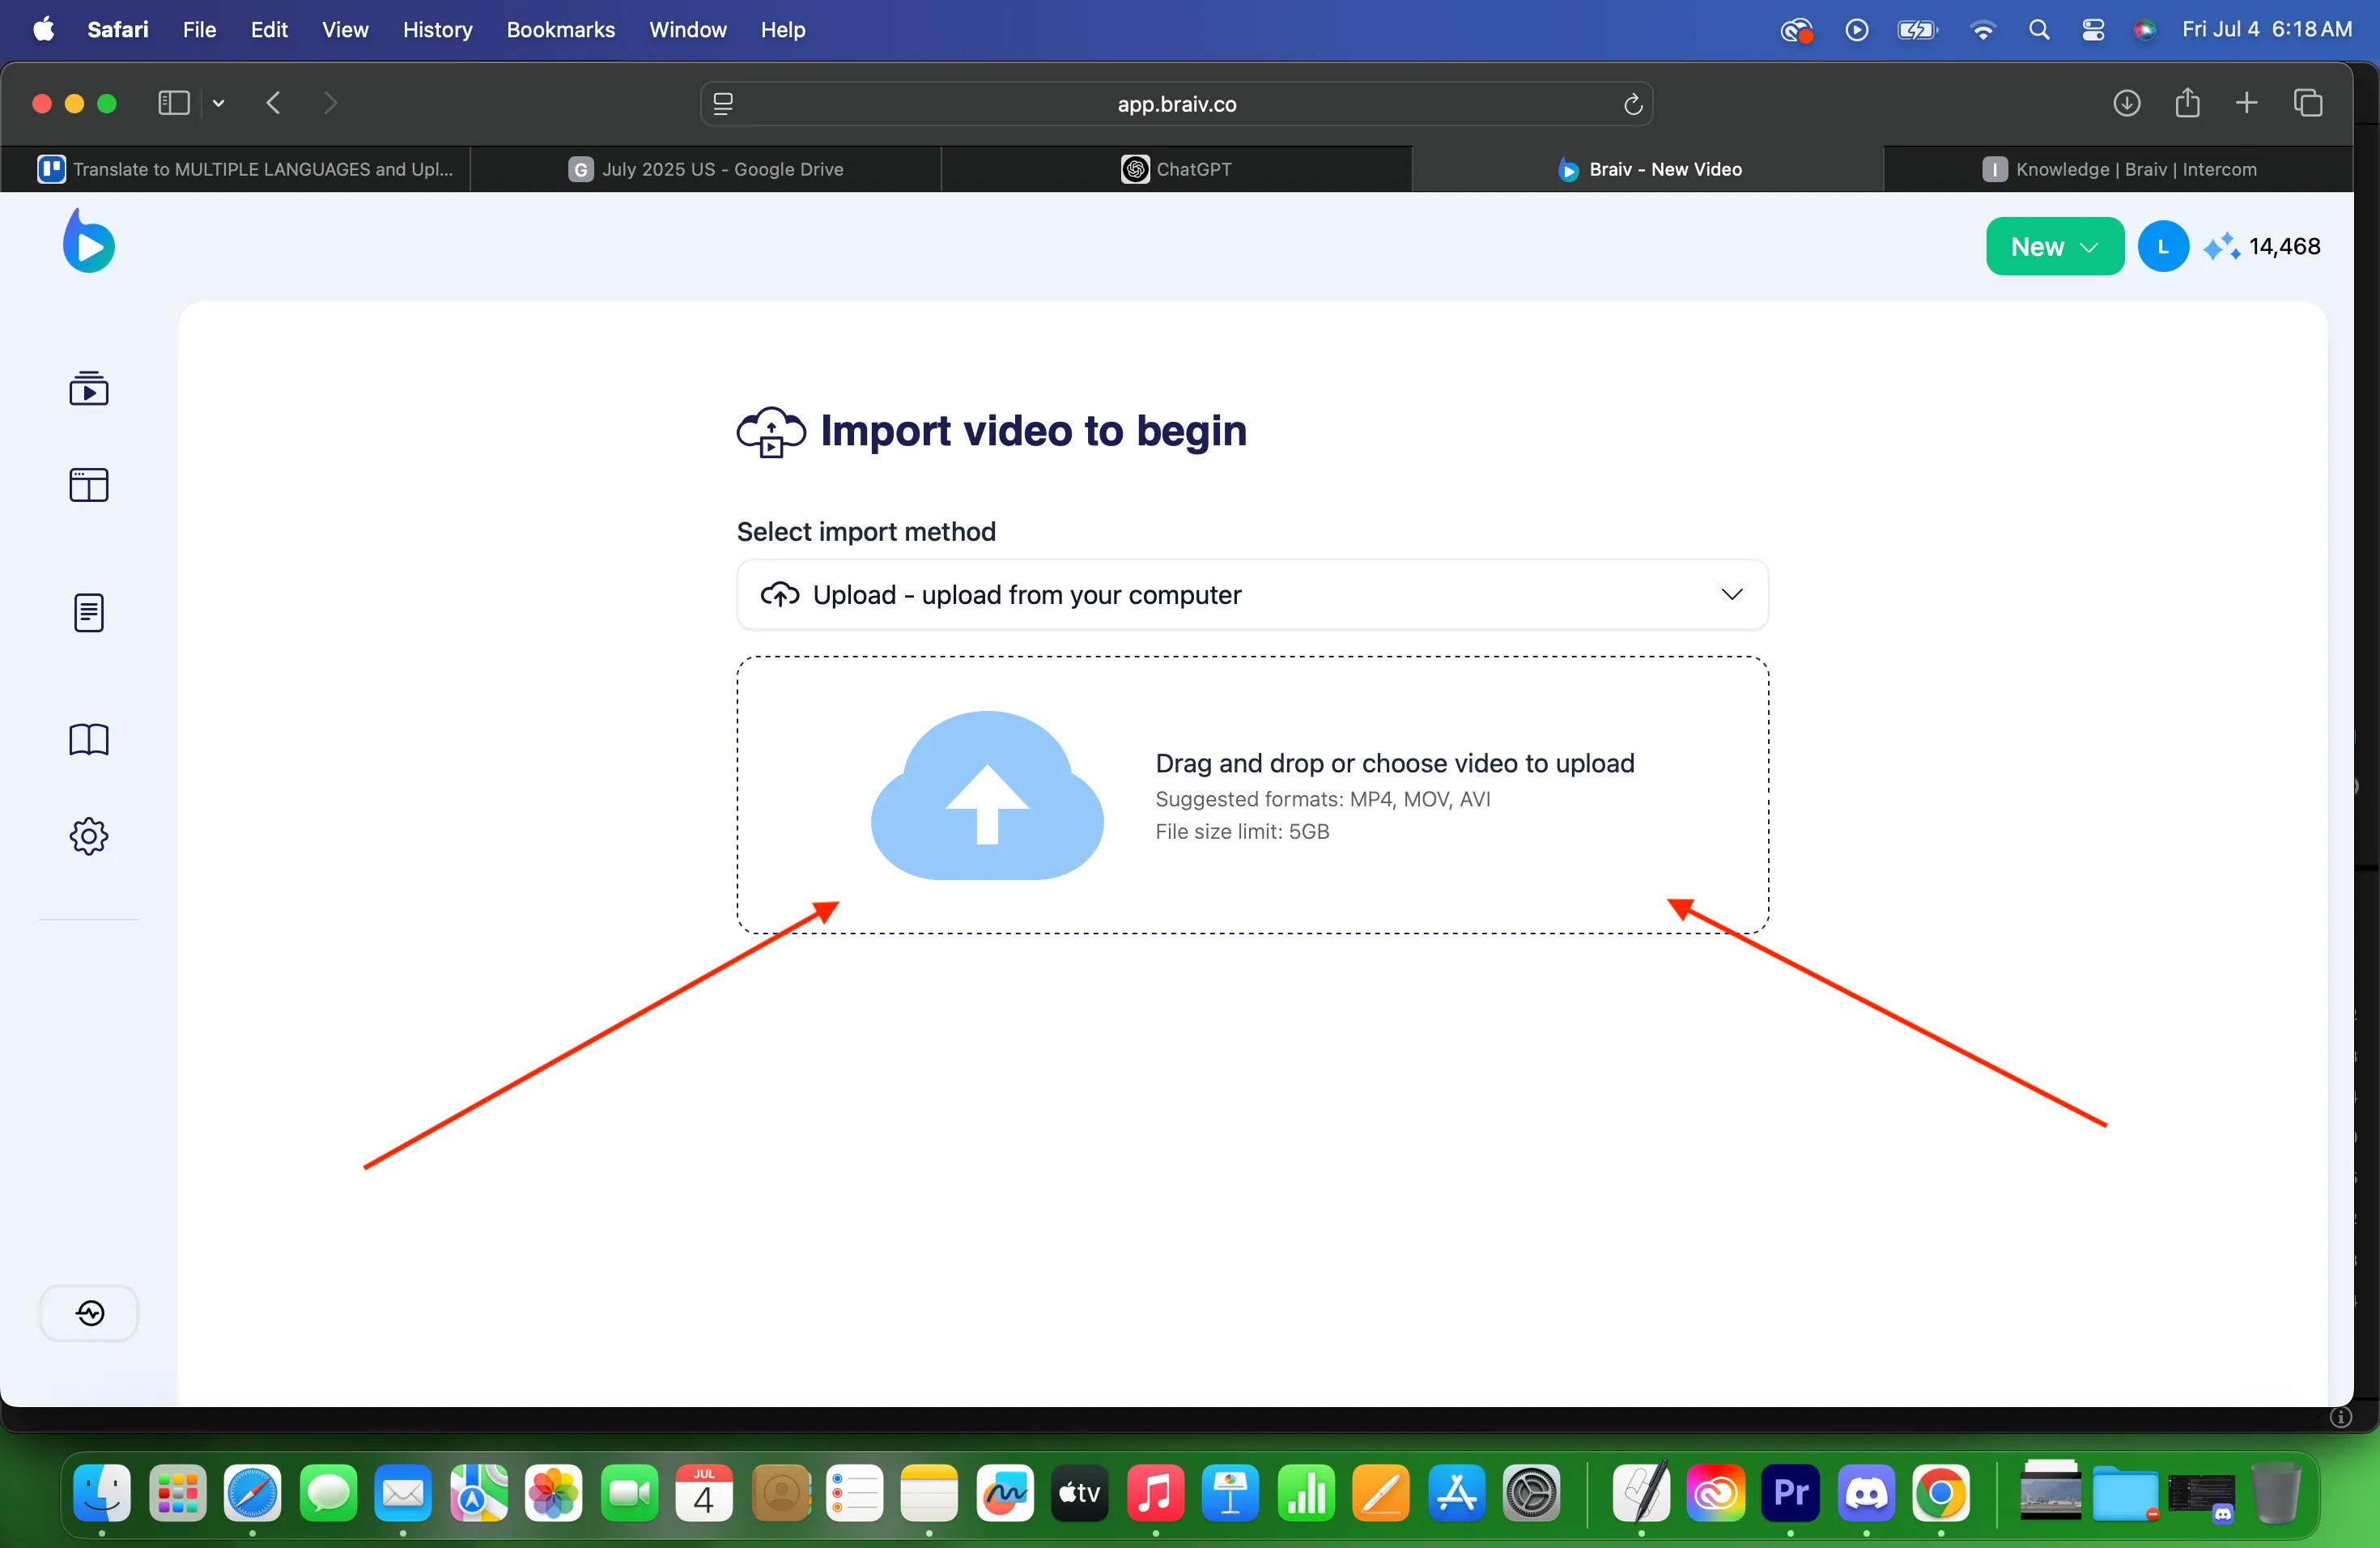
4. Click on the box where it says Drag and drop as shown below to open your file manager.
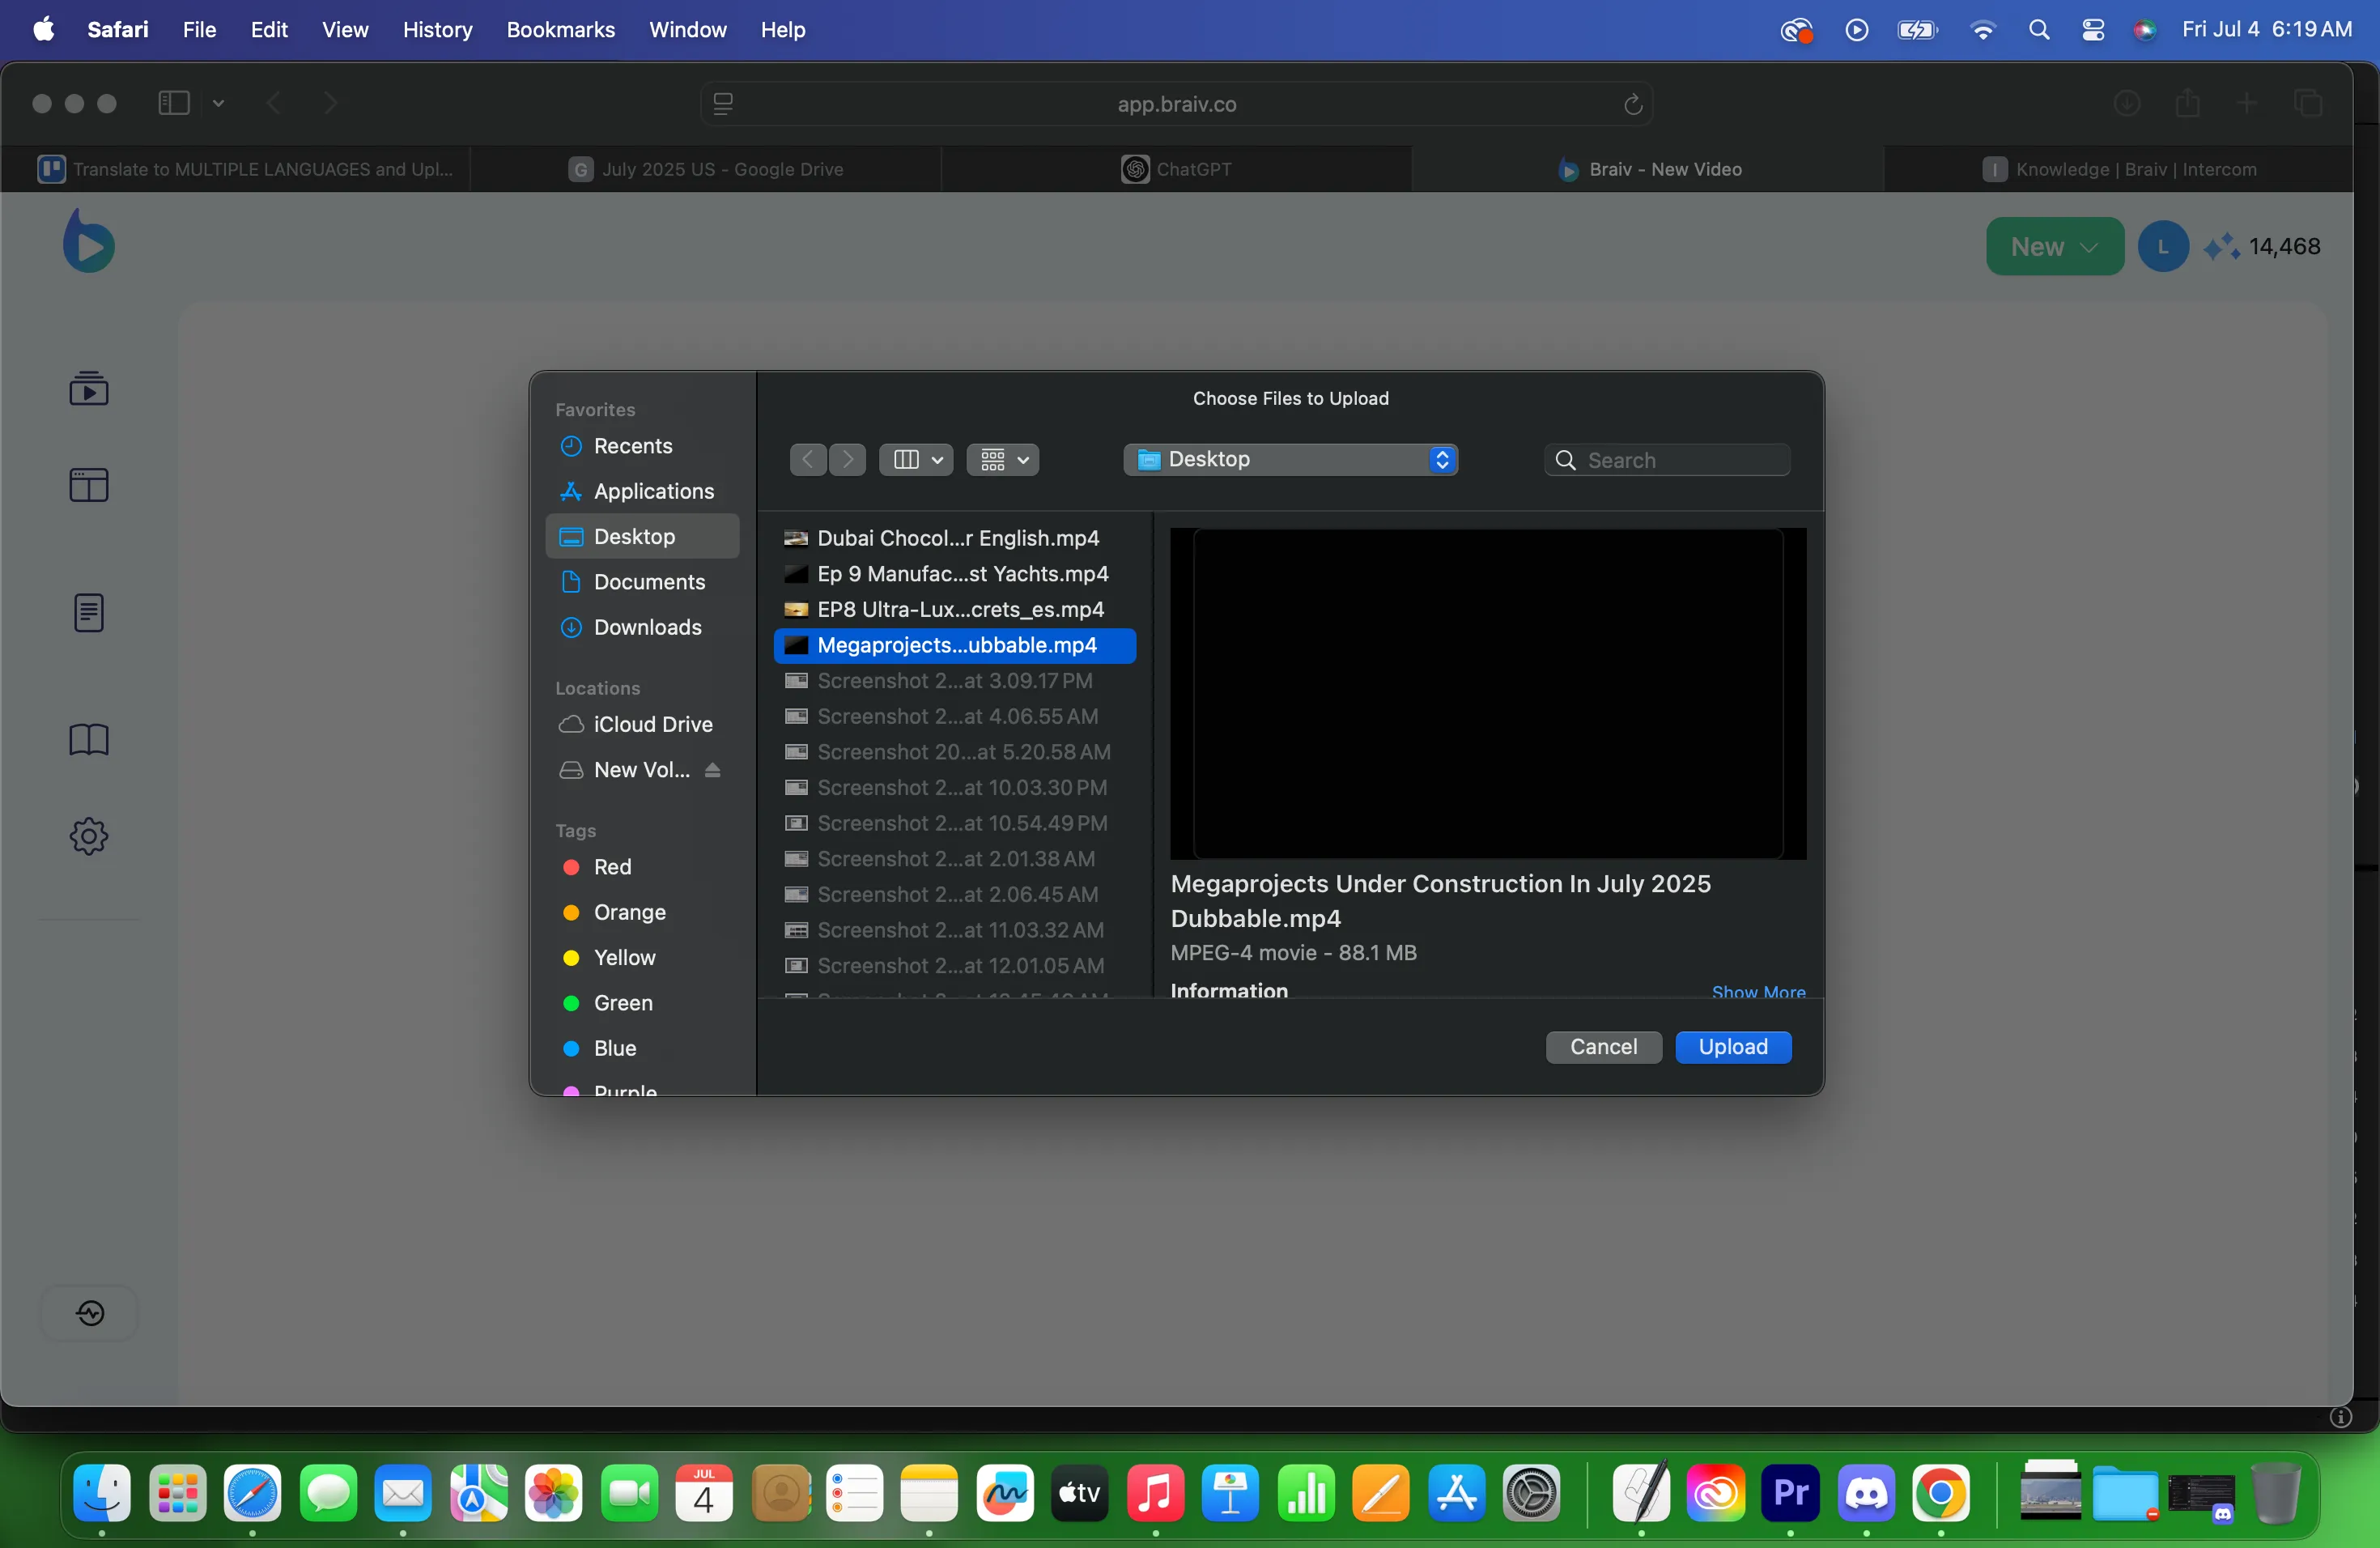
5. From your File Manager, look for the video you wanted to translate.
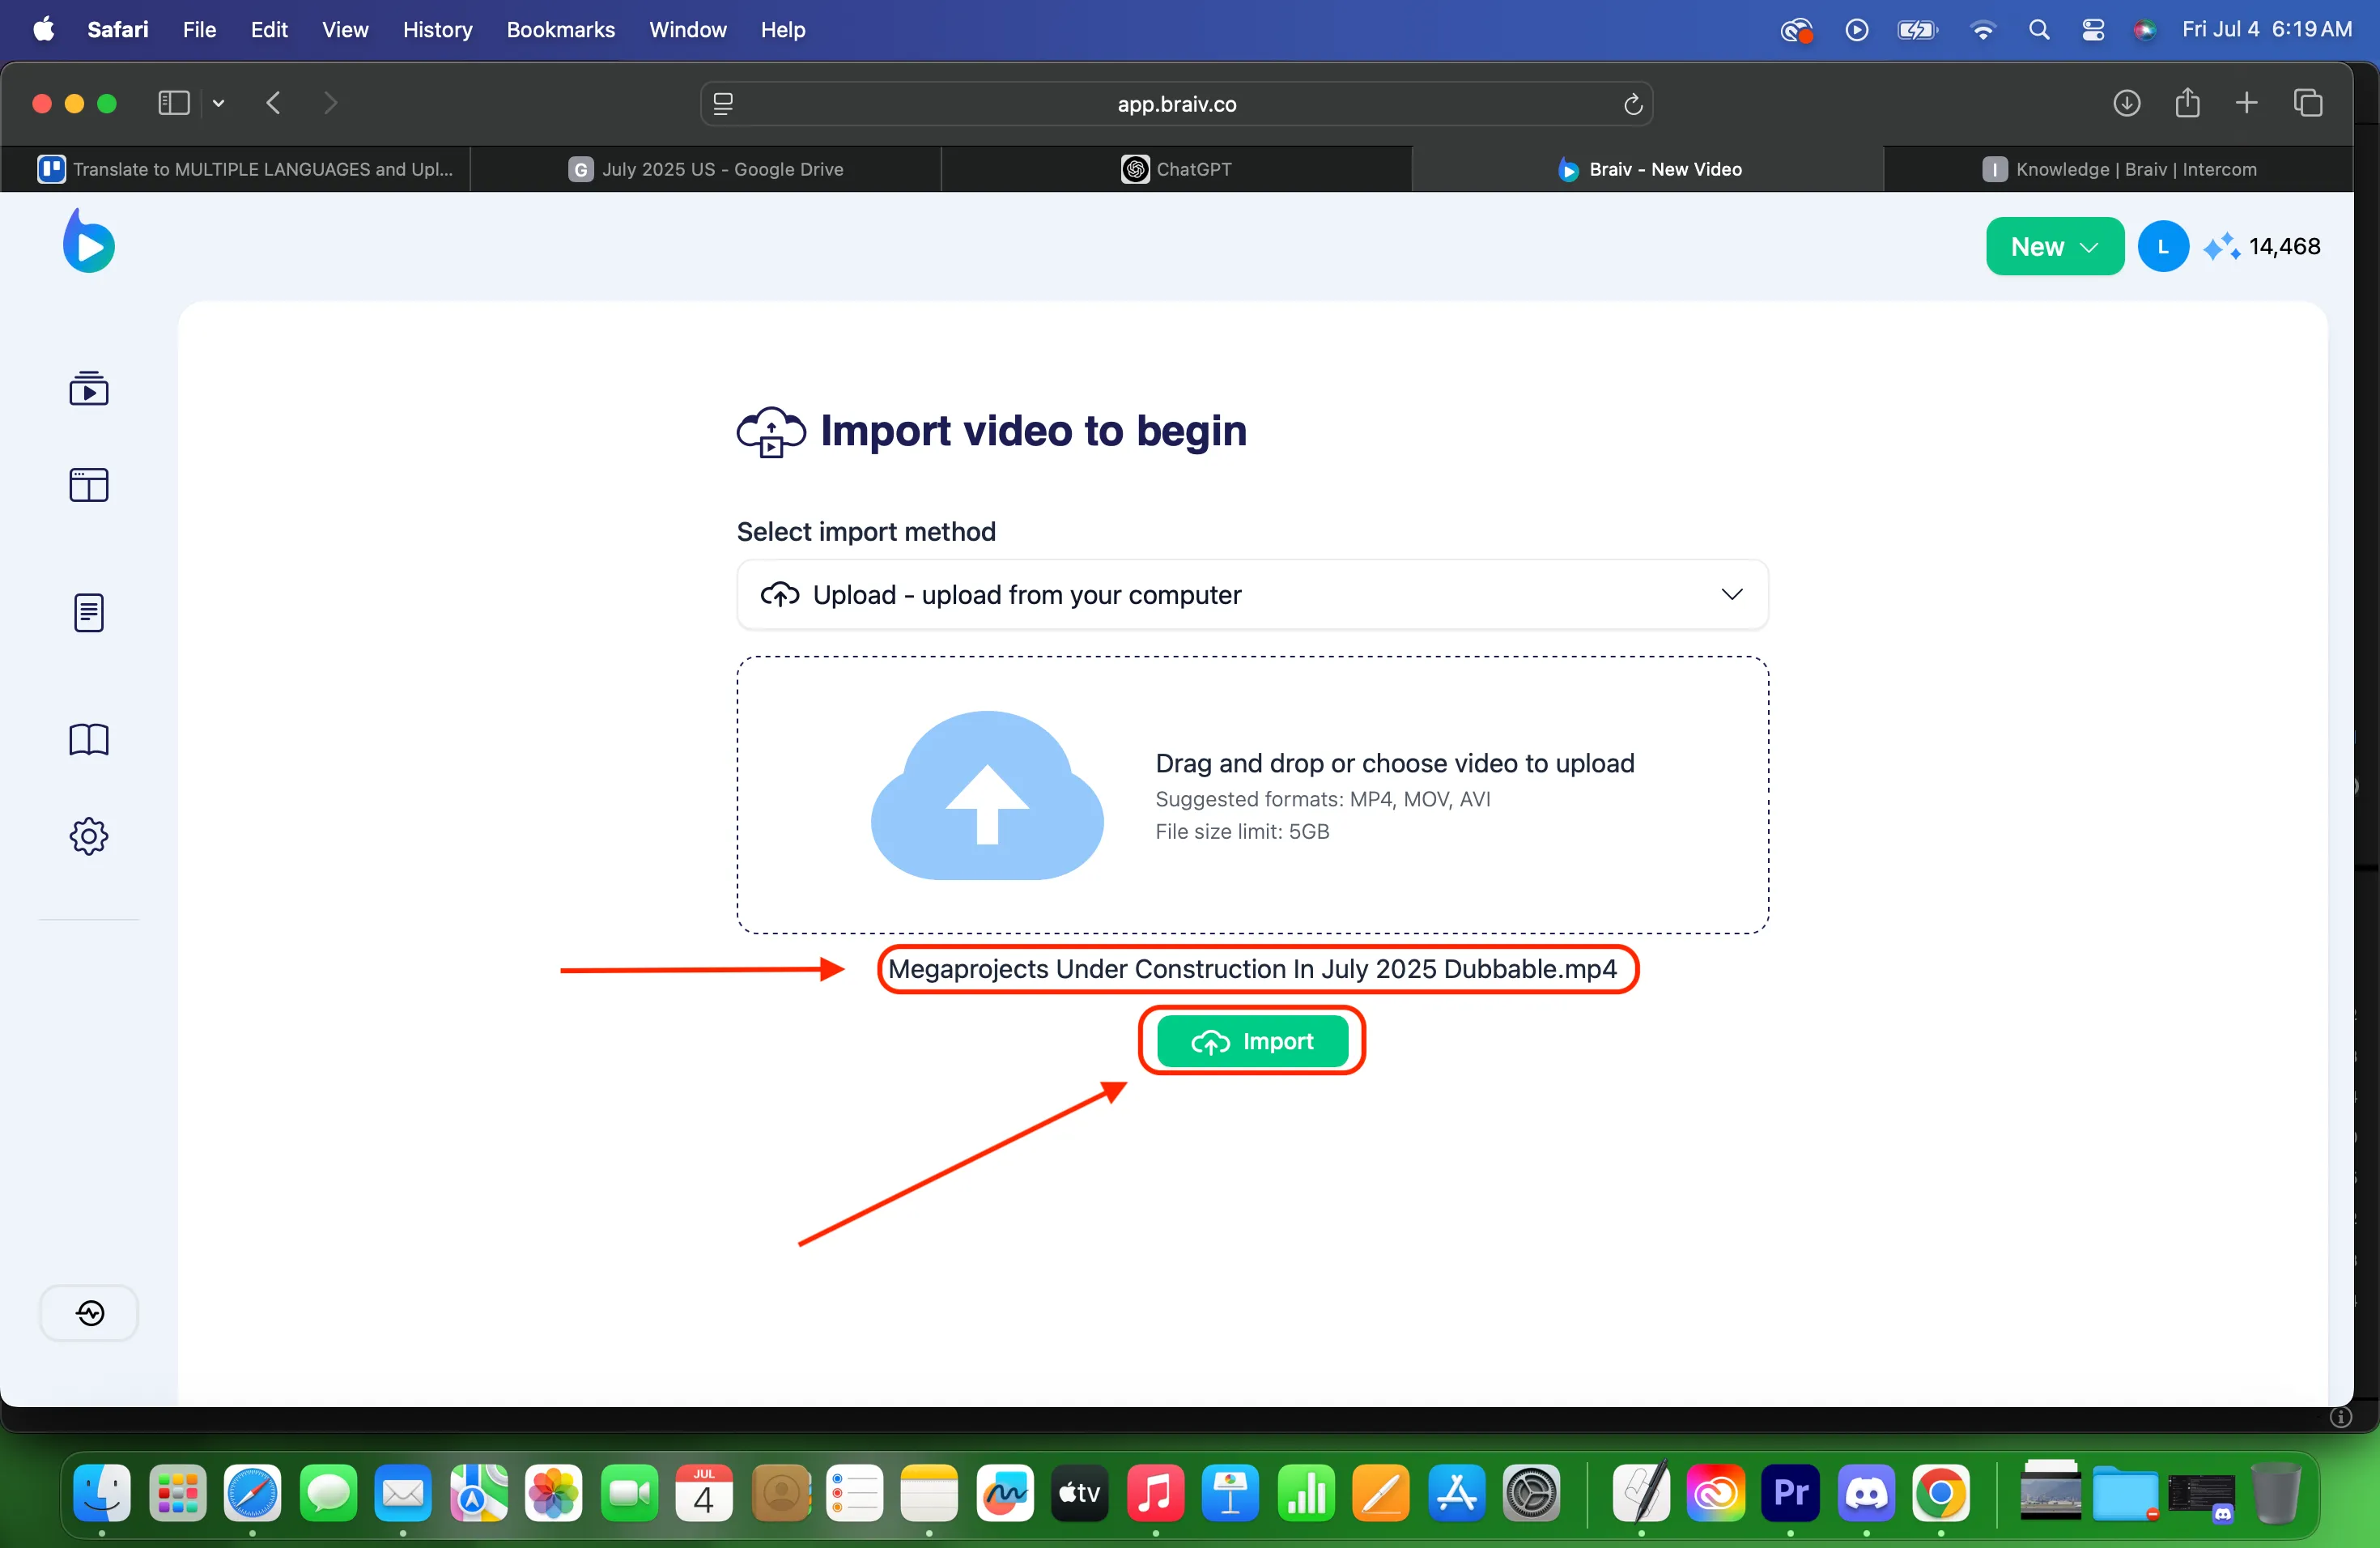
6. Once you have chosen the file you will have the screen below where it shows the file name of the video you chose from file manager. Click on IMPORT.
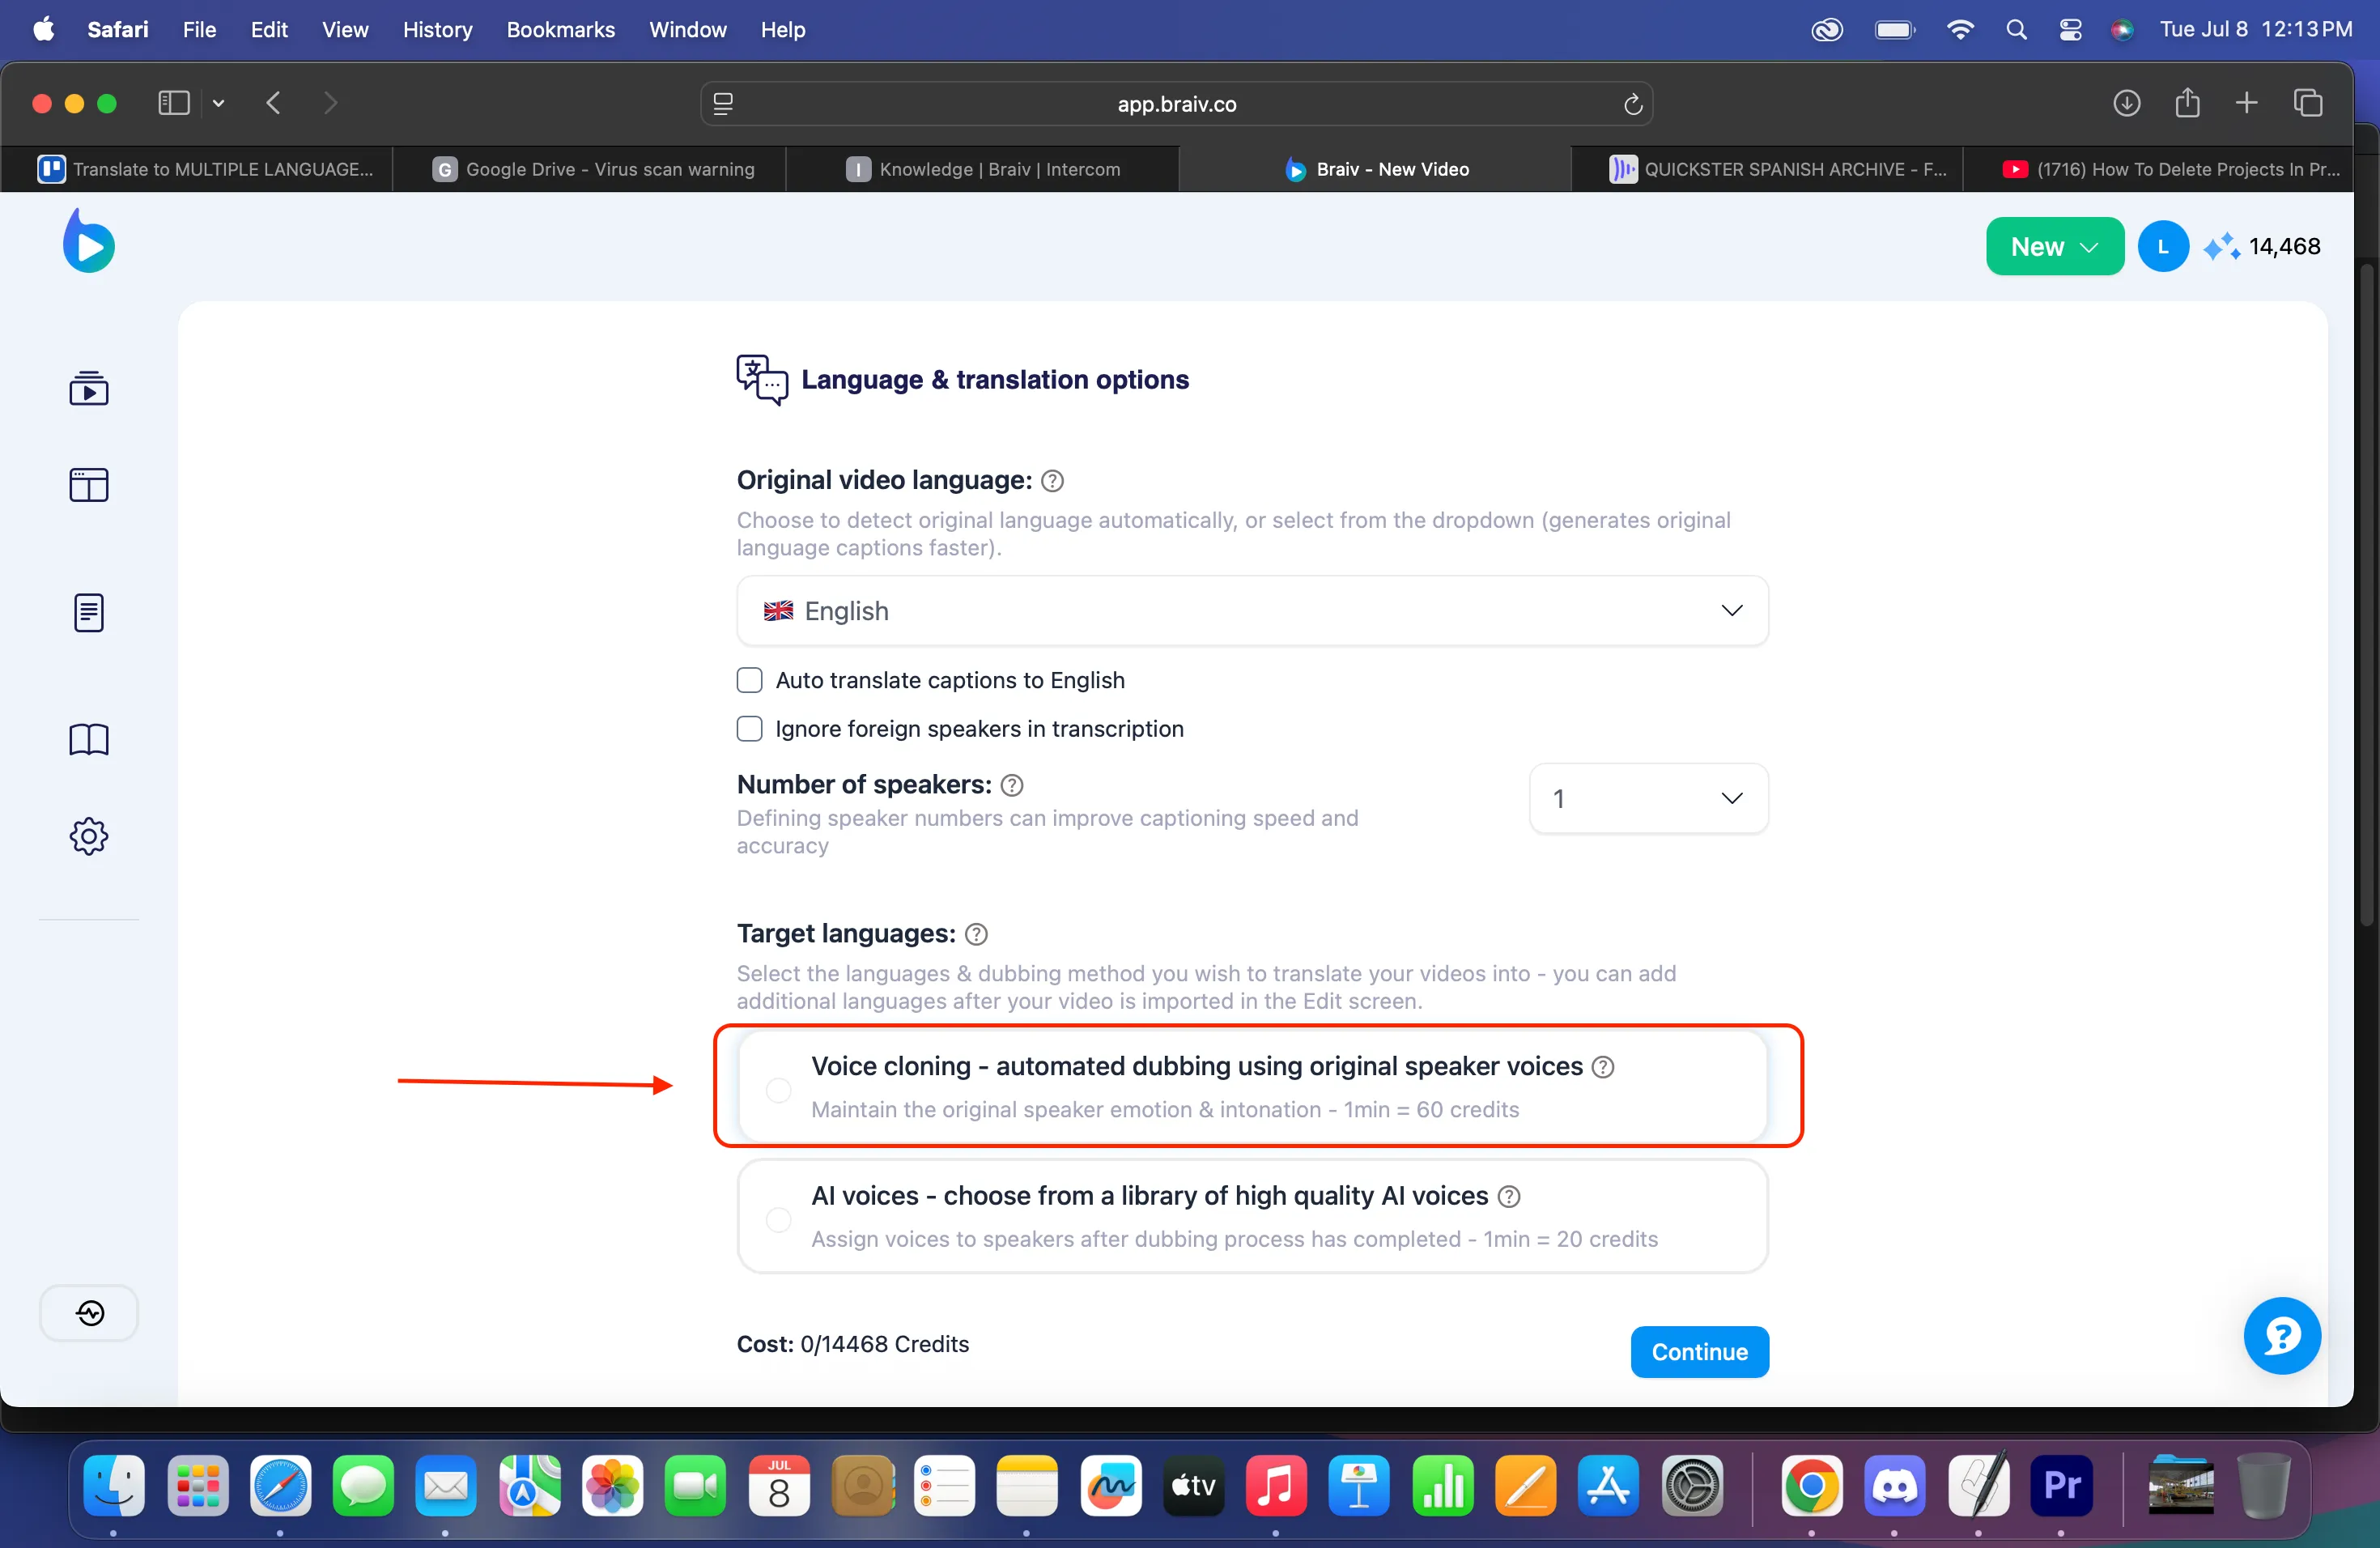
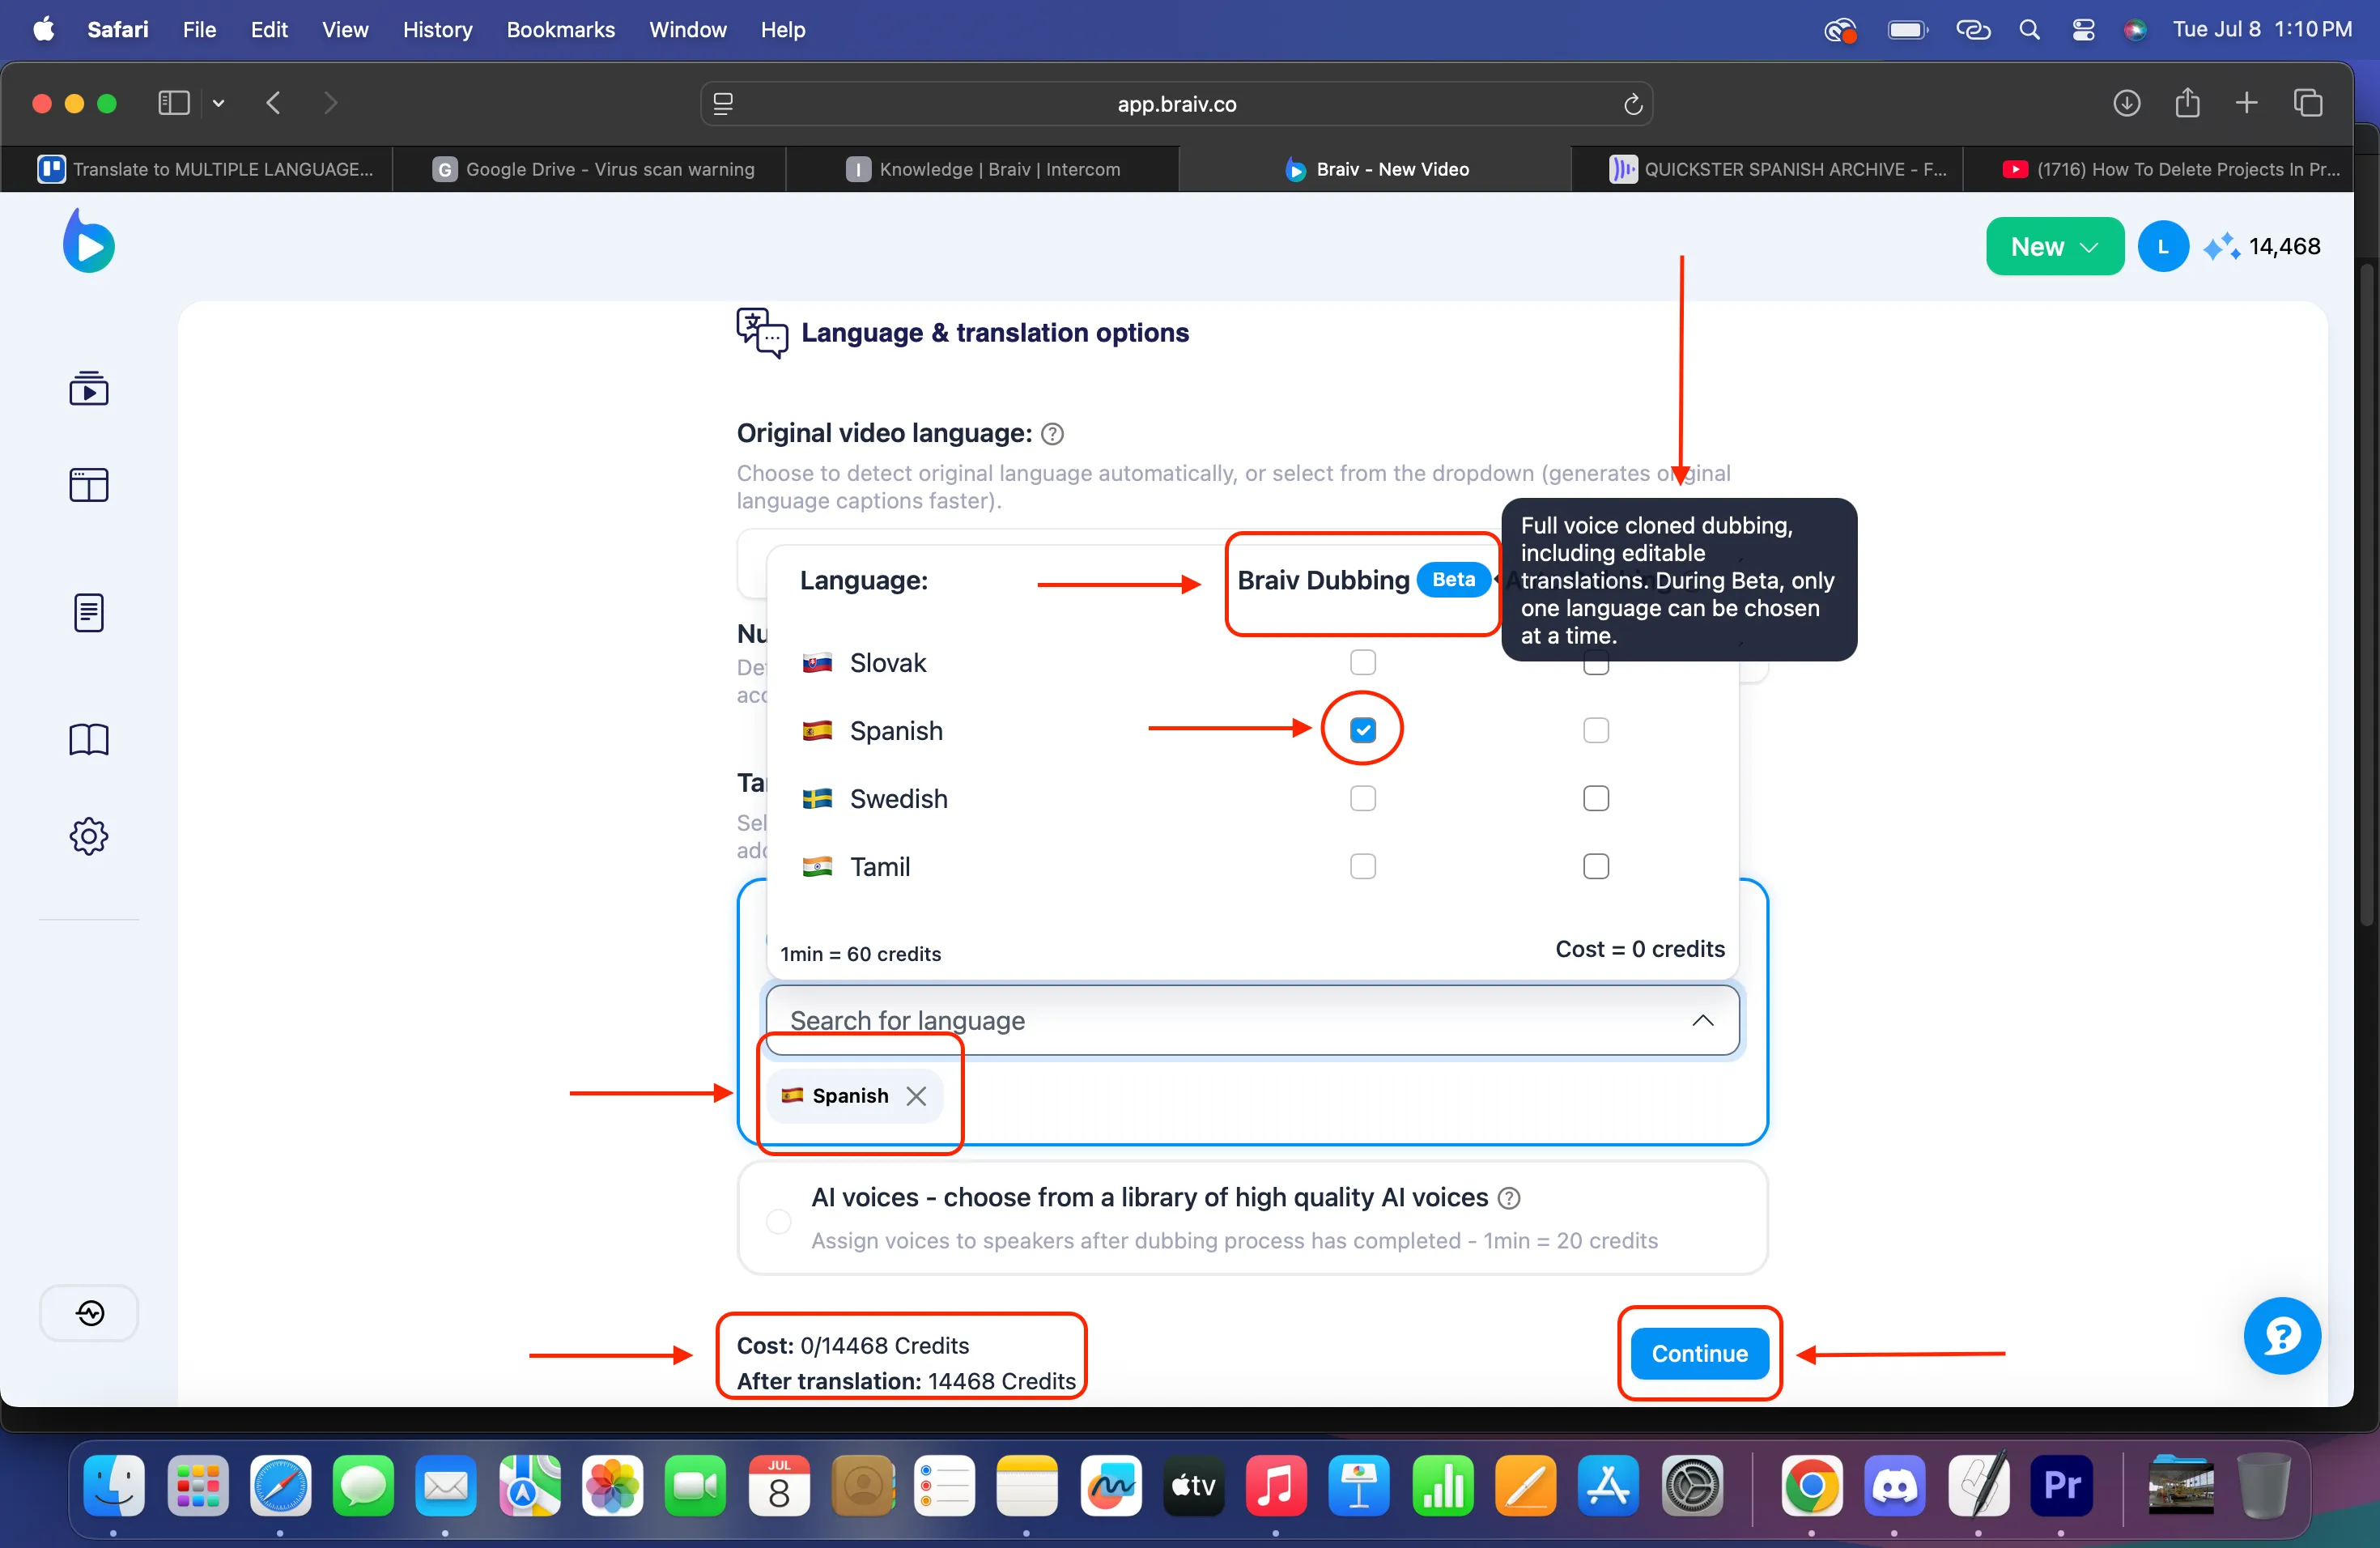
7. You’ll have the Language & Translation options screen. Under target languages (or the voice cloning section), start the cloned dubbing setup.
8. Choose your quality tier and language:
- Braiv Dubbing Premium — highest quality and fastest turnaround. Supports localised accents for French, English, Spanish, and Portuguese. Costs 24 AI Credits per minute of source video (per language).
- Braiv Dubbing Plus — more affordable cloning powered by Braiv Speech. Not as fast or high quality as Premium. Costs 18 AI Credits per minute of source video (per language).
Need help deciding? See Premium vs Plus.
Put a check mark on the language you chose. The UI will show how much it will cost and the credits you’ll have after translation. Then click Continue.
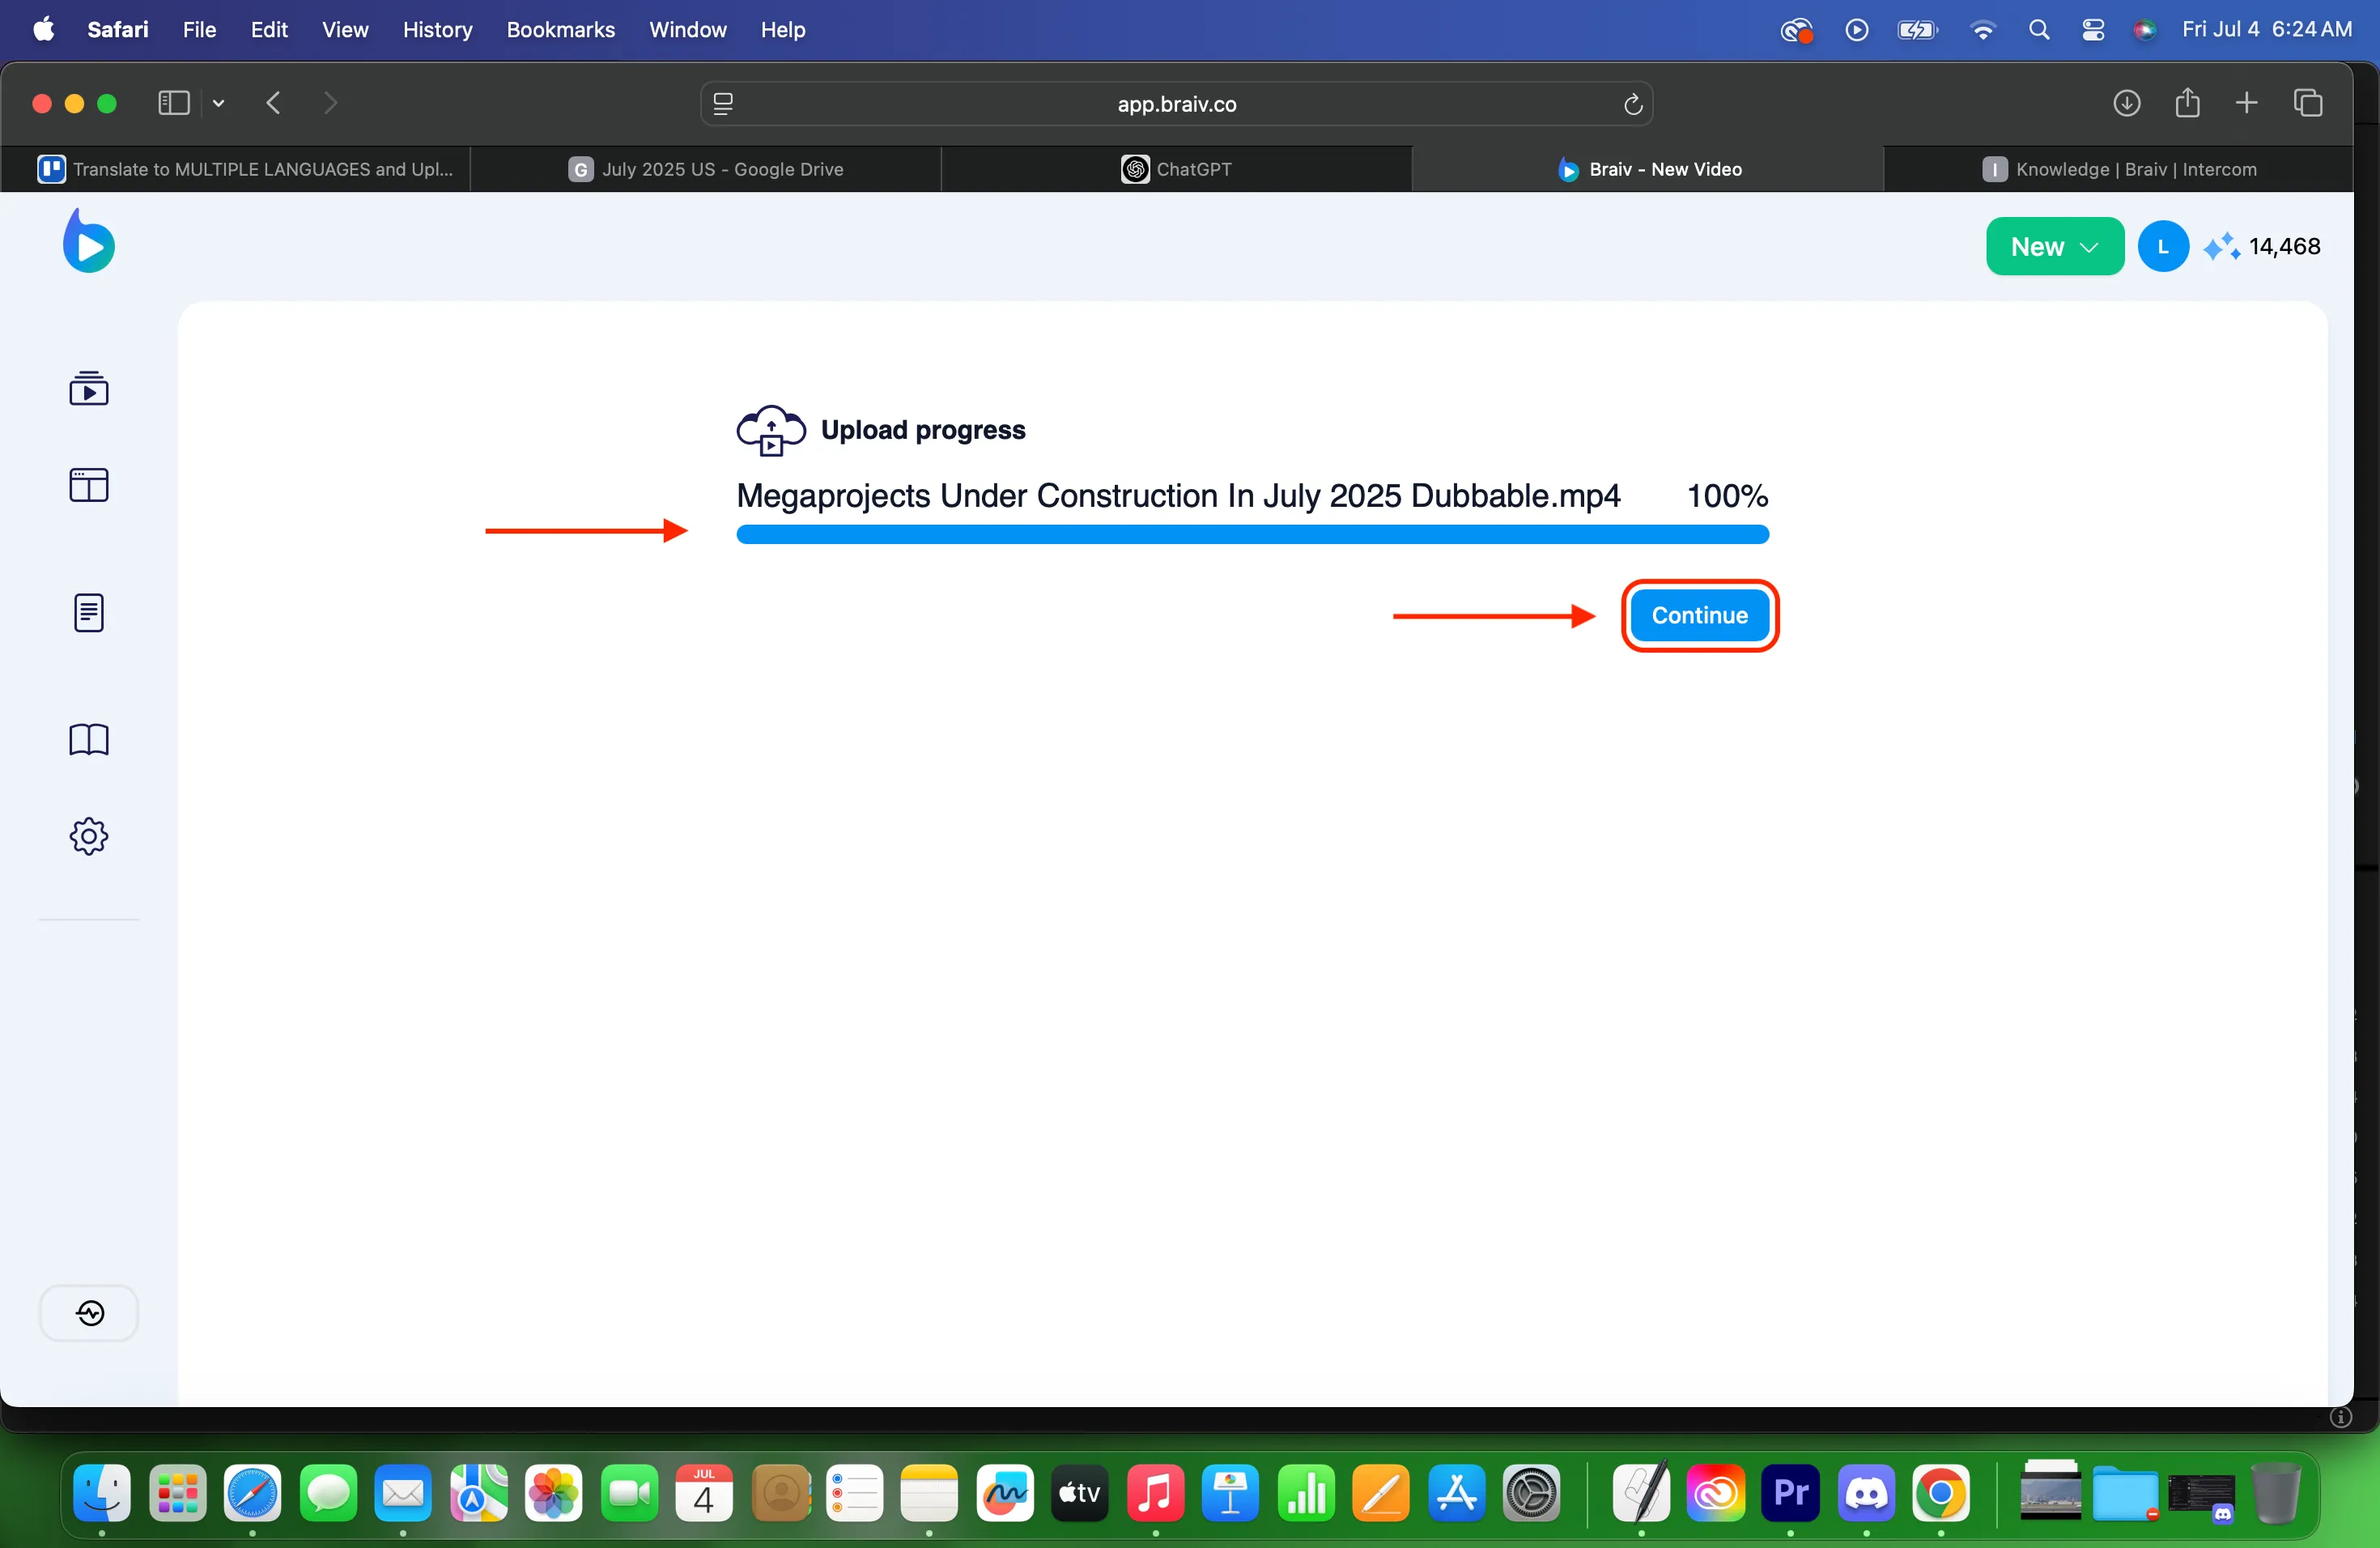
9. It will then upload the file. Once file reaches 100%, click the CONTINUE.
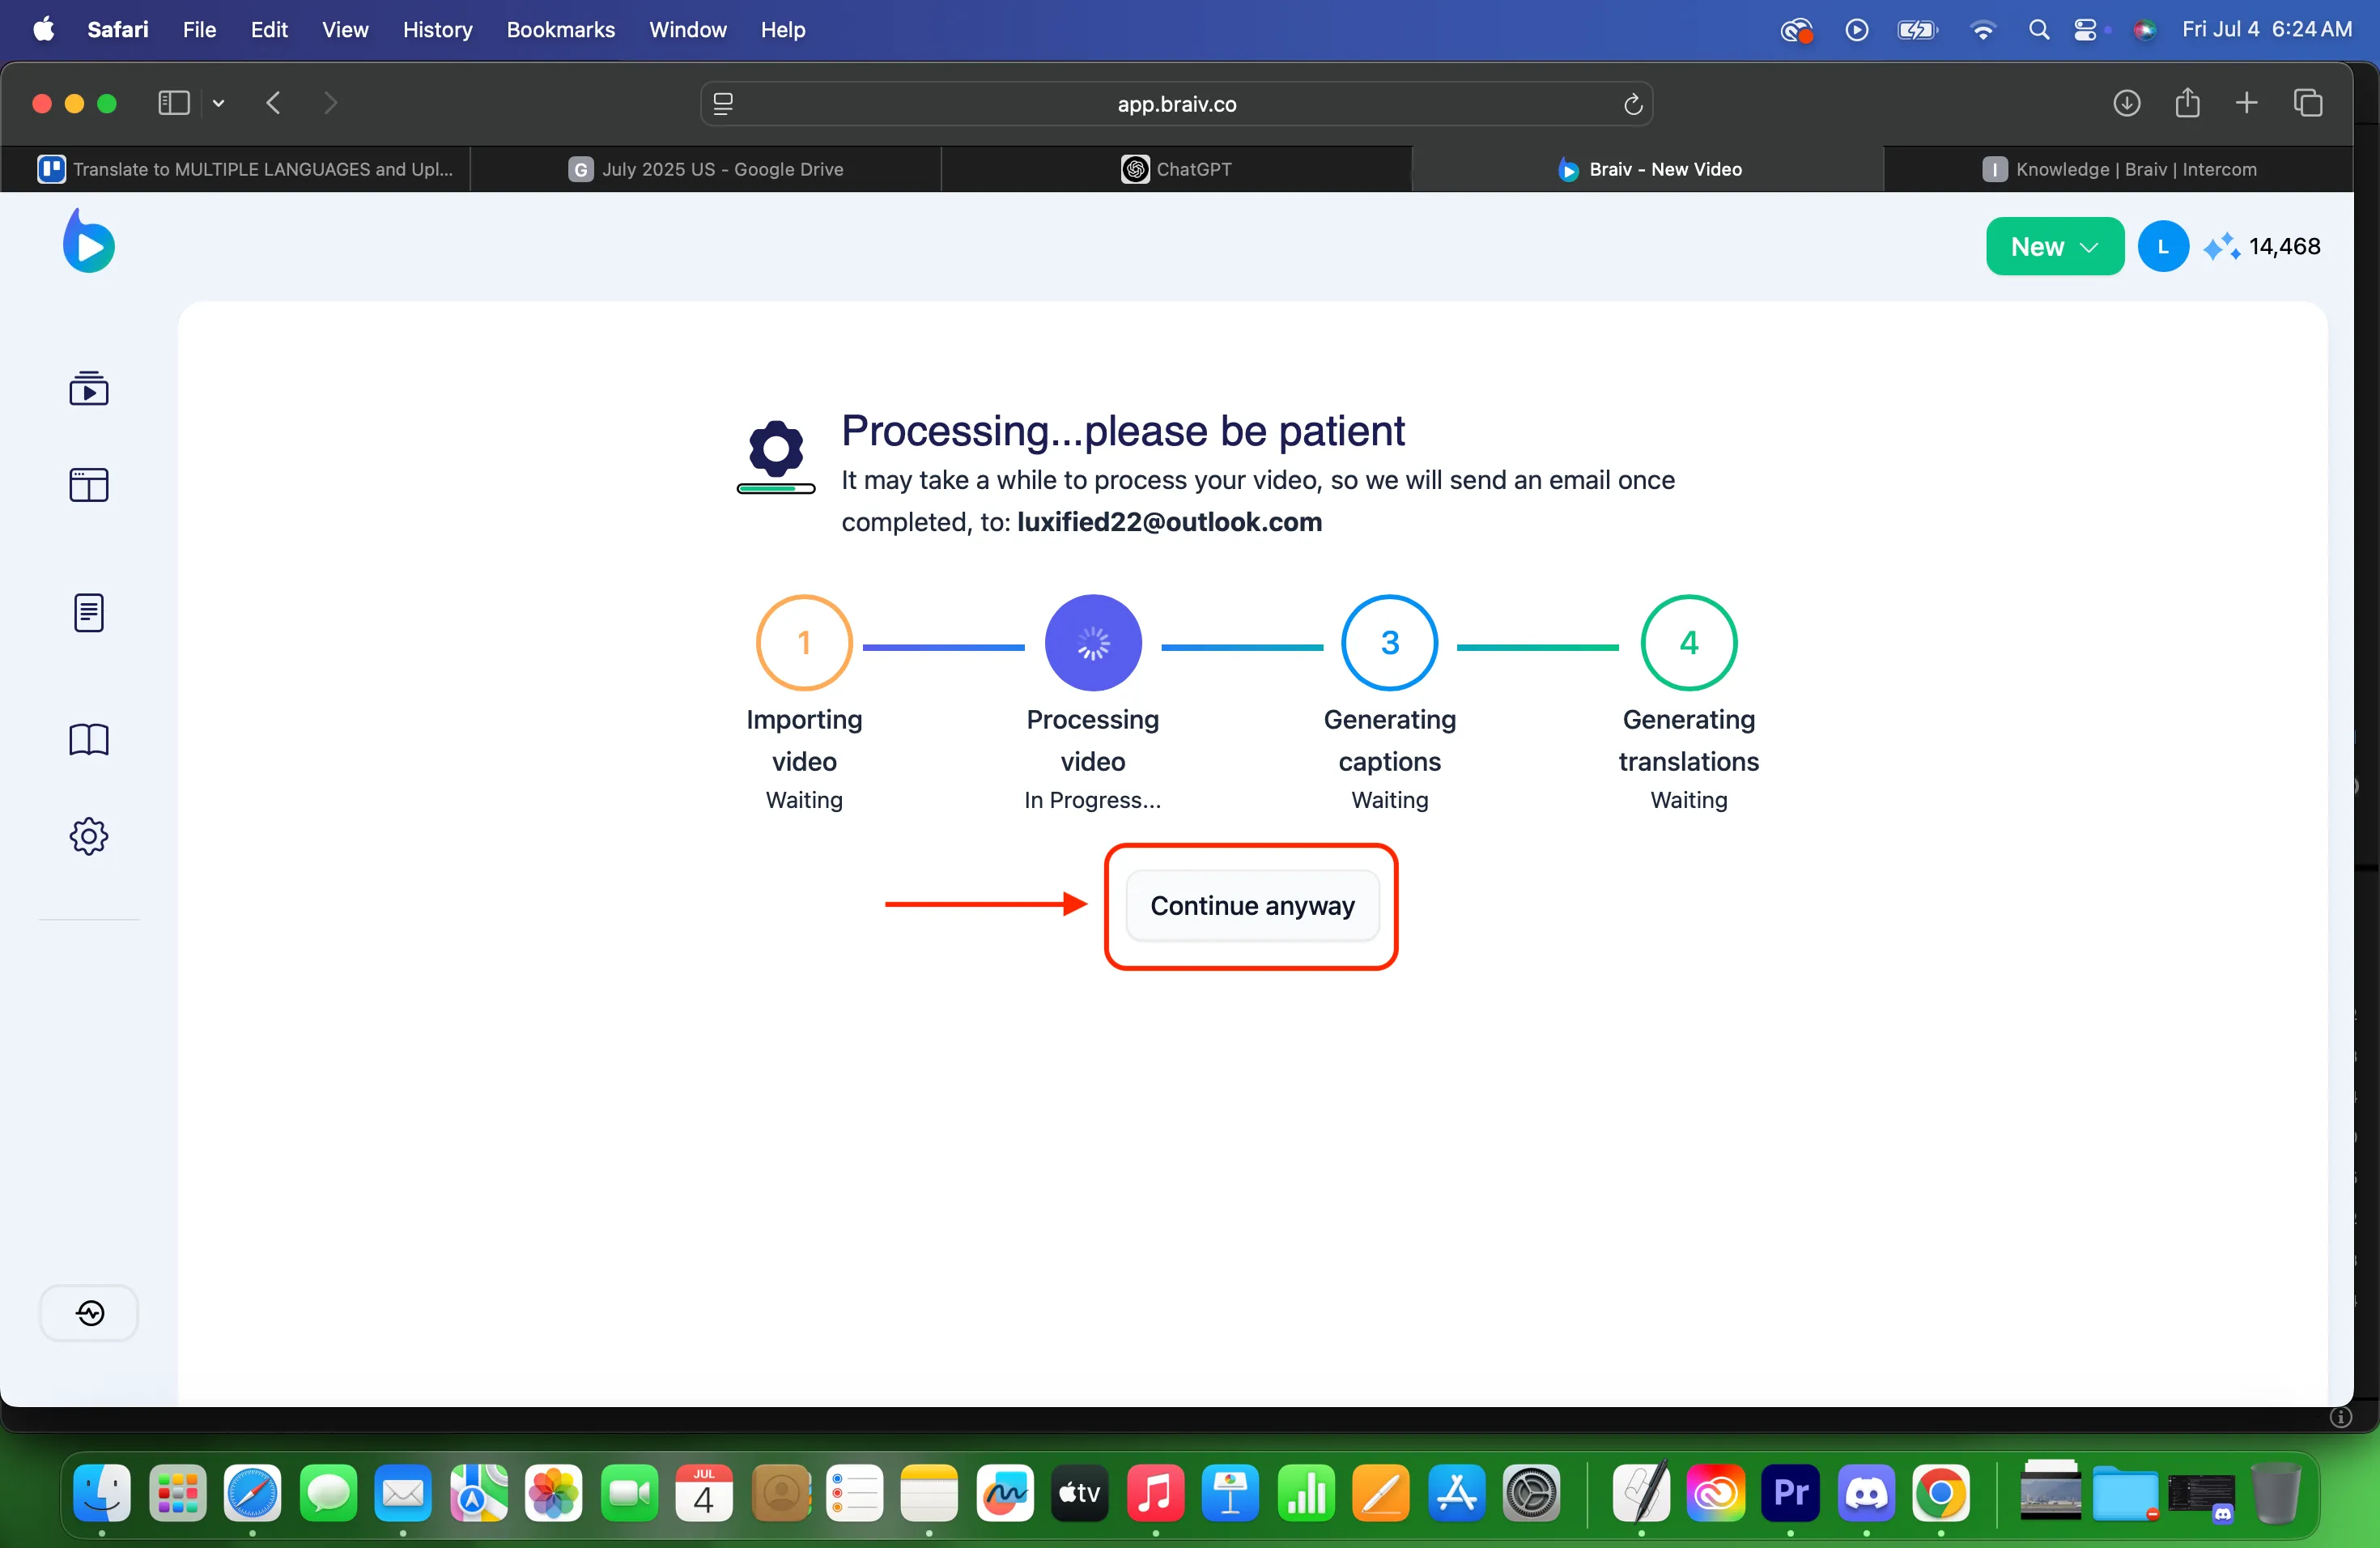
10. Processing page will appear. If you are a paying subscriber you can skip straight to the Edit Interface while the video processes.
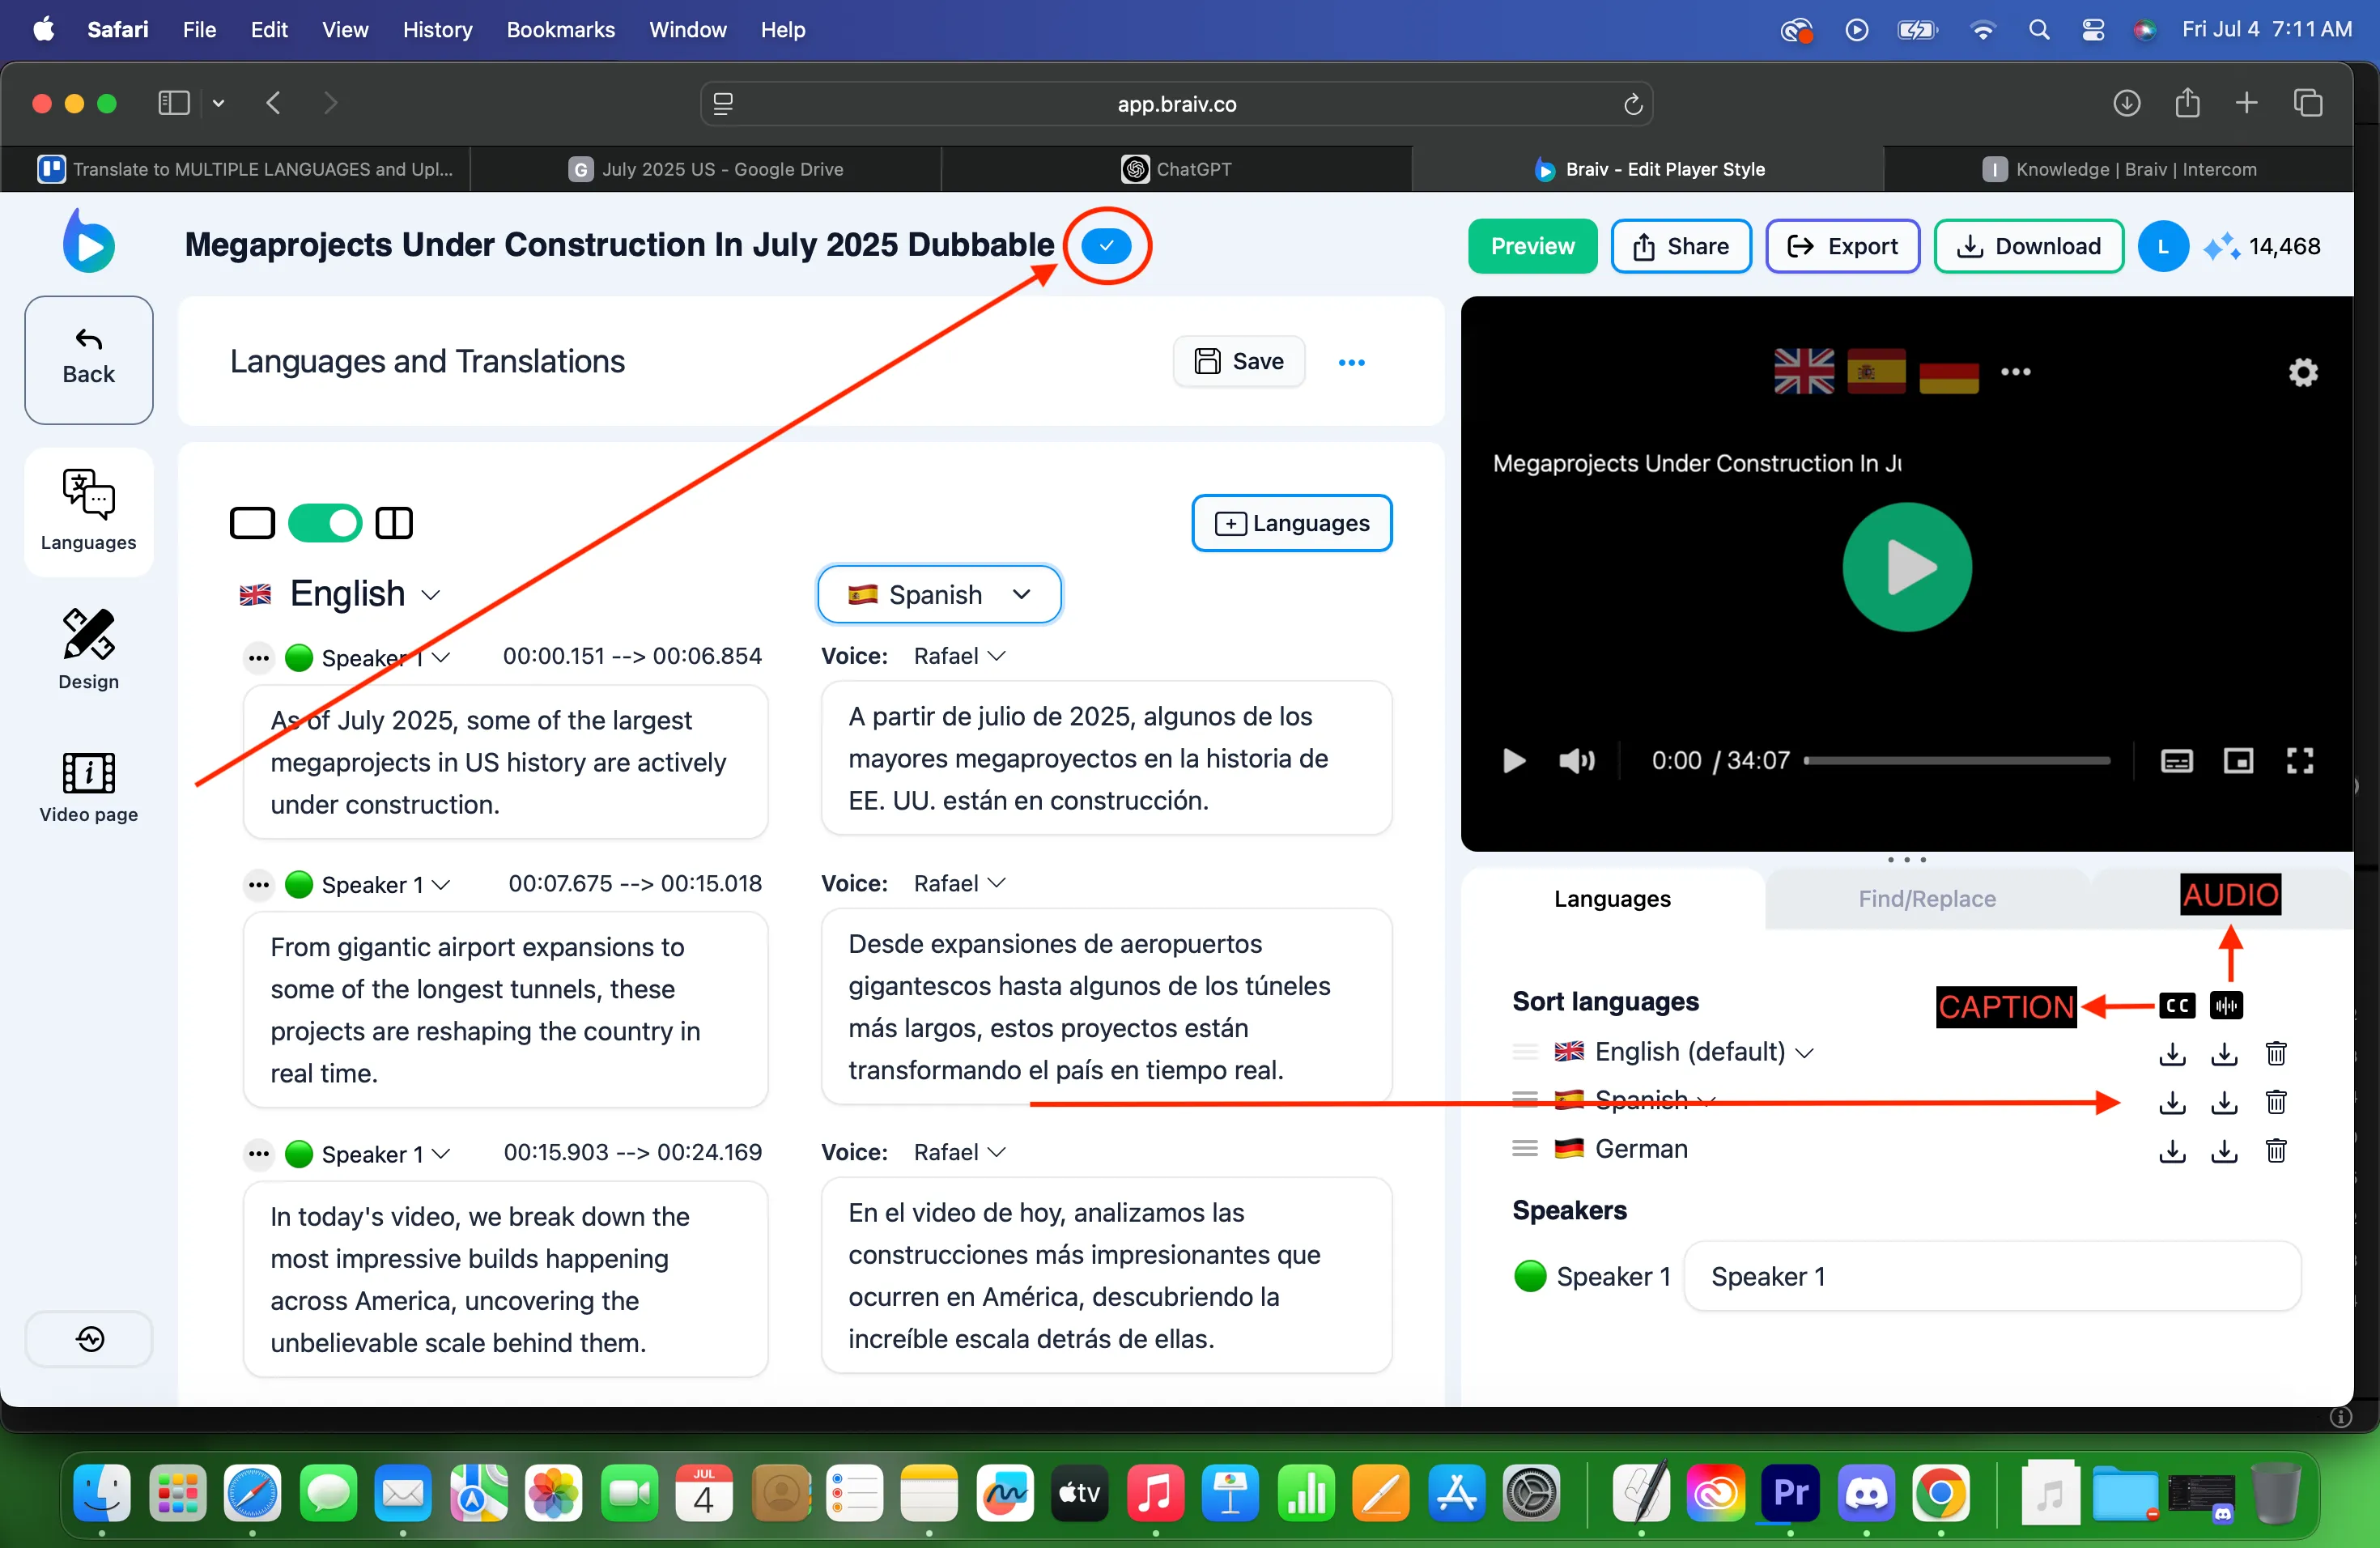
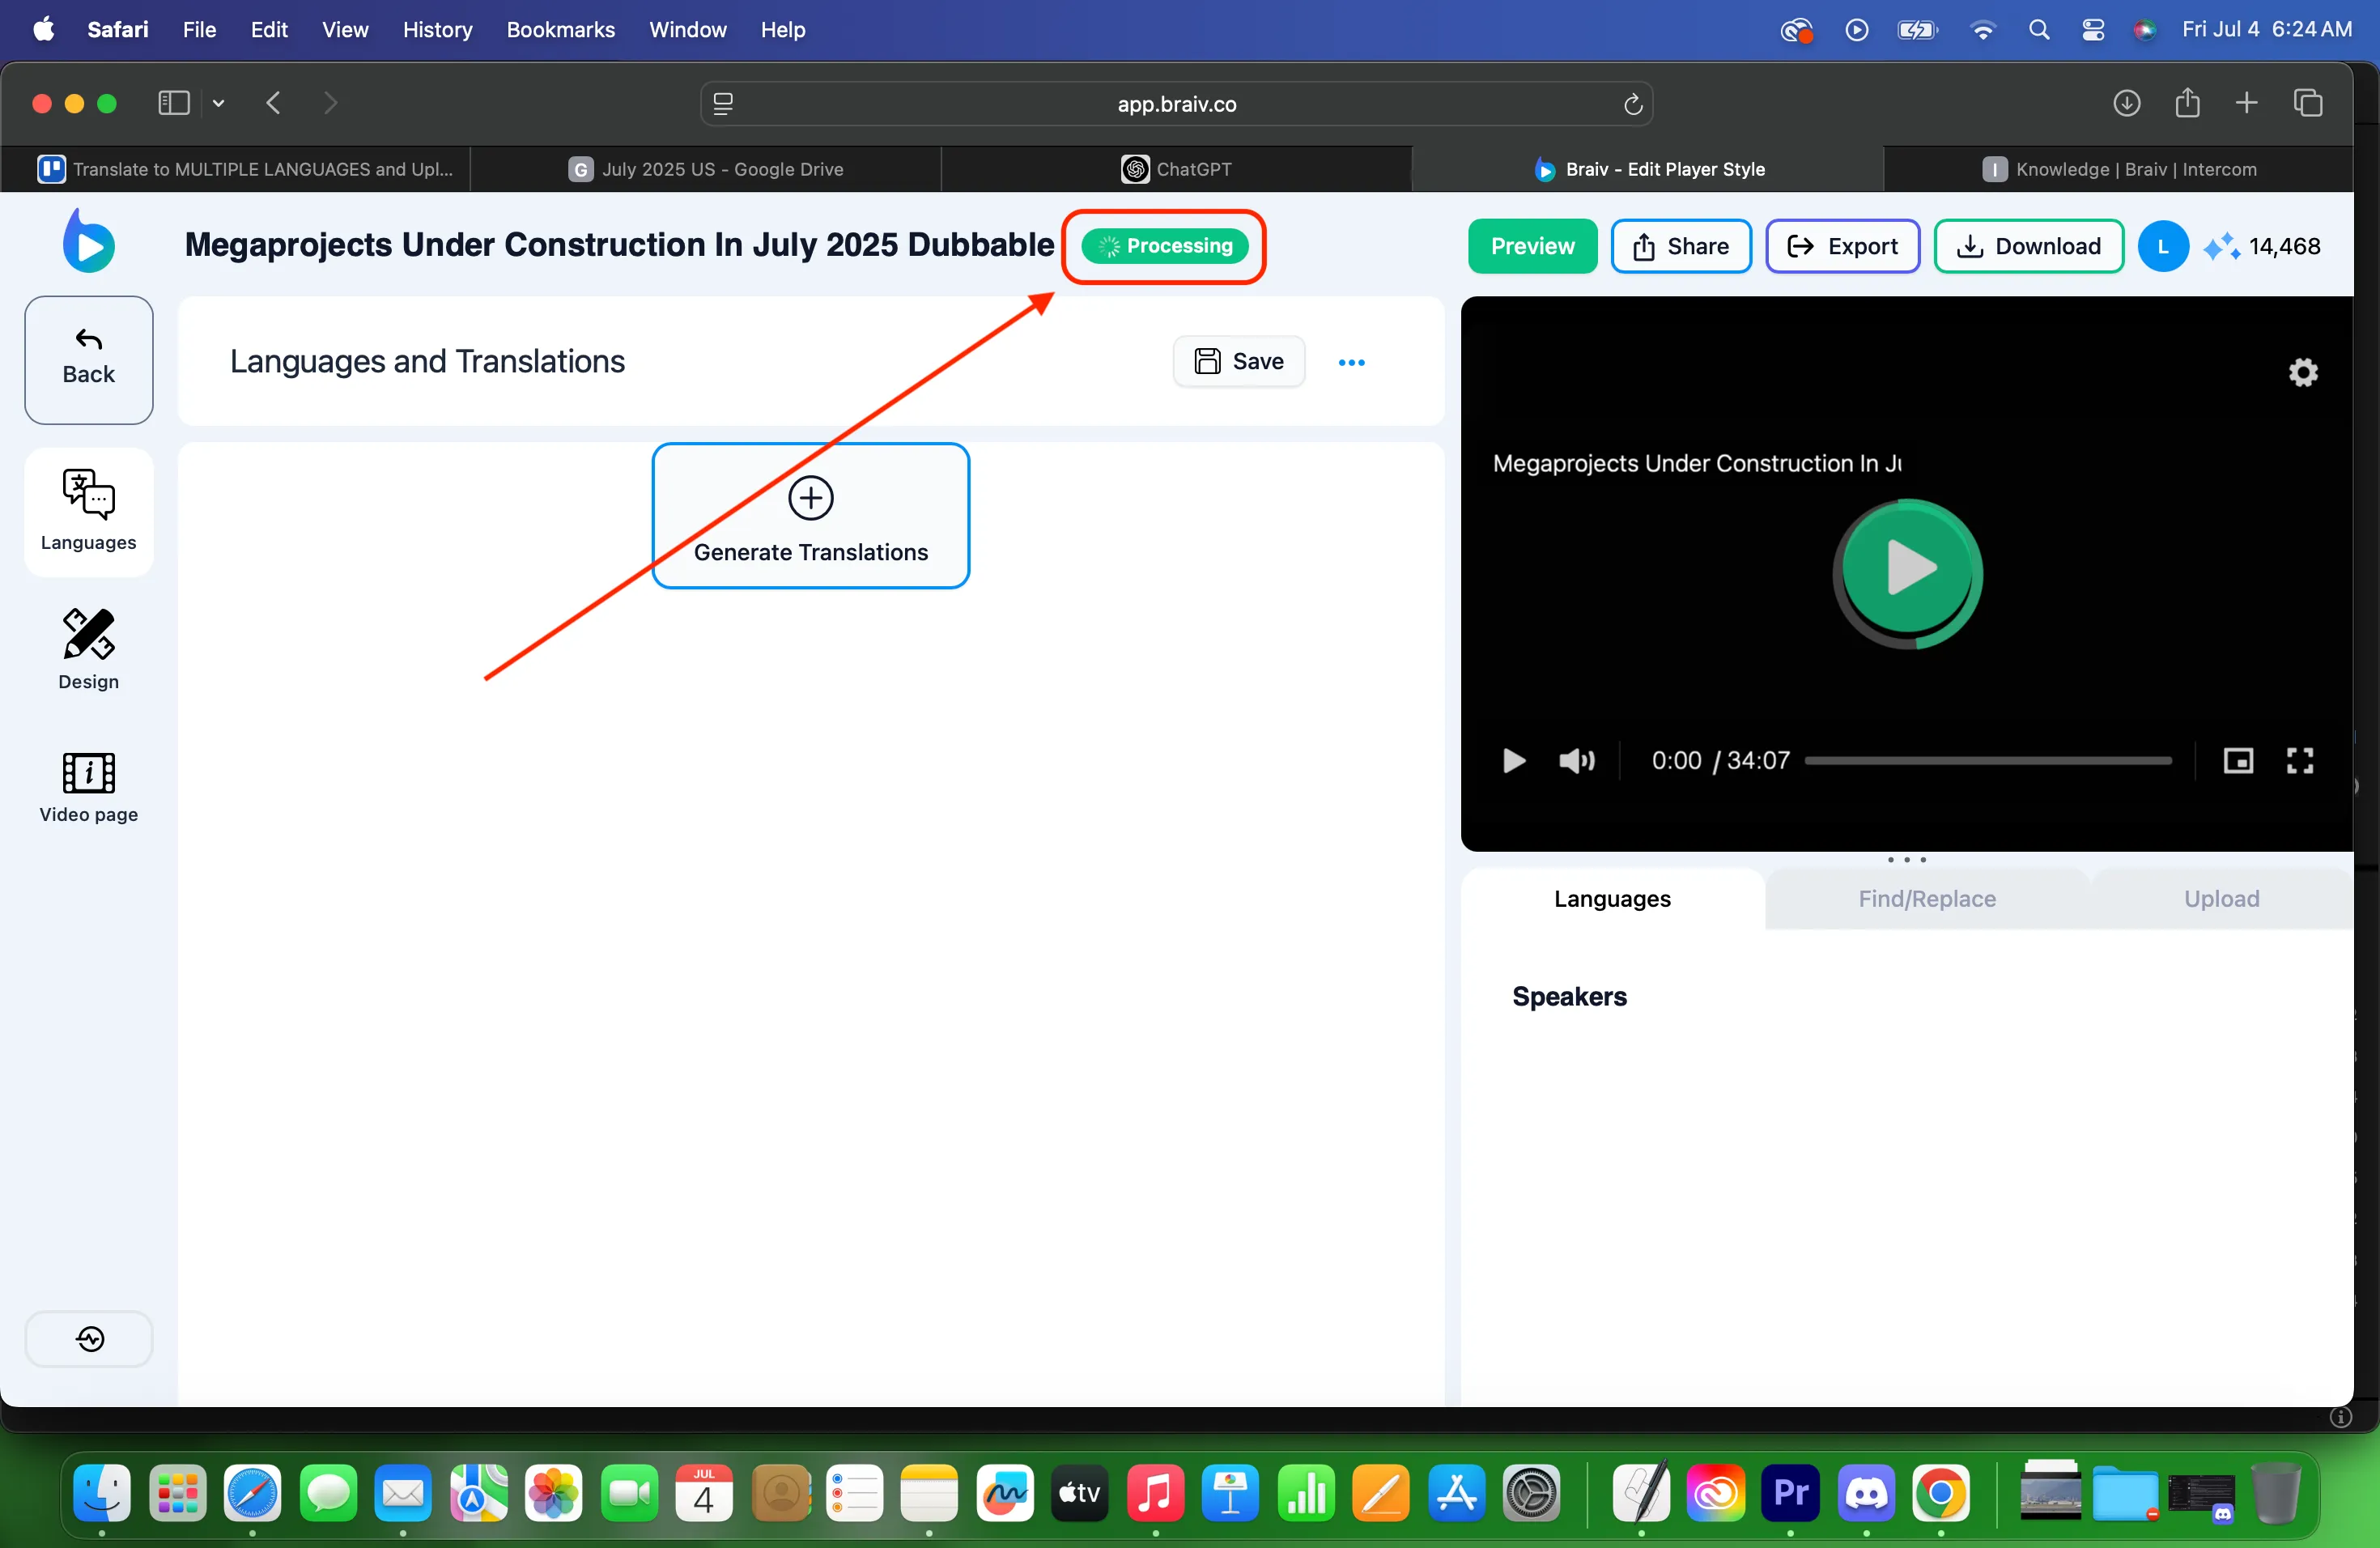
11. Then you’ll be on the Language and Translations page where you would see on the upper portion that it is PROCESSING. Sometime there it would change to IMPORTING. You can click on where it says processing to see how it’s going.
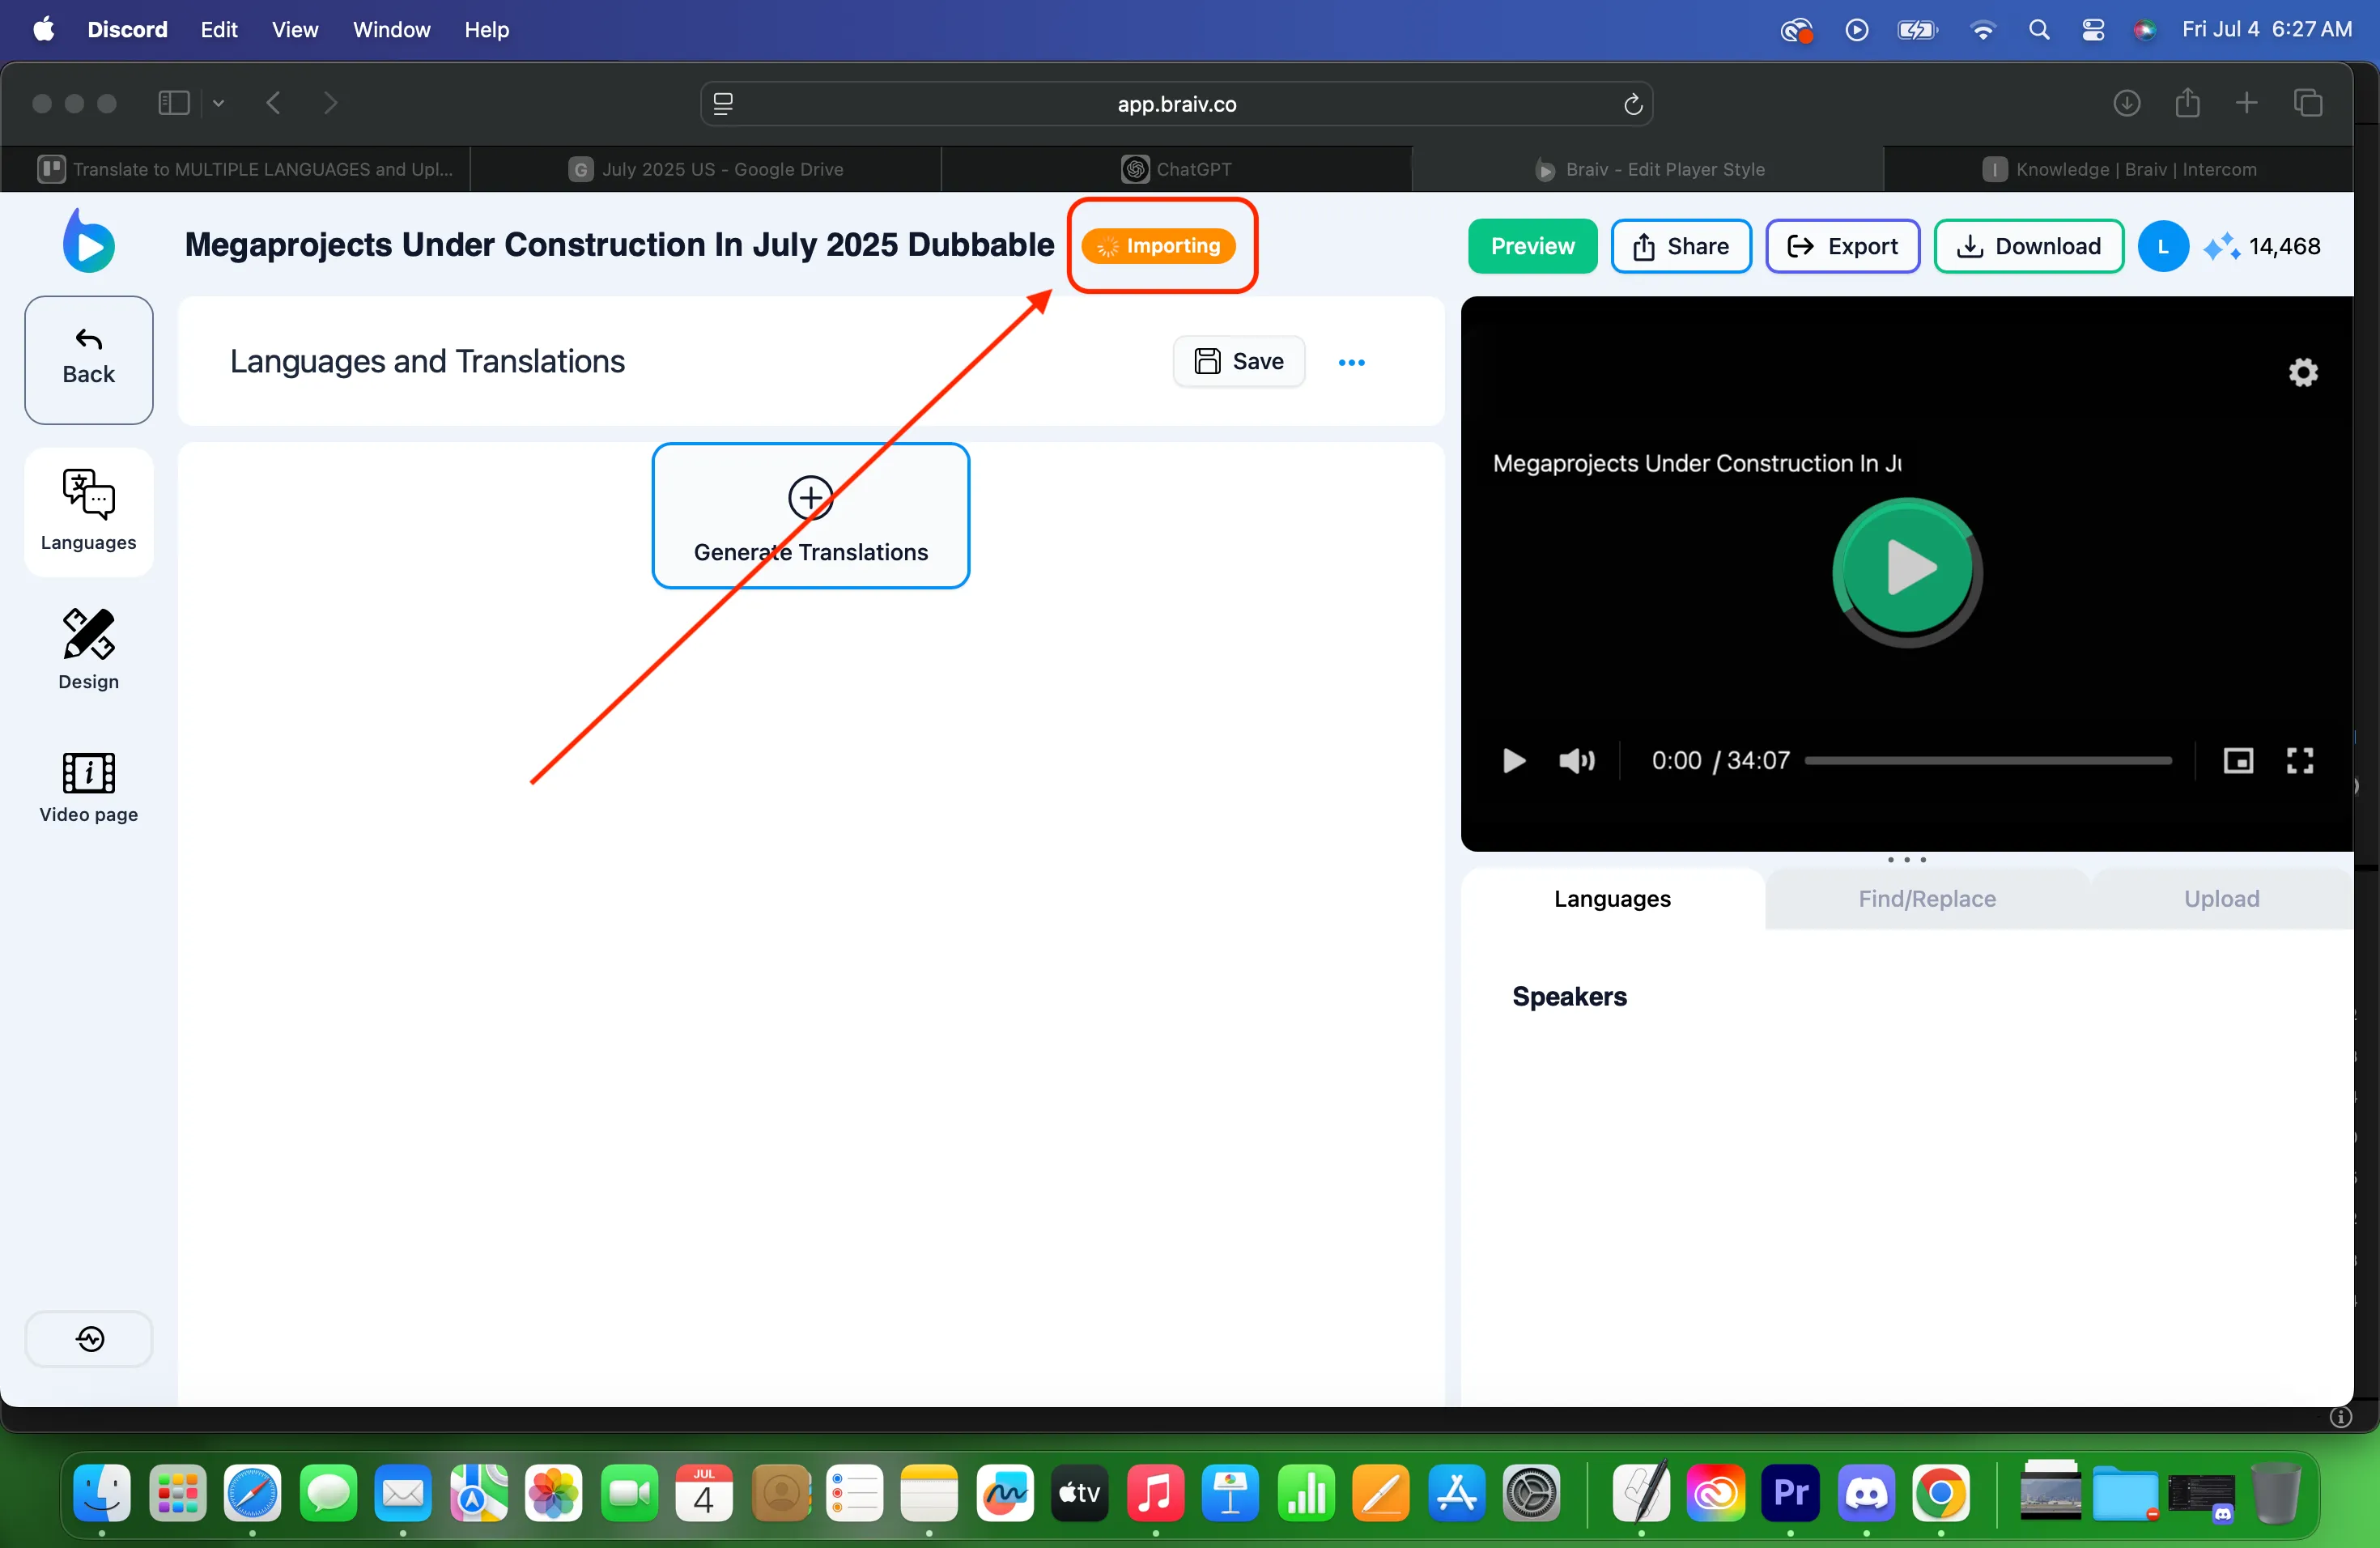
12. Once done, you’ll see a BLUE check mark. Download the file on the lower-right corner of the screen.