
Importing Videos
Braiv supports multiple ways to bring your video content into the platform. Choose the method that works best for your workflow.
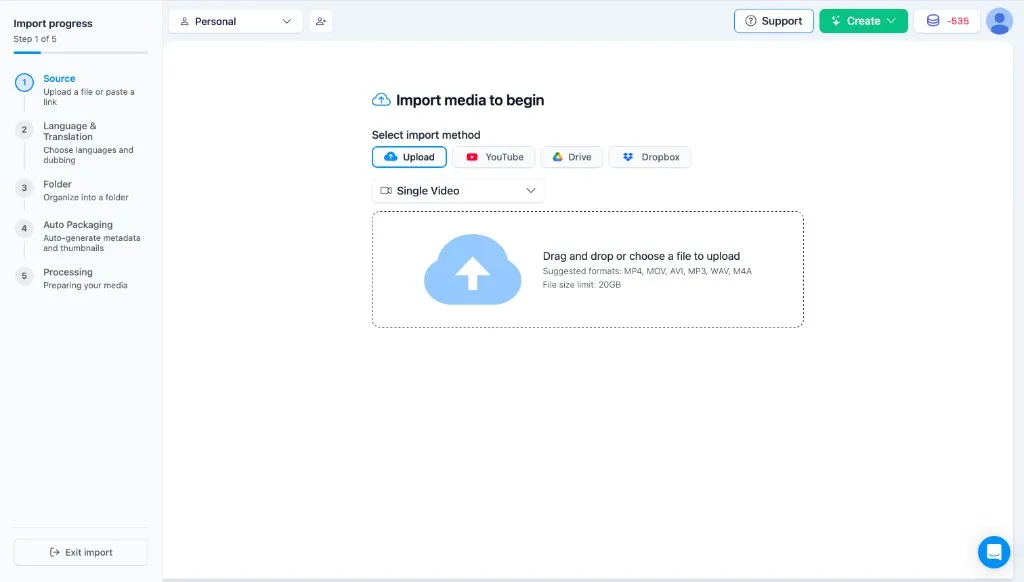
Create wizard map
Section titled “Create wizard map”Most new projects start from Create → Translate a Video. Typical steps:
Source → Folder → Languages → Auto Packaging → Processing
See Create wizard overview for path differences (thumbnails, Shorts, Channels).
Import Methods
Section titled “Import Methods”- Upload from Your Computer: Drag and drop or browse for video files stored locally on your hard drive.
- Import from YouTube: Paste any public or unlisted YouTube URL to import video content directly.
- Import from Dropbox: Use a Dropbox download link to fetch and import your video files seamlessly.
- Upload from Google Drive: Import video files directly from your personal or shared Google Drive.
Auto Packaging
Section titled “Auto Packaging”On the Auto Packaging step you can register automatic titles, descriptions, and zero-prompt thumbnails after processing. Full details: Auto Packaging.
Voice-Cloned Dubbing
Section titled “Voice-Cloned Dubbing”Once your video is successfully imported, you translate with voice cloning. Pick a quality tier first if you need the comparison map:
- Braiv Dubbing Premium vs Plus: Premium (24 credits/min, highest quality & speed, regional accents) or Plus (18 credits/min, affordable Braiv Speech–powered cloning).
- Voice Cloned Dubbing: Editable transcripts in Braiv Studio after you choose Premium or Plus.